編輯:關於android開發
想在APP中添加一個撥號功能該怎樣做呢?Android提供了兩種方式,一種是ACTION_CALL方式直接撥打,另一種是ACTION_DIAL方式打開系統的撥號界面。
下面我們來做個小例子
首先需要在AndroidManifest.xml中添加一個使用權限,這個容易忘哈哈。
<uses-permission android:name="android.permission.CALL_PHONE" />
然後搭一個簡單的界面測試一下,下面是布局文件代碼
<?xml version="1.0" encoding="utf-8"?>
<LinearLayout xmlns:android="http://schemas.android.com/apk/res/android"
    android:layout_width="match_parent"
    android:layout_height="match_parent"
    android:orientation="vertical" >

    <TextView
        android:layout_width="fill_parent"
        android:layout_height="wrap_content"
        android:text="請輸入要撥打的號碼:" />

    <EditText
        android:id="@+id/etPhone"
        android:layout_width="fill_parent"
        android:layout_height="wrap_content"
        android:inputType="phone" />

    <Button
        android:layout_width="fill_parent"
        android:layout_height="wrap_content"
        android:onClick="onClickActionCall"
        android:text="ACTION_CALL方式直接撥打" />

    <Button
        android:layout_width="fill_parent"
        android:layout_height="wrap_content"
        android:onClick="onClickActionDial"
        android:text="ACTION_DIAL方式打開撥號界面" />

</LinearLayout>
下面是對應的Activity代碼:
package chengyujia.androidtest;

import android.app.Activity;
import android.content.Intent;
import android.net.Uri;
import android.os.Bundle;
import android.view.View;
import android.widget.EditText;
import android.widget.Toast;

public class CallActivity extends Activity {

    private EditText etPhone;

    @Override
    protected void onCreate(Bundle savedInstanceState) {
        super.onCreate(savedInstanceState);
        setContentView(R.layout.activity_call);
        etPhone = (EditText) findViewById(R.id.etPhone);
    }

    // ACTION_CALL方式撥打電話(直接撥打)
    public void onClickActionCall(View v) {
        //這裡的Intent.ACTION_CALL實際就是一個特定的字符串,
        //ACTION_CALL = "android.intent.action.CALL",
        //告訴系統我要直接撥號了。
        call(Intent.ACTION_CALL);
    }

    // ACTION_DIAL方式撥打電話(打開撥號界面)
    public void onClickActionDial(View v) {
        //同理,這裡的Intent.ACTION_DIAL也是一個特定的字符串
        //ACTION_DIAL = "android.intent.action.DIAL"
        //告訴系統我要打開撥號界面,並把要撥的號顯示在撥號界面上,由用戶決定是否要撥打。
        call(Intent.ACTION_DIAL);
    }

    private void call(String action){
        String phone = etPhone.getText().toString();
        if(phone!=null&&phone.trim().length()>0){
        //這裡"tel:"+電話號碼 是固定格式,系統一看是以"tel:"開頭的,就知道後面應該是電話號碼。
        Intent intent = new Intent(action, Uri.parse("tel:" + phone.trim()));
        startActivity(intent);//調用上面這個intent實現撥號
        }else{
            Toast.makeText(this, "電話號碼不能為空", Toast.LENGTH_LONG).show();
        }
    }
}
下面運行一下,看看效果。
界面截圖如下:
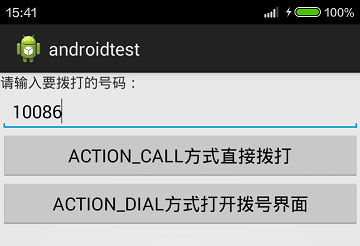
我填寫了電話號碼10086,下面點擊第一個按鈕“ACTION_CALL方式直接撥打”,
截圖如下:
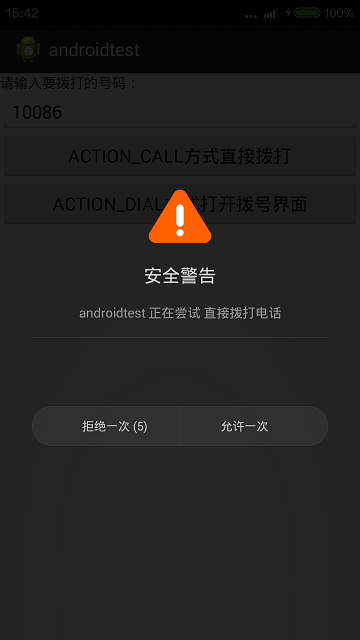
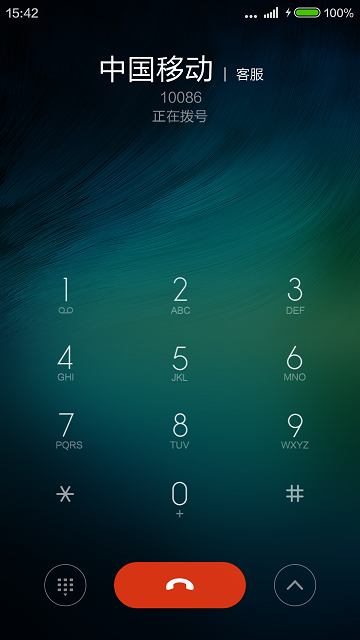
發現並沒有直接撥出去,而是給了用戶一個提示,讓用戶選擇是否真的要撥號,這也是防止有人作惡啊。科技本應該讓生活更美好,而不是讓生活更糟糕,但不是每個人都這麼想的哦,所以不得不防啊。系統做的對,咱繼續測試,點擊“允許一次”,就開始真正撥號了,截圖如下:
掛了電話,回到剛才的測試界面,點擊第二個按鈕“ACTION_DIAL方式打開撥號界面”,下面是點擊後的截圖:
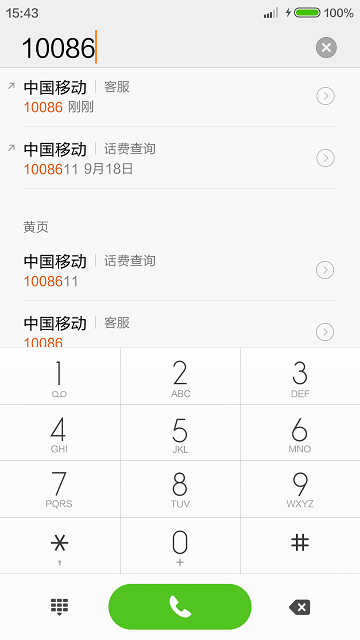
這就是系統的撥號界面,同時把要撥的號碼也給用戶寫好了,要不要撥就由用戶決定喽。
實際開發中用哪種方式,這個要看具體情況了。好了,關於Android APP 用程序實現撥號功能就寫這些吧。
工作不是生活的全部,最後放一個搞笑的段子,樂呵樂呵
菩提老祖將悟空喚至身前:“你已學會長生不老術和七十二變,今日為師欲傳授你新的法術。” 悟空道:“是何法術?”菩提老祖道:“看到這天上的雲彩了嗎?這邊有七朵雲彩,那邊有五朵雲彩,一共有幾朵?” 悟空答:“十二朵。” 菩提老祖道:“嗯,我要教你的就是雲計算。”
 Android 輪換控件,android輪換控件
Android 輪換控件,android輪換控件首先是控件輪換 一.創建主布局 1.用到的控件是 TextSwitcher (文本輪換
 自定義View——利用下拉刷新組件實現上拉加載
自定義View——利用下拉刷新組件實現上拉加載 注:本文demo已經提交github,地址完整代碼如下,demo工程已經上傳至GitHub, githu
 (轉)Android SlidingTabLayout定制分割線和指示條顏色,android分割線
(轉)Android SlidingTabLayout定制分割線和指示條顏色,android分割線本文轉載與:http://blog.csdn.net/zhangphil
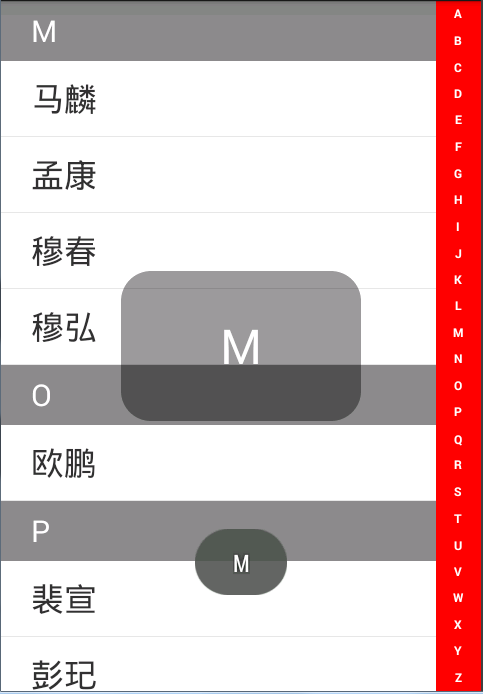 快速索引,索引
快速索引,索引如下是快速索引的效果圖,是從網上下的實例。如圖實現的難點1:是最右側的索引是用自定義View來實現的,主要通過onDraw的方法將其畫出; 難點2:是如何拿
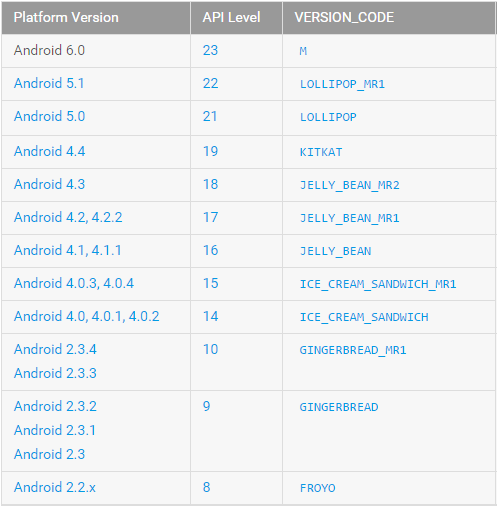 minSdkVersion maxSdkVersion targetSdkVersion target 的區別,targetsdkversion
minSdkVersion maxSdkVersion targetSd