編輯:關於android開發

<?xml version="1.0" encoding="utf-8"?>
<LinearLayout xmlns:android="http://schemas.android.com/apk/res/android"
    android:orientation="vertical" android:layout_width="match_parent"
    android:layout_height="match_parent">
    <ScrollView
        android:layout_width="fill_parent"
        android:layout_height="wrap_content"
        android:layout_weight="1">
        <LinearLayout
            android:orientation="vertical"
            android:layout_width="match_parent"
            android:layout_height="wrap_content">

            <TextView
                android:layout_width="wrap_content"
                android:layout_height="wrap_content"
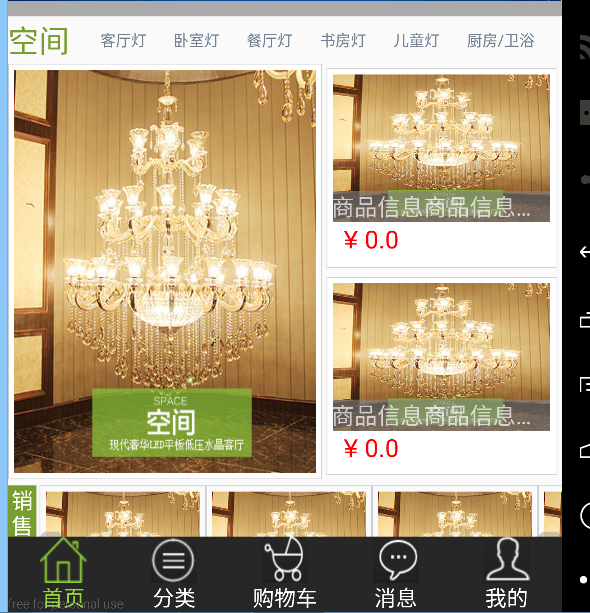
                android:text = "@string/home"/>

<fragment
    android:id = "@+id/fragment_space"
    android:name = "com.example.sxq123.iljmall.FragmentCatagorySpace"
    android:layout_width="match_parent"
    android:layout_height="wrap_content"/>

</LinearLayout>
</ScrollView>
</LinearLayout>
public class FragmentHome extends Fragment {

    private View view;
    FragmentCatagorySpace fragmentCatagorySpace ;

    @Override
    public View onCreateView(LayoutInflater inflater , ViewGroup container , Bundle savedInsataceState){
        view = inflater.inflate(R.layout.fragment_home, null);
        Log.d(this.getClass().getName(),"  onCreateView() Begin");
        initChildFragment();

        return view;
    }
    private void initChildFragment(){
        Log.d("-------------------","init space ");
        fragmentCatagorySpace = (FragmentCatagorySpace)getChildFragmentManager().findFragmentById(R.id.fragment_space);
        if(fragmentCatagorySpace != null){
            Log.d("----------------","init space success and no null");
        }
    }
}
public class FragmentHome extends Fragment {

    private View view;
    FragmentCatagorySpace fragmentCatagorySpace ;

    @Override
    public View onCreateView(LayoutInflater inflater , ViewGroup container , Bundle savedInsataceState){
        view = inflater.inflate(R.layout.fragment_home, null);
        Log.d(this.getClass().getName(),"  onCreateView() Begin");
        initChildFragment();

        return view;
    }
@Override
public void onDestroyView(){
    super.onDestroyView();
    if(fragmentCatagorySpace != null){
        Log.d("-------------------", "space no null");
        FragmentManager fragmentManager = getFragmentManager();
        if(fragmentManager != null && !fragmentManager.isDestroyed()){
            final FragmentTransaction fragmentTransaction = fragmentManager.beginTransaction ();
            if(fragmentTransaction != null){
                fragmentTransaction.remove(fragmentCatagorySpace).commit();
                //commit()和commitAllowingStateLoss()都是先發送到主線程任務隊列中, 當主線程准備好了再執行,異步。
                // //如果沒有在inflate之前執行remove child fragmetn 的transaction,將會發生duplicate id 的exception !!!
//                fragmentTransaction.commit();//可以放在onCreateView中執行commit(),但偶爾會發生onSaveInstanceState()之後不能執行commit()的沖突
                fragmentTransaction.commitAllowingStateLoss();
                //立即執行任務隊列中的transaction, 不異步 !!!!!!!!!!!!!!!重點!!!!!!!!!!!!!!!!!!!!
//防止remove事務被加到主線程任務隊列中,那這樣異步的話可能這些事物直到父Fragment重新執行onCreateView()
//之前都沒有執行完,同樣會發生duplicate id 的異常
//如果這些remove 的食物放在父Fragment的onSaveInstanceState()中執行, 由於onSaveInstanceState()調用並不
//是每一個Fragment生命周期都會被調用(????),所以偶爾也會發生duplicate id  的異常
 fragmentManager.executePendingTransactions();
                Log.d("------------------","  space destroy");
            }
        }
    }
}
    private void initChildFragment(){
        Log.d("-------------------","init space ");
        fragmentCatagorySpace = (FragmentCatagorySpace)getChildFragmentManager().findFragmentById(R.id.fragment_space);
        if(fragmentCatagorySpace != null){
            Log.d("----------------","init space success and no null");
        }
    }
}
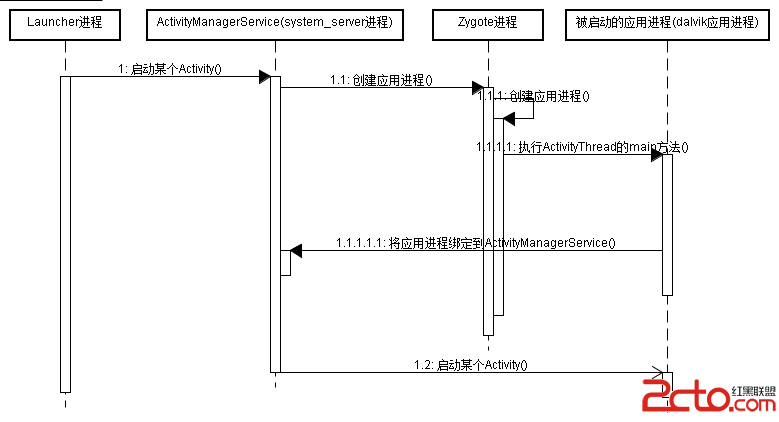
 深入理解Activity啟動流程
深入理解Activity啟動流程 深入理解Activity啟動流程(一)–Activity啟動相關類的類圖 Activity啟動時的概要交互
 自己定制ListView,上拉刷新和下拉刷新,加載網絡圖片,並且添加緩存機制。,自己定制listview
自己定制ListView,上拉刷新和下拉刷新,加載網絡圖片,並且添加緩存機制。,自己定制listview 1 package com.lixu.listviewrefr
 Android5.1.1源碼,android源碼
Android5.1.1源碼,android源碼前言 所有Android應用進程都是zygote fork出來的,新fork出來的應用進程還保持著root權限,這顯然是不
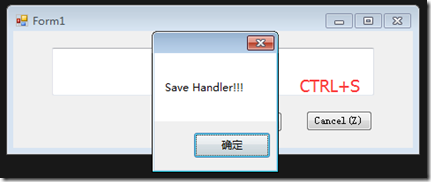
 Form and Control KeyEvent
Form and Control KeyEvent一、Form的KeyEvent KeyCode: private void Form1_KeyDown(object