編輯:關於android開發
嗨!各位,小編又和大家分享知識啦,在昨天的博客筆記中小編給大家講解了如何去配置Android工具以及SDK中的一些配置,那在今天的學習小編會帶給大家哪些Android知識呢?首先我們看一下今天的學習目錄吧。
知識一:了解Android項目目錄結構
知識二:Android的配置文件(清單文件)
知識三:了解DDMS的作用
知識四:adb執行命令和配置
知識五:簡單案例(打電話)
指定應用的包名
package="com.itheima.helloworld"
Android的四大組件在使用前全部需要在清單文件中配置
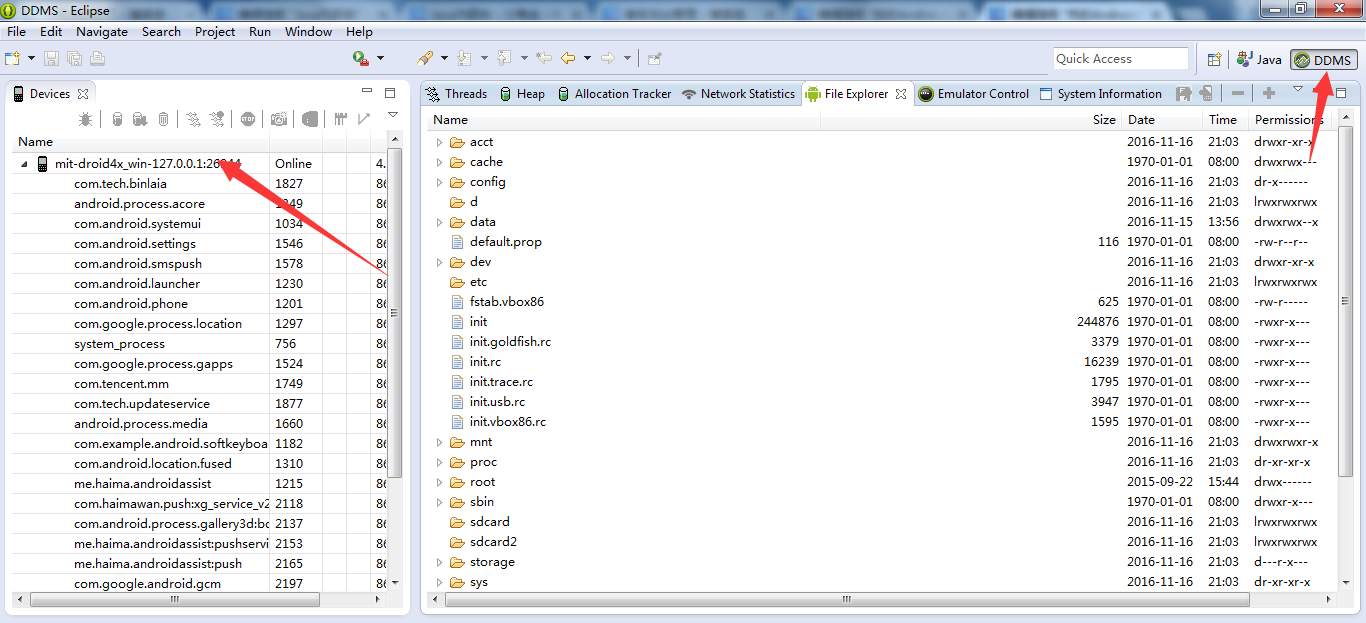
Android debug bridge:安卓調試橋:adb是Eclipse與服務器設備建立的連接橋梁,adb程序能夠可以給任何一款Android設備建立連接,在adb程序還可以獲取你當前連接設備的所有信息
在啟用adb程序時我們可以方便快捷的使用如下命令
哈哈,可能有些學者已經遇到問題了,就是在打開DOM窗口執行命令時候怎麼執行不了呢?
沒關系,問題好解決,只需要配置一下adb的環境變量即可
首先打開 控制面板-->系統和安全-->系統 -->高級設置-->環境變量 -->Path變量
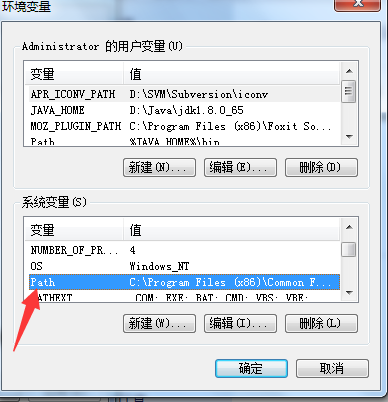
點擊編輯:首先要找到你的sdk中存放adb.exe文件目錄
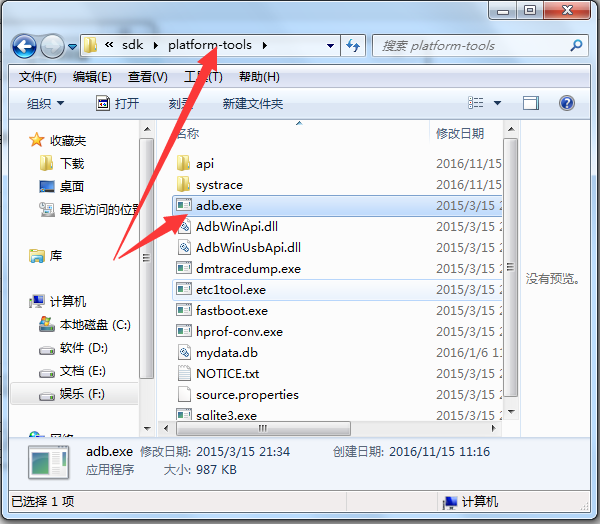
獲取該目錄的路徑
注:演示路徑:F:\AndroidStudy\adt-bundle-windows-x86_64-20140702\sdk\platform-tools
然後將該路徑復制到你的Path變量值中即可
功能:用戶輸入一個號碼,點擊撥打按鈕,啟動系統打電話的應用把號碼撥打出去
1.新建一個Android工程
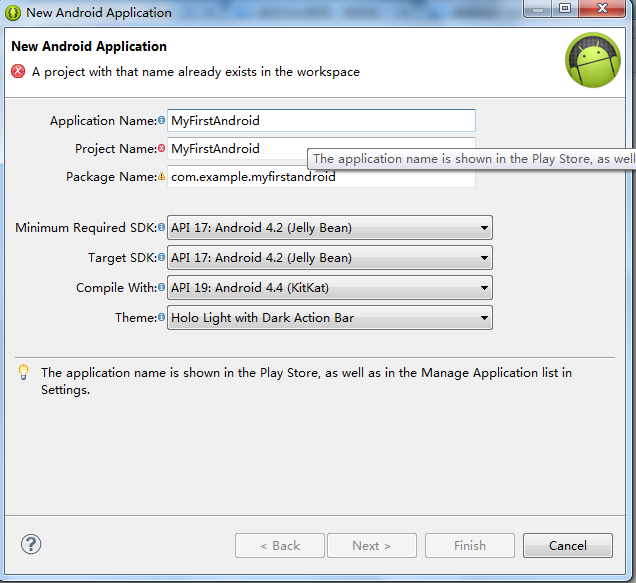
2.點擊res 目錄下的layout文件打開activity_main.xml 配置文件
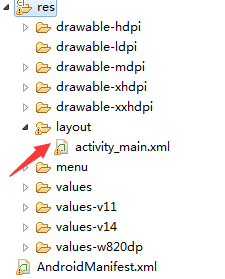
3.生成幾個控件,一:文本編輯控件、二:按鈕控件
activity_main.xml
<LinearLayout xmlns:android="http://schemas.android.com/apk/res/android"
    xmlns:tools="http://schemas.android.com/tools"
    android:layout_width="match_parent"
    android:layout_height="match_parent"
    tools:context=".MainActivity"
    android:orientation="vertical"
    >
    <TextView
        android:id="@+id/textView1"
        android:layout_width="match_parent"
        android:layout_height="wrap_content"
        android:text="請輸入你要撥打的電話號碼" />

    <EditText
        android:id="@+id/edit_Test"
         android:layout_width="match_parent"
        android:layout_height="wrap_content"

        />
     <Button
         android:id="@+id/btn_cell"
         android:layout_width="match_parent"
         android:layout_height="wrap_content"
         android:text="打電話"
         />
</LinearLayout>
注1:組件必須設置寬高,否則不能通過編譯
android:layout_width="wrap_content"
android:layout_height="wrap_content"
為了方便我們控制布局內容我們將xml中的 <RelativeLayout ></RelativeLayout >改為了<LinearLayout></LinearLayout>
以下是控件生成的效果圖
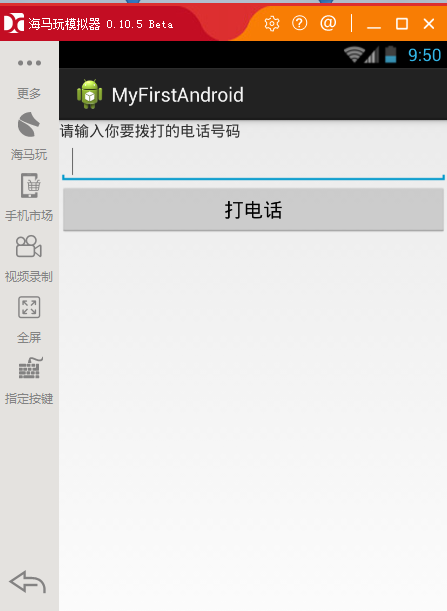
注2:如果相對應的控制是自己手動生成的,那麼必須指定一個控件Id android:id="@+id/textView1" 否則運行出錯
android:id="@+id/textView1"
4.編寫我們的Java代碼
點擊src 下的MainActivity.java文件 ,編寫如下代碼
package com.example.myfirstandroid;

import android.app.Activity;
import android.content.Intent;
import android.net.Uri;
import android.os.Bundle;
import android.view.View;
import android.view.View.OnClickListener;
import android.widget.Button;
import android.widget.EditText;


public class MainActivity extends Activity {

    @Override
    protected void onCreate(Bundle savedInstanceState) {
        super.onCreate(savedInstanceState);
        setContentView(R.layout.activity_main);
       //獲取一個btn_cell按鈕對象
       Button btn = (Button)this.findViewById(R.id.btn_cell);
       //給該按鈕對象綁定一個按鈕監聽事件
       btn.setOnClickListener(new MyListener());

    }

    //編寫一個監聽內部類實現OnClickListener監聽接口
    class MyListener implements OnClickListener{

        @Override
        //重寫該接口的單擊事件方法
        public void onClick(View v) {
            //獲取編輯文本對象
            EditText editTest = (EditText)findViewById(R.id.edit_Test);
            //獲取該編輯文本的內容
            String number = editTest.getText().toString() ;

            //獲取一個系統內置的一個打電話的功能,告訴系統我們要執行打電話操作
            //獲取一個創建圖對象
            Intent intent = new Intent();
            //將動作封裝到創建圖中
            intent.setAction(Intent.ACTION_CALL);
            //設置打給誰操作
            intent.setData(Uri.parse("tel:" + number));

            //以上執行完畢將該動作告訴系統
            startActivity(intent);
        }

    }
}
以上簡單小程序代碼已經寫完了,趕緊運行試一下吧!
總結:今天小編的Android知識點已經分享完了,今天的學習內容不多只是大致理解一下Android程序基本結構,該案例中也運用了內部類的定義,如果不懂內部類操作的學者也可以參照一下小編編寫的內部類學習筆記也許會幫助到你哦!地址:http://www.cnblogs.com/xiaotaojing/p/6069184.html 因為內部類的定義在Android的開發中非常常見也經常使用,如果有某些學者對該篇比較有不懂的或者有疑惑的地方可以給小編留言哦!謝謝
 Android Activity生命周期與啟動模式,androidactivity
Android Activity生命周期與啟動模式,androidactivityActivity的完整生命周期如下圖: Activity的加載模式有四種: stand
 Android的基本世界觀——系統簡介,組件邏輯及其他
Android的基本世界觀——系統簡介,組件邏輯及其他 前言 作為一個有半年余Android Developing折騰經驗的Android Developer(為什麼不說
 Exampleapp窗口大小調節,exampleapp窗口調節
Exampleapp窗口大小調節,exampleapp窗口調節 結構圖: 基類: package ch.halcyon.squareprogressbar.exampl
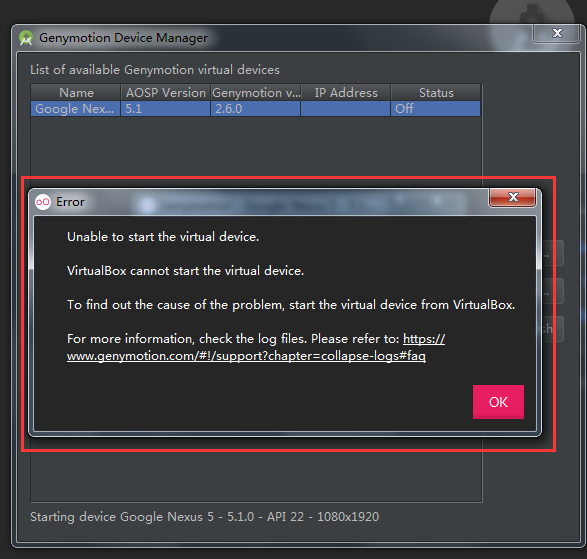 unable to start the virtual device;Genymotion啟動安卓模擬器出錯,genymotion安卓
unable to start the virtual device;Genymotion啟動安卓模擬器出錯,genymotion安卓我認為問題解決了就分享一下解決方案,