編輯:關於android開發
大家好,看我像不像蘑菇…因為我在學校呆的發霉了。
思而不學則殆
麗麗說得對,我有奇怪的疑問,大都是思而不學造成的,在我書讀不夠的情況下想太多,大多等於白想 ,所以革命沒成功,同志仍需努力。
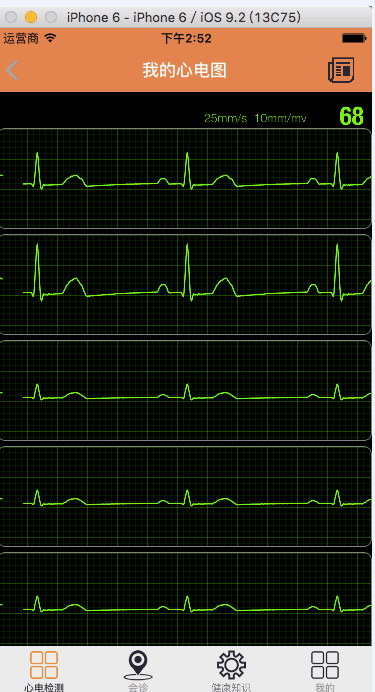
好了廢話不說了,由於布總要做一個心電圖的玩意,所以做來練練手,總之拿到的UI圖如下:
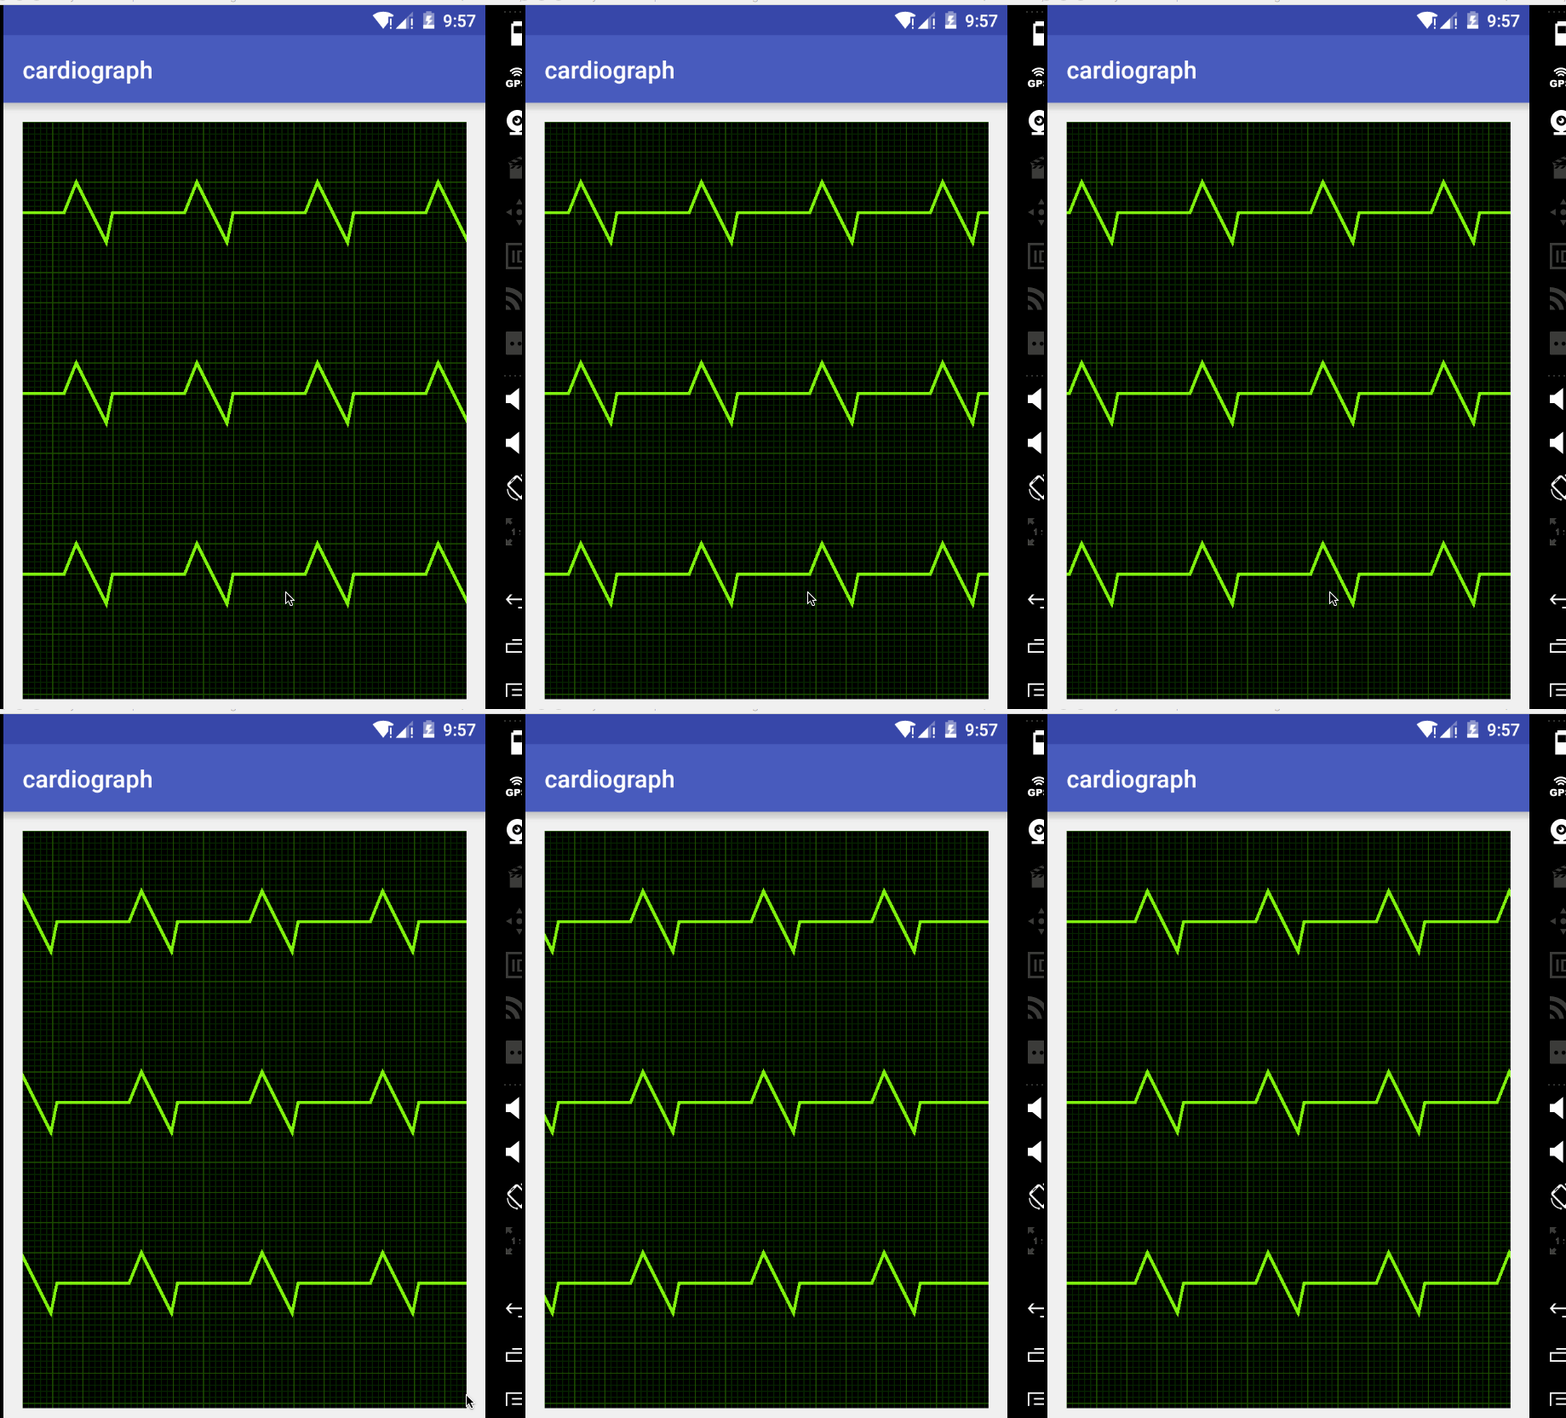
做好的效果如下:
拿到圖,先做一些簡單的分析。呃..
首先drawColor黑色,然後用循環來畫線、
看樣子是path,應該沒問題。
於是就大干一番,按照這倆步驟畫完了。。結果發現,嗯。。確實畫上去了,關鍵怎麼讓他動呢。。 輕而易舉想到scrollBy吧。然後你就發現。。背景也跟著變了。。 遇到問題就要解決。。所以這裡投機取巧一下 把兩個View分離,即背景是一個View,折線圖是一個View。
首先,創建一個View,用來做背景View。他有一些屬性,因為這些View本來是一個,後來又有一個折現View需要相同的屬性,所以索性偷懶改成protected修飾。。
轉載請注明出處:http://blog.csdn.net/wingichoy/article/details/51023865
public class CardiographView extends View {
    //畫筆
    protected Paint mPaint;
    //折現的顏色
    protected int mLineColor = Color.parseColor("#76f112");
    //網格顏色
    protected int mGridColor = Color.parseColor("#1b4200");

    //小網格顏色
    protected int mSGridColor = Color.parseColor("#092100");
    //背景顏色
    protected int mBackgroundColor = Color.BLACK;
    //自身的大小
    protected int mWidth,mHeight;

    //網格寬度
    protected int mGridWidth = 50;
    //小網格的寬度
    protected int mSGridWidth = 10;

    //心電圖折現
    protected Path mPath ;
定義了這些屬性,在構造器裡初始化一下畫筆和Path
public CardiographView(Context context) {
        this(context,null);
    }

    public CardiographView(Context context, AttributeSet attrs) {
        this(context, attrs,0);
    }

    public CardiographView(Context context, AttributeSet attrs, int defStyleAttr) {
        super(context, attrs, defStyleAttr);
        mPaint = new Paint();
        mPath = new Path();
    }
接下來拿到自身的寬高。注意為了簡化例子,這裡就不測量了
@Override
    protected void onSizeChanged(int w, int h, int oldw, int oldh) {
        mWidth = w;
        mHeight = h;
        super.onSizeChanged(w, h, oldw, oldh);
    }
准備工作都完成,開始繪制背景,創建一個drawBackground(Canvas canvas)方法。
可以想到,用for循環來畫橫線豎線。橫線的起始x坐標都是0,終止x坐標是mWidth, y坐標為i*mGridWidth(網格寬度),我們要拿到網格的個數,即寬高除以網格寬度,具體操作看代碼:
 private void initBackground(Canvas canvas) {

        canvas.drawColor(mBackgroundColor);
        //畫小網格

        //豎線個數
        int vSNum = mWidth /mSGridWidth;

        //橫線個數
        int hSNum = mHeight/mSGridWidth;
        mPaint.setColor(mSGridColor);
        mPaint.setStrokeWidth(2);
        //畫豎線
        for(int i = 0;i
現在的運行效果是這樣的:
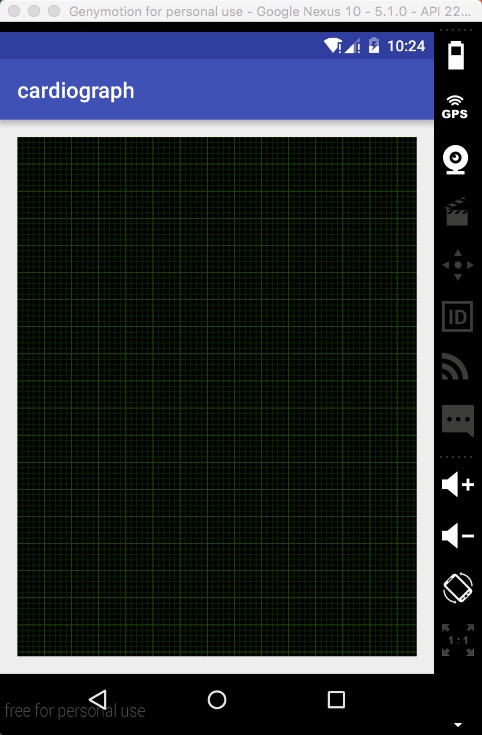
呃。。。看起來像點樣子了。。
現在給加上Path吧。。新建一個View,寫到相對布局的底部
為了簡單起見,新建一個View 繼承CardiographView, 這裡只需要重寫他的ondraw方法即可,其他屬性不需要定義。
 private void drawPath(Canvas canvas) {
        // 重置path
        mPath.reset();

        //用path模擬一個心電圖樣式
        mPath.moveTo(0,mHeight/2);
        int tmp = 0;
        for(int i = 0;i<10;i++) {
            mPath.lineTo(tmp+20, 100);
            mPath.lineTo(tmp+70, mHeight / 2 + 50);
            mPath.lineTo(tmp+80, mHeight / 2);

            mPath.lineTo(tmp+200, mHeight / 2);
            tmp = tmp+200;
        }
        //設置畫筆style
        mPaint.setStyle(Paint.Style.STROKE);
        mPaint.setColor(mLineColor);
        mPaint.setStrokeWidth(5);
        canvas.drawPath(mPath,mPaint);

    }
好了,現在畫出來是這樣的:
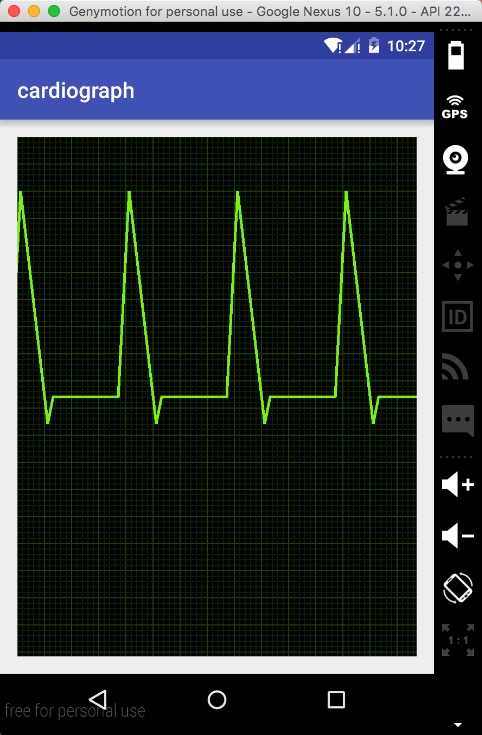
那怎麼讓他動起來呢。 當然是scrollBy了~~ 這裡注意下scrollBy 和scrollTo的區別,面試常考的,之後再postInvalidateDelayed即可
  @Override
    protected void onDraw(Canvas canvas) {
        drawPath(canvas);
        scrollBy(1,0);
        postInvalidateDelayed(10);
    }
大功告成! 這樣就和上面的實現圖一樣了:

當然這只是個demo,你可以根據自己的需求去不同的坐標去繪制,來達到真實的心電圖效果。
如果你喜歡我的博客,請點關注哦。。
 Android中設置TextView的顏色setTextColor,textviewsetcolor
Android中設置TextView的顏色setTextColor,textviewsetcolor tv.setTextColor(Color.parseColor(#
 android:ListView緩存機制及BaseAdapter的三重境界(逗比式,普通式,文藝式)
android:ListView緩存機制及BaseAdapter的三重境界(逗比式,普通式,文藝式) 大家都知道listview的格式是一定的 而數據源確是多重多樣的
 HBase & thrift & C++編程
HBase & thrift & C++編程HBase & thrift & C++編程.pdf目錄目錄11.前言12.啟動和停止thrift2 12.1
 手機安全衛士——緩存清理,安全衛士緩存清理
手機安全衛士——緩存清理,安全衛士緩存清理CleanCacheActivity.java /** * 緩存清理*/ public class CleanCacheAc