編輯:關於Android編程
下面介紹了Android實現顯示電量的控件代碼,具體代碼如下:
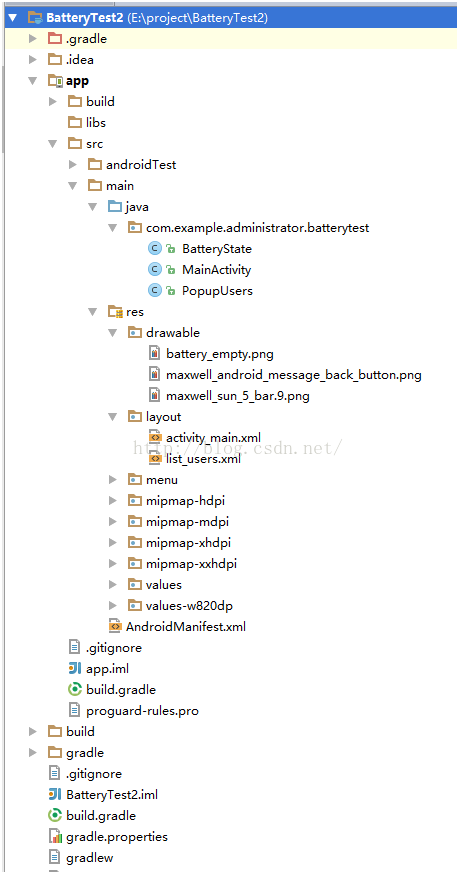
1、目錄結構,本人是使用安卓死丟丟。

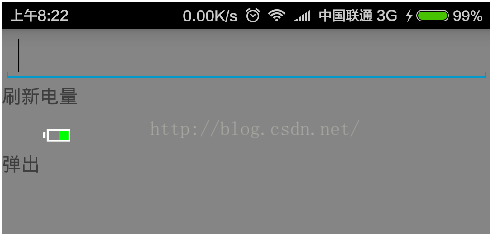
2、運行界面,輸入框中輸入數值,點擊刷新,會再電池中顯示出相應的電量

3、繪制自定義電池控件,首先,新建一個類BatteryState繼承View
private Context mContext;
private float width;
private float height;
private Paint mPaint;
private float powerQuantity=0.5f;//電量
要使用到的變量
public BatteryState(Context context) {
  super(context);
  mContext=context;
  mPaint = new Paint();

}

public BatteryState(Context context, AttributeSet attrs) {
  super(context, attrs);
  mContext=context;
  mPaint = new Paint();
}

public BatteryState(Context context, AttributeSet attrs, int defStyleAttr) {
  super(context, attrs, defStyleAttr);
  mContext=context;
  mPaint = new Paint();
}
三個構造方法,自定義控件的時候一般會把這三個構造方法寫出來,便於在layout中使用或者直接定義,其中AttributeSet是當使用xml文件定義該控件時引用的屬性集
@Override
  protected void onMeasure(int widthMeasureSpec, int heightMeasureSpec) {
//    計算控件尺寸
    super.onMeasure(widthMeasureSpec, heightMeasureSpec);
  }

  @Override
  protected void onDraw(Canvas canvas) {
//繪制界面
    super.onDraw(canvas);
    Bitmap batteryBitmap=ReadBitMap(mContext, R.drawable.battery_empty);//讀取圖片資源
    width=batteryBitmap.getWidth();
    height=batteryBitmap.getHeight();
    if (powerQuantity>0.3f&&powerQuantity<=1) {
//      電量少於30%顯示紅色
      mPaint.setColor(Color.GREEN);
    }
    else if (powerQuantity>=0&&powerQuantity<=0.3)
    {
      mPaint.setColor(Color.RED);
    }
//    計算繪制電量的區域
    float right=width*0.94f;
    float left=width*0.21f+(right-width*0.21f)*(1-powerQuantity);
    float tope=height*0.45f;
    float bottom=height*0.67f;

    canvas.drawRect(left,tope,right,bottom,mPaint);
    canvas.drawBitmap(batteryBitmap, 0, 0, mPaint);
  }
由於我們定義的控件時一個單個控件,不是容器控件,所以我只重寫了onMeasure、onDraw分別用來計算大小和繪制界面,根據背景圖片來計算要繪制的區域
  public void refreshPower(float power)
{
  powerQuantity=power;
  if (powerQuantity>1.0f)
    powerQuantity=1.0f;
  if (powerQuantity<0)
    powerQuantity=0;
  invalidate();
}
刷新控件
4、在xml文件中定義:
<LinearLayout
  android:layout_width="wrap_content"
  android:layout_marginLeft="30dp"
  android:layout_height="30dp">
  <com.example.administrator.batterytest.BatteryState
    android:id="@+id/bs_power"
    android:layout_width="wrap_content"
    android:layout_height="wrap_content" />
</LinearLayout>
5、在Activity中使用
mBtnTry = (TextView) findViewById(R.id.btn_try);
    mBtnTry.setText("刷新電量");
//    mBtnTry.setBackground(getResources().getDrawable(R.drawable.maxwell_sun_5_bar));
    mBsPower = (BatteryState) findViewById(R.id.bs_power);
    mBtnTry.setOnClickListener(new View.OnClickListener() {
      @Override
      public void onClick(View v) {
        float power = Integer.parseInt(mEtPower.getText().toString());
        float p = power / 100;
        mBsPower.refreshPower(p);
      }
    });
希望本文所述對你有所幫助,Android實現顯示電量的控件代碼就給大家介紹到這裡了。希望大家繼續關注我們的網站!
 Android布局控件之常用linearlayout布局
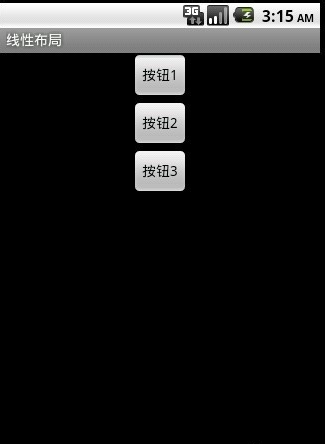
LinearLayout是線性布局控件,它包含的子控件將以橫向或豎向的方式排列,按照相對位置來排列所有的widgets或者其他的containers,超過邊界時,某些控件
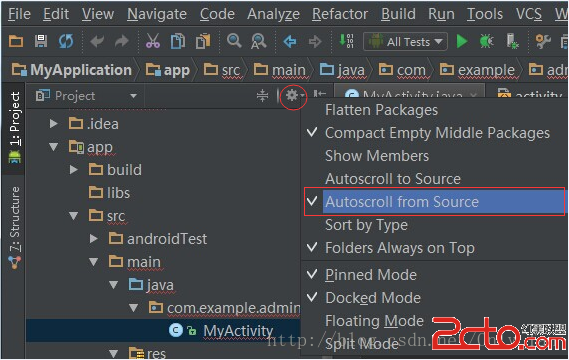
 AndroidStudio筆記--常用功能
1.修改SDK版本: 打開File--Project Structure... Modules--app--Properties
 Android學習教程之圓形Menu菜單制作方法(1)
本文實例為大家分享了Android圓形菜單的使用方法,供大家參考,具體內容如下MainActivity.java代碼:package siso.handlerdemo;i
 Android編程開發實現多線程斷點續傳下載器實例
本文實例講述了Android編程開發實現多線程斷點續傳下載器。分享給大家供大家參考,具體如下:使用多線程斷點續傳下載器在下載的時候多個線程並發可以占用服務器端更多資源,從