編輯:關於Android編程
本文實例為大家介紹了Android自定義視圖屬性的方法,供大家參考,具體內容如下
1. 自定義一個自己的視圖類繼承自View
public class MyView extends View
{
  public MyView(Context context, AttributeSet attrs)
  {
    super(context, attrs);
    //獲取到自定義的屬性
    TypedArray ta=context.obtainStyledAttributes(attrs, R.styleable.MyView);
    int color=ta.getColor(R.styleable.MyView_rect_color, 0xffff0000);
    setBackgroundColor(color);
    //必須手動回收ta
    ta.recycle();
  }

  public MyView(Context context)
  {
    super(context);
  }
}
2. 在res/values目錄中新建一個attrs.xml文件
<?xml version="1.0" encoding="utf-8"?>
<resources>
  //定義一個declare-styleable標簽,在裡面設置attr屬性
  <declare-styleable name="MyView">
    <attr name="rect_color" format="color"/>
  </declare-styleable>
</resources>
一個attr屬性,對應了一個視圖屬性
3.最後看布局文件中如何利用我們創建的自定義視圖並設置其屬性
<LinearLayout xmlns:android="http://schemas.android.com/apk/res/android"
  //自定義一個MyView的命名空間
  xmlns:gu="http://schemas.android.com/apk/res/com.gu.myrect"
  xmlns:tools="http://schemas.android.com/tools"
  android:layout_width="match_parent"
  android:layout_height="match_parent"
  android:orientation="vertical" >

  <com.gu.myrect.MyView
    android:layout_width="100dp"
    android:layout_height="100dp"
    //根據自定義的命名空間和我們在attrs中設置的屬性,自定義屬性值
    gu:rect_color="#cc99cc" />
</LinearLayout>
以上就是本文的全部內容,希望對大家的學習有所幫助,也希望大家多多支持本站。
 AndroidStudio 控制Git
版本控制是項目開發過程中必不可少的部分,不管是個人還是團隊,靈活的使用版本控制將會使項目開發變得更加輕松。Android Studio集成了版本控制系統,目前支持CVS、
 Android 藍牙技術 帶你實現終端間數據傳輸
藍牙技術在智能硬件方面有很多用武之地,今天我就為大家分享一下藍牙在Android系統下的使用方法技巧,並實現一下兩個終端間數據的傳輸。藍牙(Bluetooth)是一種短距
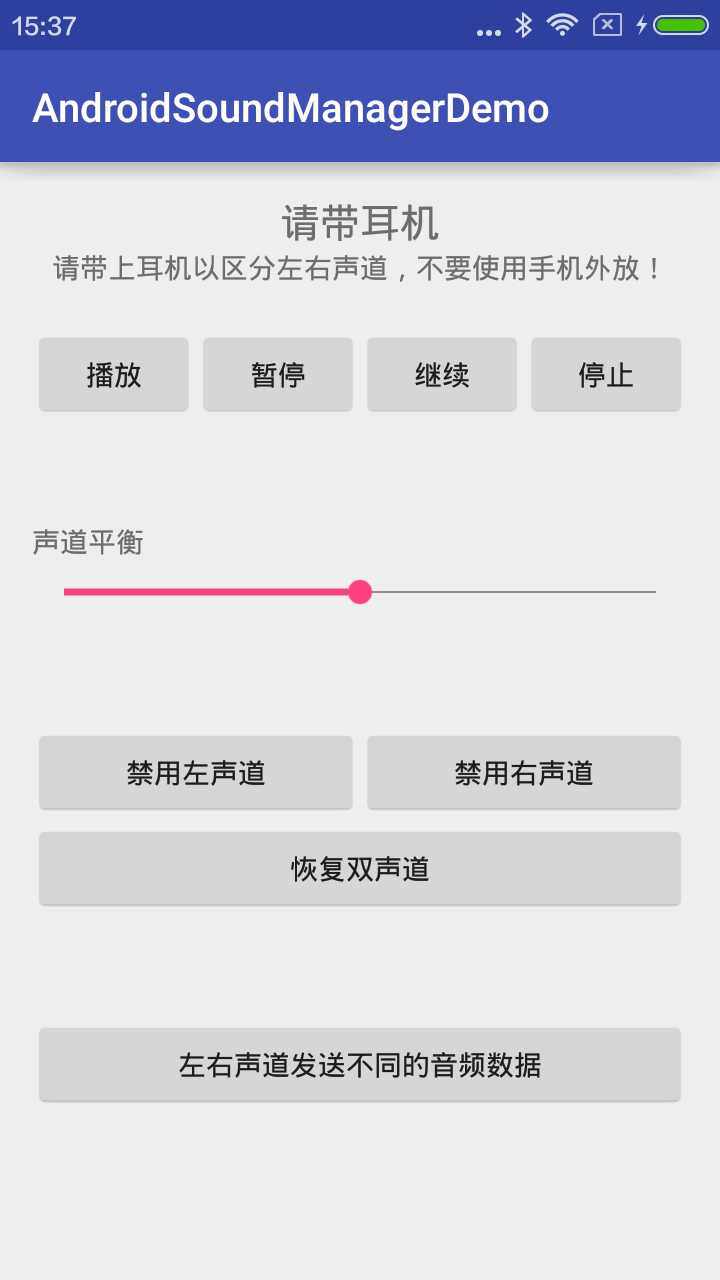
 Android左右聲道的控制
效果圖源碼我這裡主要是用到了AudioTrack實現的左右聲道的控制,手機一般都只有兩個聲道,即左聲道和右聲道,我們在輸出的時候可以選擇單聲道,也可以選擇雙聲道(立體聲)
 基於Android的計步器(Pedometer)的講解(一)——Fragment頁面跳轉
首先需要做的是實現幾個頁面的跳轉,既類似微信的點擊按鈕,切換頁面。 話不多說,這是一個簡單的頁面切換的Demo,先貼幾張實現的效果: 圖片的底部是5個RadioButt