編輯:關於Android編程
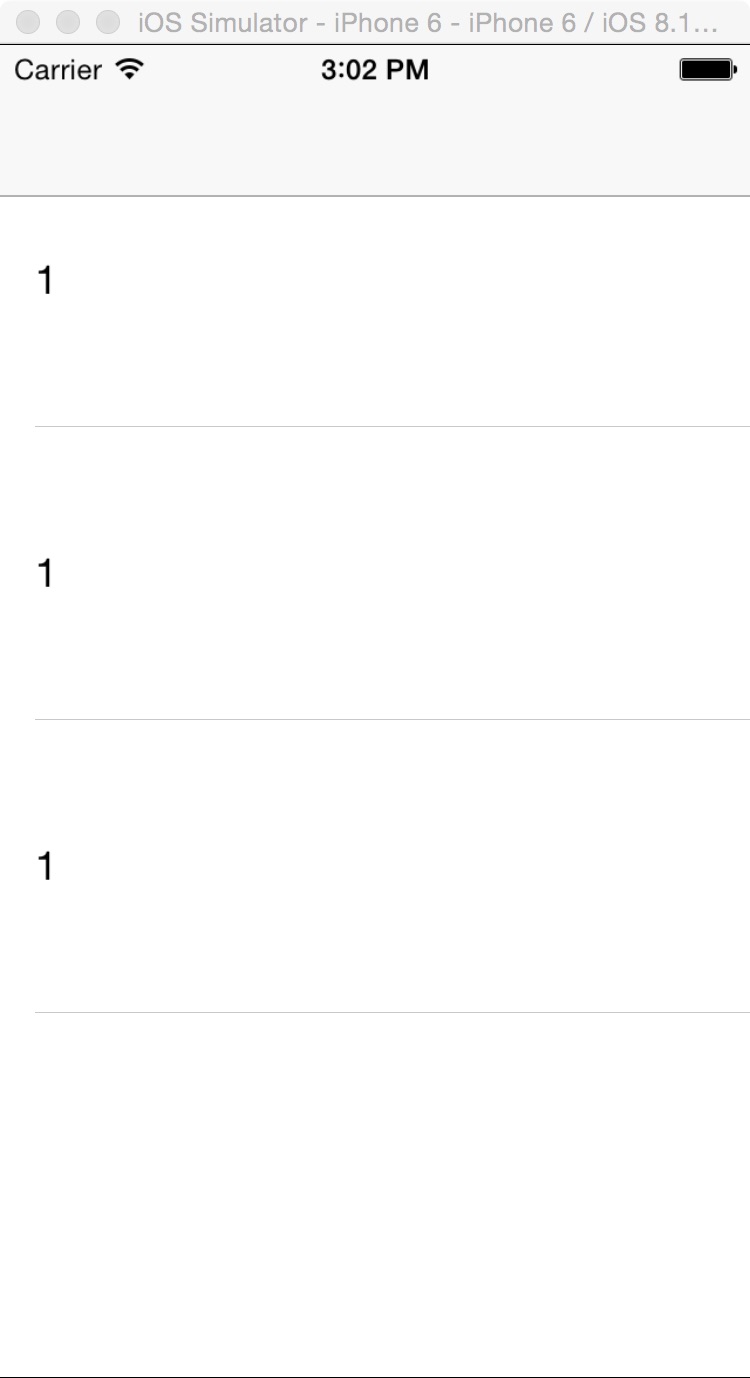
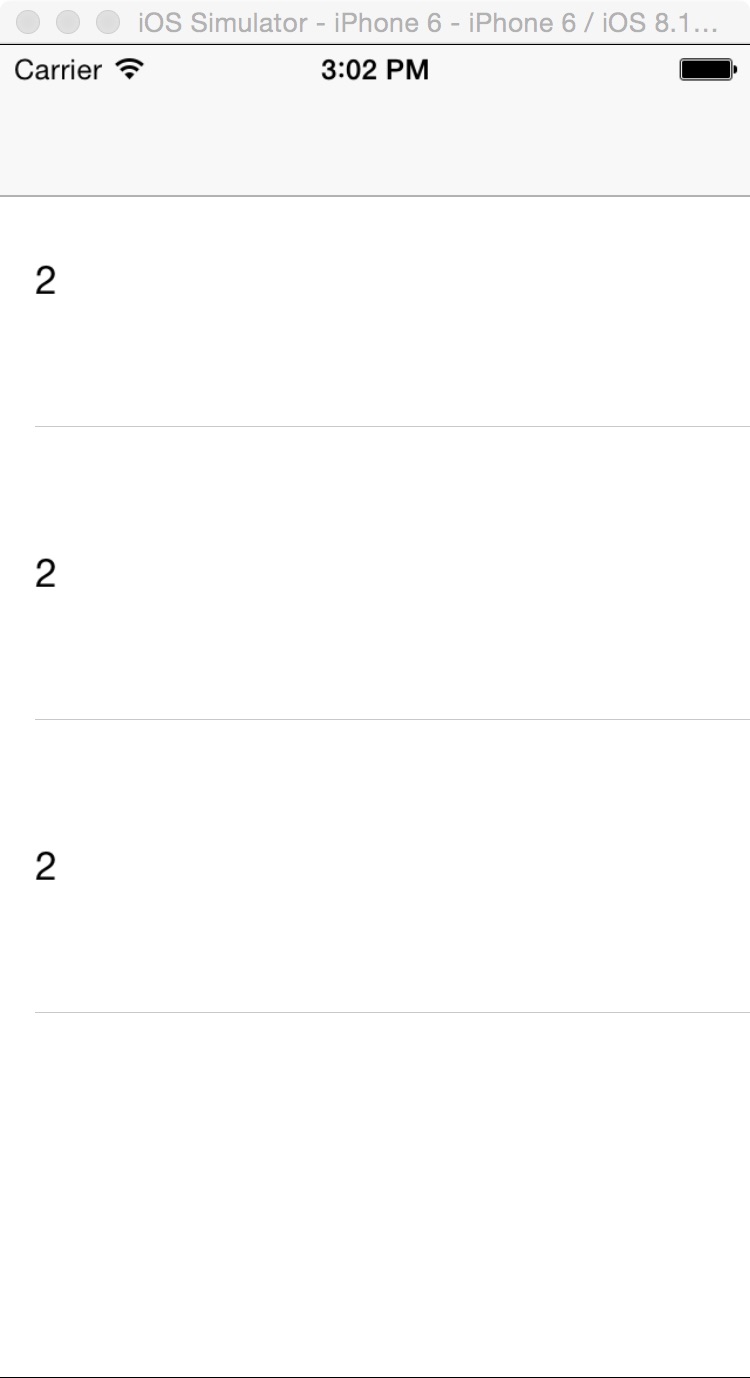
一,效果圖。


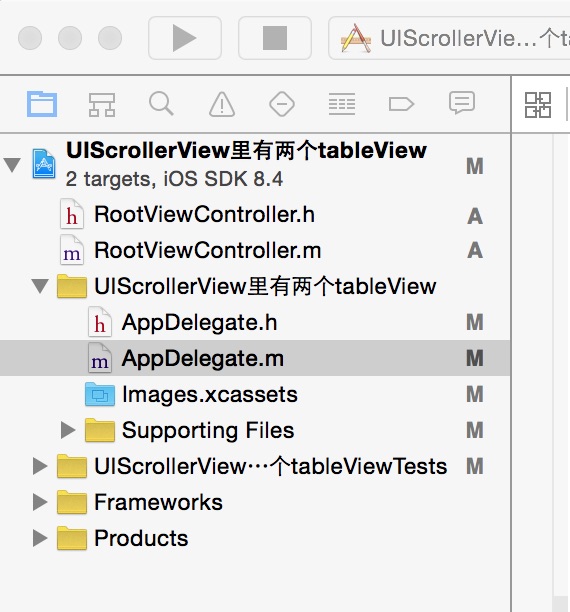
二,工程圖。

三,代碼。
RootViewController.h
#import <UIKit/UIKit.h>
@interface RootViewController : UIViewController
<UIScrollViewDelegate,UITableViewDelegate,UITableViewDataSource>
{
  UIScrollView *_scrolView;
  UITableView *_tableView;
  UITableView *_tableView2;
  UITableViewCell *_cell;
}
@end
RootViewConroller.m
 #import "RootViewController.h"
@interface RootViewController ()
@end
@implementation RootViewController
- (id)initWithNibName:(NSString *)nibNameOrNil bundle:(NSBundle *)nibBundleOrNil
{
  self = [super initWithNibName:nibNameOrNil bundle:nibBundleOrNil];
  if (self) {
    // Custom initialization
  }
  return self;
}
- (void)viewDidLoad
{
  [super viewDidLoad];
  // Do any additional setup after loading the view.
  [self initBackGroundView];
}
#pragma -mark -functions
-(void)initBackGroundView
{
  //tableView後的滾動條
  _scrolView=[[UIScrollView alloc]initWithFrame:CGRectMake(0,19, 320, 460)];
  _scrolView.contentSize=CGSizeMake(320*2, 460);
  _scrolView.delegate=self;
  _scrolView.pagingEnabled=YES;
  _scrolView.showsVerticalScrollIndicator=NO;
  _scrolView.bounces=NO;
  [self.view addSubview:_scrolView];
  //tableView1
  _tableView =[[UITableView alloc]initWithFrame:CGRectMake(0, 19, 320, 460)];
  _tableView.tag=1;
  _tableView.delegate=self;
  _tableView.dataSource=self;
  _tableView.scrollEnabled=NO;
  [_scrolView addSubview:_tableView];
  //tableView2
  _tableView2=[[UITableView alloc]initWithFrame:CGRectMake(320, 19, 320, 460)];
  _tableView2.tag=2;
  _tableView2.delegate=self;
  _tableView2.dataSource=self;
  _tableView2.scrollEnabled=NO;
  [_scrolView addSubview:_tableView2];
}
#pragma -mark -UITableViewDelegate
-(NSInteger)tableView:(UITableView *)tableView numberOfRowsInSection:(NSInteger)section
{
  return 3;
}
-(CGFloat)tableView:(UITableView *)tableView heightForRowAtIndexPath:(NSIndexPath *)indexPath
{
  return 125;
}
-(UITableViewCell *)tableView:(UITableView *)tableView cellForRowAtIndexPath:(NSIndexPath *)indexPath
{
  _cell=[tableView dequeueReusableCellWithIdentifier:@"ID"];
  if (_cell==nil) {
    _cell=[[UITableViewCell alloc]initWithStyle:UITableViewCellStyleDefault reuseIdentifier:@"ID"];
  }
  _cell.selectionStyle=UITableViewCellSelectionStyleNone;
  if (tableView.tag==1){
   _cell.textLabel.text=@"1";
   }else if(tableView.tag==2){
     _cell.textLabel.text=@"2";
  }
  return _cell;
}
以上內容是小編給大家介紹的Android程序開發之UIScrollerView裡有兩個tableView 的詳細介紹,希望對大家有所幫助!
 android 自定義控件屬性(TypedArray以及attrs解釋)
最近在搗鼓android 自定義控件屬性,學到了TypedArray以及attrs。在這其中看了一篇大神博客Android 深入理解Android中的自定義屬性。我就更加
 Android官方文檔之Animation
Android提供了三種動畫機制:屬性動畫(property animation)、補間動畫(tween animation / view animation)、幀動畫(
 Android圓形旋轉菜單開發實例
最近幫朋友做了一個動畫菜單,感覺有一定的實用價值,就在此給大家分享一下,先看看效果:實現思路:從圖中可以看出,這三個(或更多,需要自己再實現)菜單是圍繞著中心點旋轉的,旋
 Android_自定義倒計時View
2016年08月01日新的一周開始了,一篇自定義倒計時View開啟了這周的篇章…國際慣例,效果圖如下;帶陰影帶指引點的倒計時View,不要被這下過嚇到,分析