編輯:關於Android編程
本文實例為大家分享了Android自定義加載控件,第一次小人跑動的加載效果眼前一亮,相比傳統的PrograssBar高大上不止一點,於是走起,自定義了控件LoadingView去實現動態效果,可直接在xml中使用,具體實現如下

package com.*****.*****.widget;

import android.content.Context;
import android.graphics.drawable.AnimationDrawable;
import android.util.AttributeSet;
import android.view.LayoutInflater;
import android.view.View;
import android.widget.ImageView;
import android.widget.RelativeLayout;
import android.widget.TextView;


/**
 * Created by Xiaomu
 * 數據加載控件
 */
public class LoadingView extends RelativeLayout {
  private Context mContext;
  private ImageView loadingIv;
  private TextView loadingTv;

  public LoadingView(Context context) {
    super(context);
    this.mContext = context;
    initView();
  }

  public LoadingView(Context context, AttributeSet attrs) {
    super(context, attrs);
    this.mContext = context;
    initView();
  }

  private void initView() {
    View view = LayoutInflater.from(mContext).inflate(R.layout.loading, null);

    loadingIv = (ImageView) view.findViewById(R.id.loadingIv);
    loadingTv = (TextView) view.findViewById(R.id.loadingTv);

    AnimationDrawable animationDrawable = (AnimationDrawable) loadingIv.getBackground();
    if (animationDrawable != null)
      animationDrawable.start();

    addView(view);
  }

  public ImageView getLoadingIv() {
    return loadingIv;
  }

  public TextView getLoadingTv() {
    return loadingTv;
  }
}
2. xml布局文件
<?xml version="1.0" encoding="utf-8"?>
<RelativeLayout xmlns:android="http://schemas.android.com/apk/res/android"
  android:layout_width="match_parent"
  android:layout_height="wrap_content">

  <ImageView
    android:id="@+id/loadingIv"
    android:layout_width="@dimen/dimen_144_dip"
    android:layout_height="@dimen/dimen_162_dip"
    android:layout_centerHorizontal="true"
    android:background="@anim/loading_anim" />

  <TextView
    android:id="@+id/loadingTv"
    android:layout_width="match_parent"
    android:layout_height="wrap_content"
    android:layout_alignBottom="@+id/loadingIv"
    android:layout_centerHorizontal="true"
    android:gravity="center_horizontal"
    android:text="正在加載中..."
    android:textSize="15sp" />

</RelativeLayout>
3. loading_anim加載動畫的xml
<?xml version="1.0" encoding="utf-8"?>
<animation-list
  xmlns:android="http://schemas.android.com/apk/res/android"
  android:oneshot="false">
  <item
    android:drawable="@drawable/progress_loading_image_01"
    android:duration="150" />
  <item
    android:drawable="@drawable/progress_loading_image_02"
    android:duration="150" />
</animation-list>
以上就是本文的全部內容,希望對大家學習使用Android自定義加載控件有所啟發。
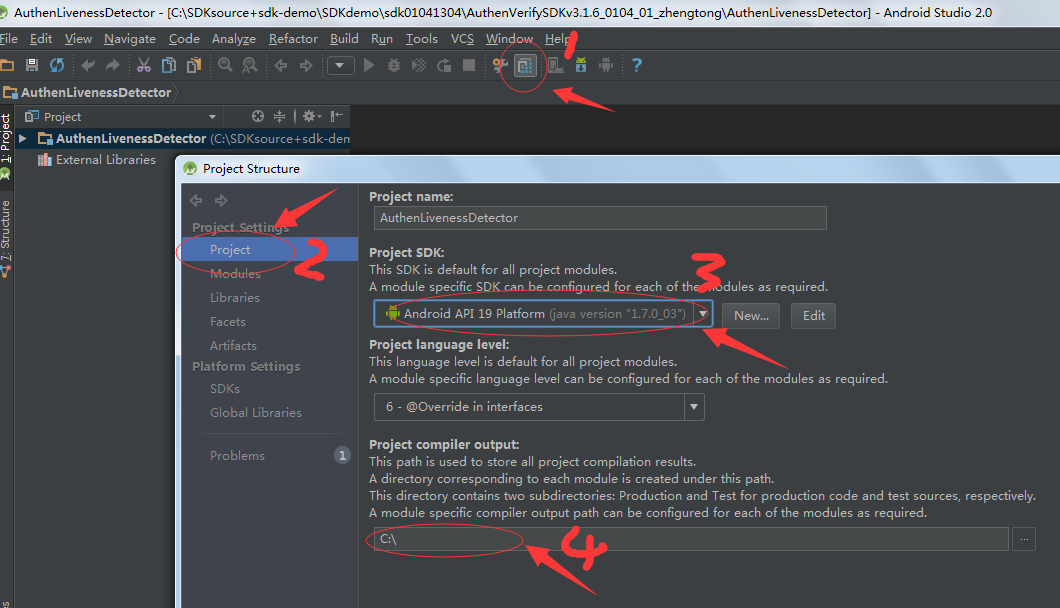
 使用Android Studio打開eclipse項目以及打開網上下載的studio項目報錯解決辦法
下面來介紹一下標題的題目,之前剛接觸Android Studio也是一頭霧水,在此寫下來和大家分享:】(一) . Andriod Studio下載網址:http://ww
 android源碼解析(二十八)--)電源開關機按鍵事件流程
前面我們講解了系統截屏按鍵處理流程,HOME按鍵處理流程,今天再來講解一下電源開關機按鍵事件流程,當然這也是系統按鍵處理流程方面的最後一篇博客了。和截屏按鍵、HOME按鍵
 手機迅雷個人中心關閉朋友圈方法
1、打開手機迅雷點擊切換到我的迅雷個人中心,點擊左上角[登錄],已登錄請跳過2、在手機迅雷個人中心的最下面,倒數第二項[常用設置]點擊進行設置3、繼續在常用
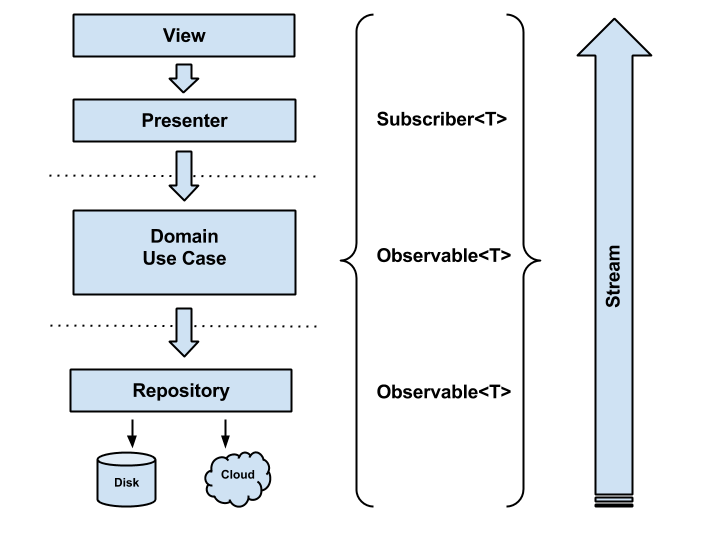
 Android-CleanArchitecture實戰
概述關於Retrofit,Rxjava,MVP等的使用現在已經成為了Android項目開發的標配,而Clean架構都能很好的兼顧這些方面,使得代碼結構清晰,而且在一般在項