編輯:關於Android編程
推薦閱讀:
淺析Android手機衛士自定義控件的屬性
淺析Android手機衛士關閉自動更新
設置向導頁面,通過SharedPreferences來判斷是否已經設置過了,跳轉到不同的頁面
自定義樣式
在res/values/styles.xml中
添加節點<style name=””>,設置名稱屬性
在<style>節點裡面,添加節點<item name=””>設置名稱屬性,就是布局的各種參數
在<item>的文本裡面,設置布局的各種參數值
在布局文件中引用樣式,style=”@style/xxxxxxxxxxxx”
在TextView的左側放置小圖標
使用左側圖標屬性android:drawableLeft=”@android:drawable/xxxxxxxxxxx”,引用android系統的圖標,例如:@android:drawable/star_big_on
圖標垂直居中對齊,使用對齊屬性 android:gravity=”center_vertical”
引導頁下面的小圓點
線性布局,橫向,ImageView,包裹內容,整體居中
使用系統圖標 @android:drawable/presence_online
@android:drawable/presence_invisible
自定義按鈕狀態背景
在res/drawable/button.xml文件中定義,添加節點<selector>
定義按鈕按下狀態 添加<item>節點,設置狀態屬性android:state_pressed=”true”
設置圖片屬性android:drawable=”xxxx”
設置按鈕焦點狀態 添加<item>節點,設置狀態屬性android:state_focus=”true”
定義按鈕默認圖片 添加<item>節點,設置圖片屬性android:drawable=”xxxx”
設置圖片屬性android:drawable=”xxxx”
布局文件中,給按鈕設置背景,android:background=”@drawable/xxxxx”
activity_lost_find.xml
<?xml version="1.0" encoding="utf-8"?>
<LinearLayout xmlns:android="http://schemas.android.com/apk/res/android"
android:layout_width="match_parent"
android:layout_height="match_parent"
android:orientation="vertical" >
<TextView
android:layout_width="match_parent"
android:layout_height="40dp"
android:background="#2D89EF"
android:gravity="center"
android:text="1.手機防盜設置向導"
android:textColor="#fff"
android:textSize="18sp" />
<TextView
android:layout_width="wrap_content"
android:layout_height="wrap_content"
android:layout_marginLeft="10dp"
android:layout_marginTop="8dp"
android:text="手機防盜包含以下功能:"
android:textSize="16sp" />
<TextView

android:drawableLeft="@android:drawable/btn_star_big_on"
android:text="SIM卡變更報警" />
<TextView

android:drawableLeft="@android:drawable/btn_star_big_on"
android:text="GPS追蹤" />
<TextView

android:drawableLeft="@android:drawable/btn_star_big_on"
android:text="遠程數據銷毀" />
<TextView

android:drawableLeft="@android:drawable/btn_star_big_on"
android:text="遠程鎖屏" />
<LinearLayout
android:layout_width="match_parent"
android:layout_height="wrap_content"
android:gravity="center_horizontal"
android:orientation="horizontal" >
<ImageView
android:layout_width="wrap_content"
android:layout_height="wrap_content"
android:src="@android:drawable/presence_online" />
<ImageView
android:layout_width="wrap_content"
android:layout_height="wrap_content"
android:src="@android:drawable/presence_invisible" />
<ImageView
android:layout_width="wrap_content"
android:layout_height="wrap_content"
android:src="@android:drawable/presence_invisible" />
<ImageView
android:layout_width="wrap_content"
android:layout_height="wrap_content"
android:src="@android:drawable/presence_invisible" />
</LinearLayout>
<RelativeLayout
android:layout_width="match_parent"
android:layout_height="match_parent" >
<Button
android:textColor="#444"
android:layout_width="wrap_content"
android:layout_height="wrap_content"
android:layout_alignParentBottom="true"
android:layout_alignParentRight="true"
android:layout_marginBottom="10dp"
android:layout_marginRight="10dp"
android:background="@drawable/button_selector"
android:text="下一步" />
</RelativeLayout>
</LinearLayout>
button_selector.xml
<?xml version="1.0" encoding="utf-8"?>
<selector xmlns:android="http://schemas.android.com/apk/res/android">
<item android:drawable="@drawable/barcode_btn_guide_pressed" android:state_focused="true"></item>
<item android:drawable="@drawable/barcode_btn_guide_pressed" android:state_pressed="true"></item>
<item android:drawable="@drawable/barcode_btn_guide_normal"></item>
</selector>
 android動畫Animation
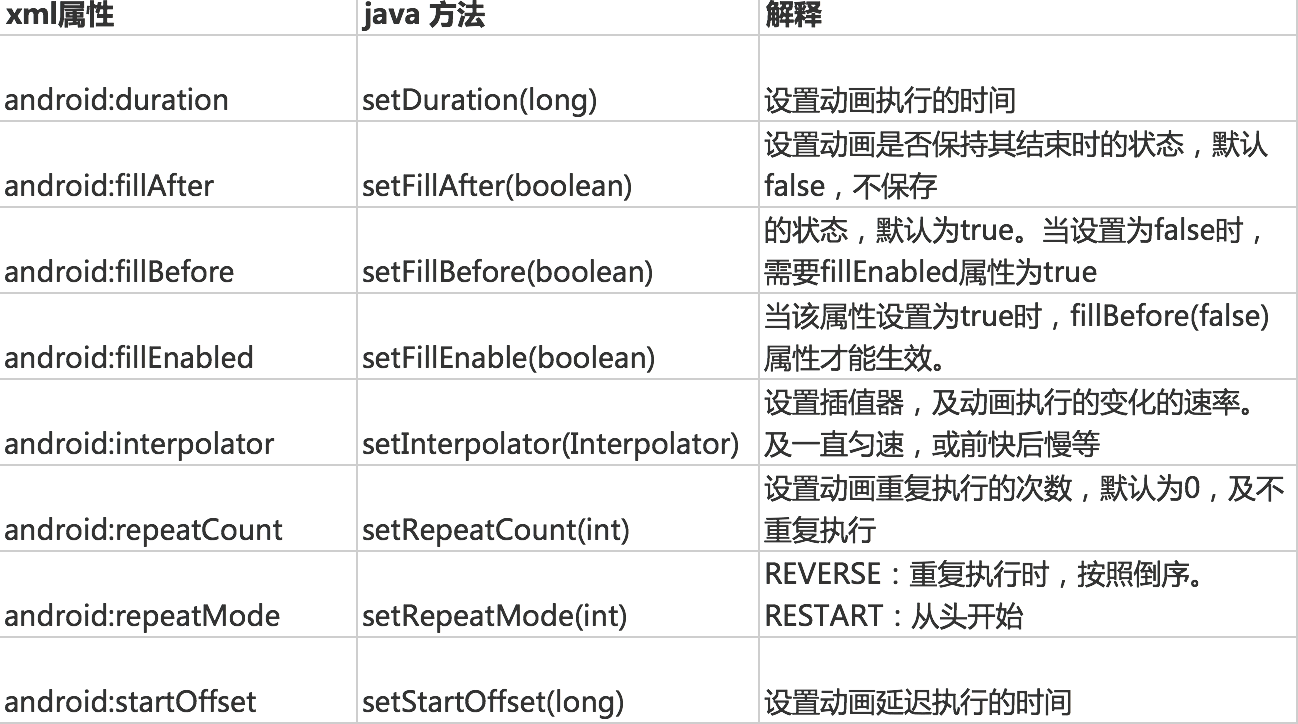
首先我們要知道一共有哪幾種動畫,這個面試有可能被問哦^_^。 變換動畫(透明度、縮放、平移、旋轉)、逐幀動畫、布局動畫和屬性動畫一、變換動畫我們可以通過XML文件設置動畫
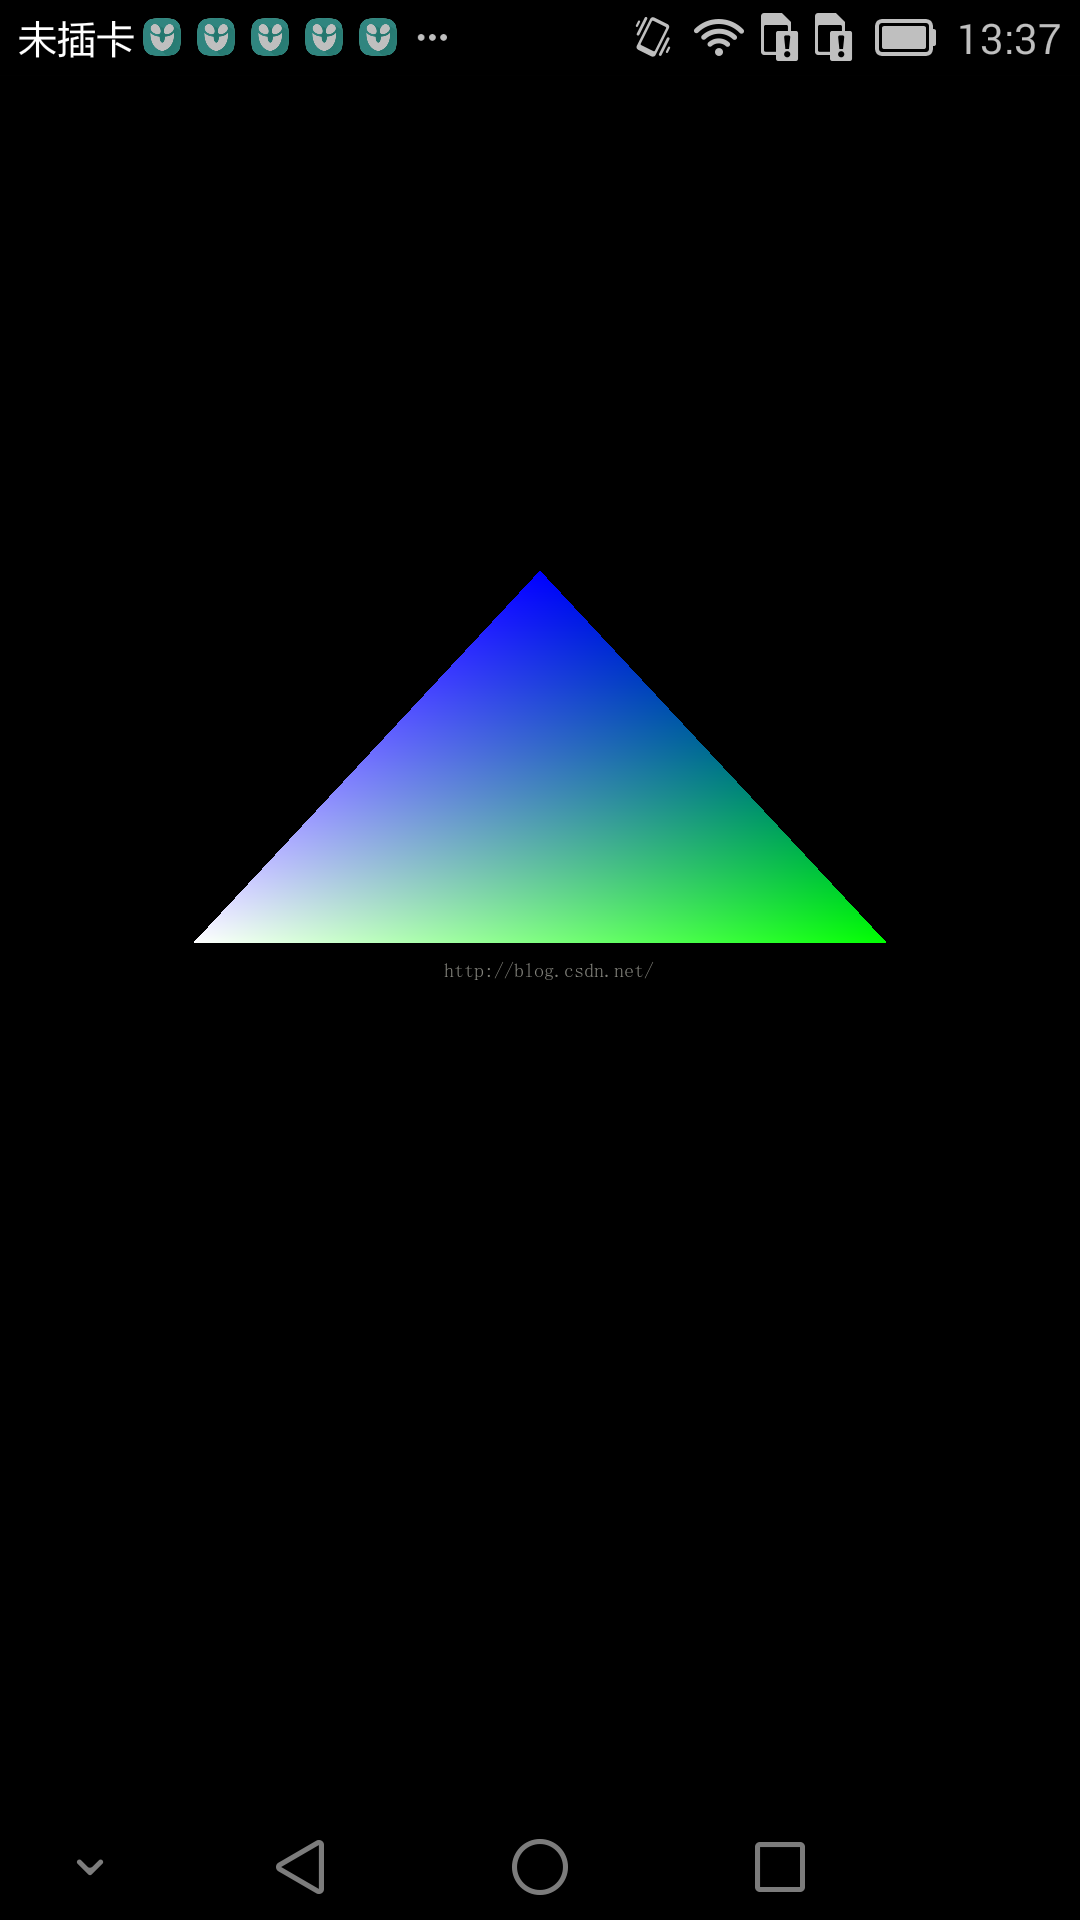
 opengles-繪制旋轉三角形
核心類:package test.com.opengles3_1;import android.opengl.GLES20;import android.opengl.M
 Android優化——UI優化(二)
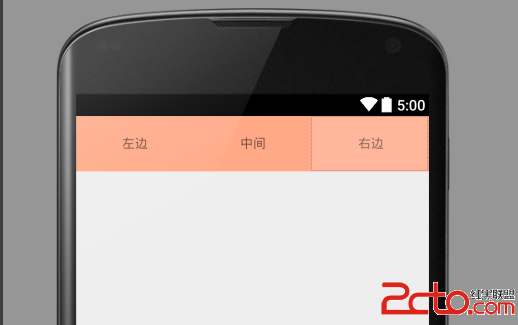
使用include標簽復用布局- 1.include標簽的作用 假如說我下圖的這個布局在很多界面都用到了,我該怎麼辦?每個頁面都寫一遍的話,代碼太冗余,並且維護難度加大。
 Android library上傳到jcenter
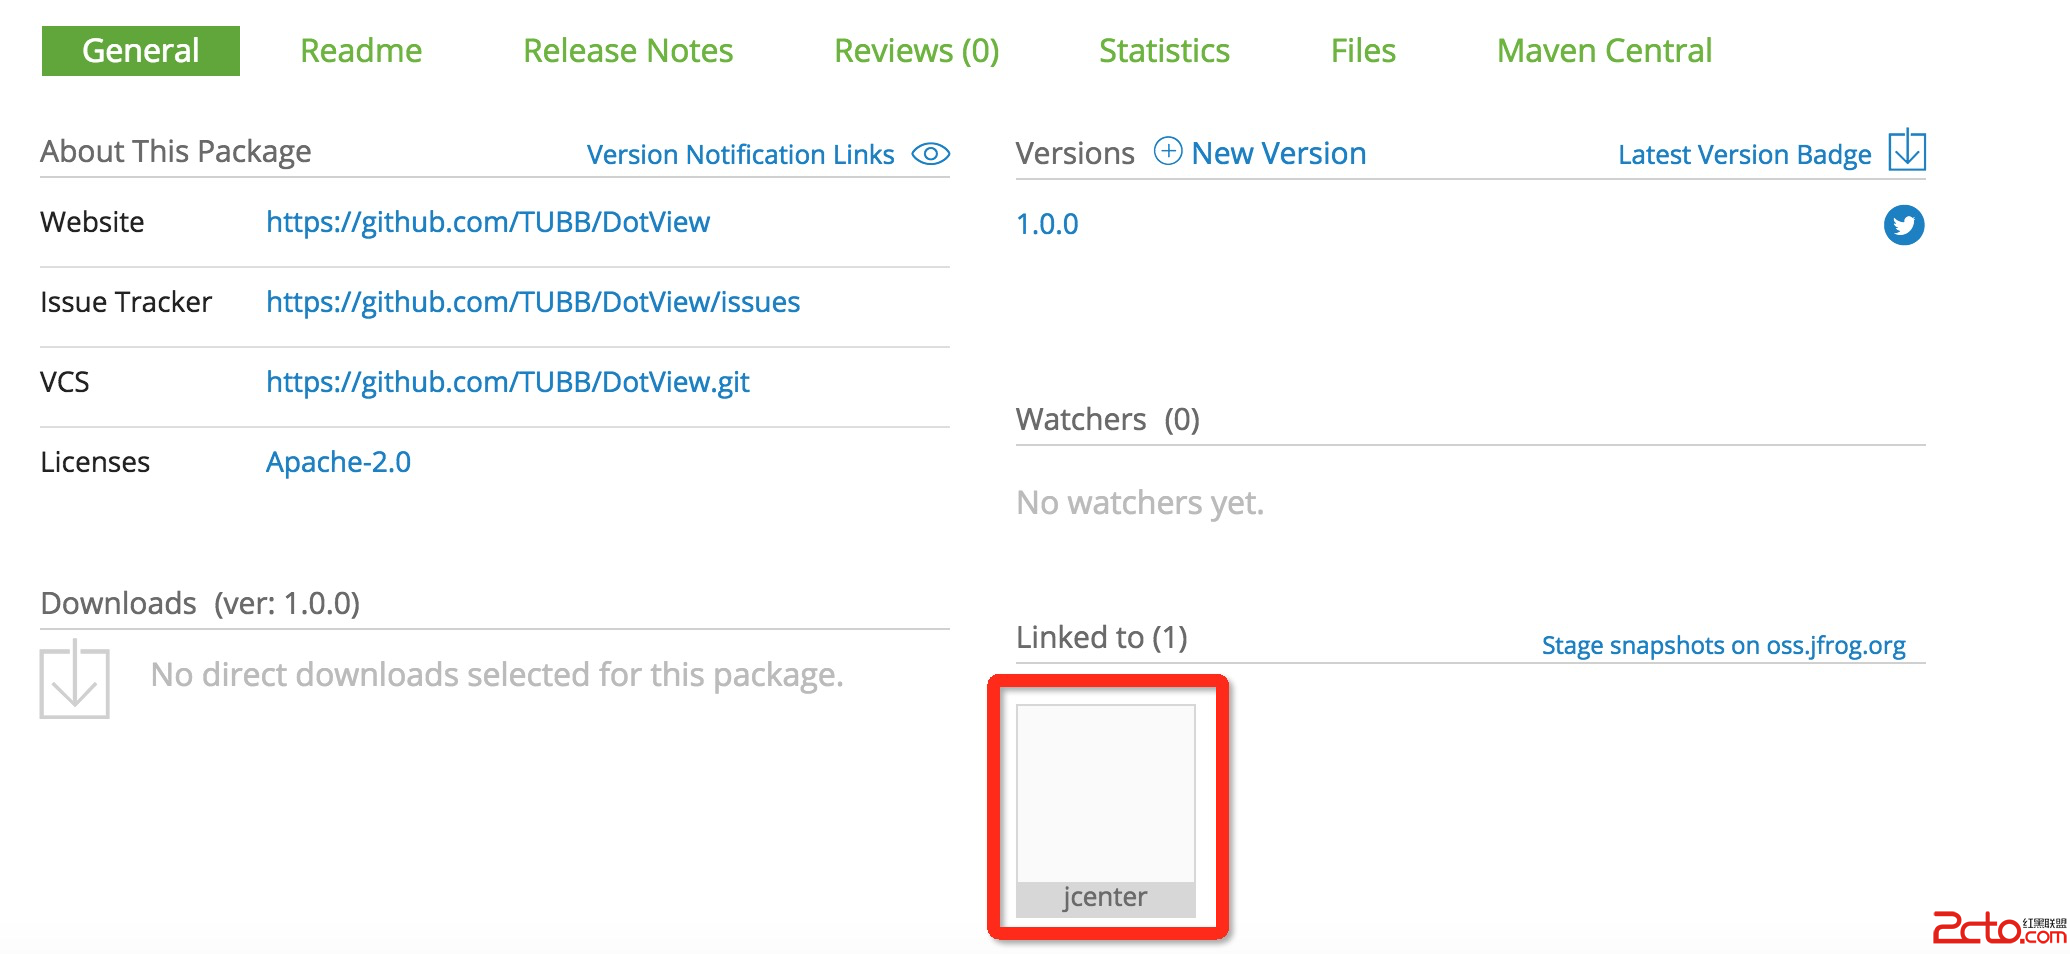
Android library上傳到jcenter如何把我們開發好的Android library上傳到中央倉庫,供其他開發者方便使用,一行代碼來進行依賴,而不必下載源碼