編輯:關於Android編程
推薦閱讀:Android使用ViewDragHelper實現仿QQ6.0側滑界面(一)
但是之前的實現,只是簡單的可以顯示和隱藏左側的菜單,但是特別生硬,而且沒有任何平滑的趨勢,那麼今天就來優化一下吧,加上平滑效果,而且可以根據手勢滑動的方向來判斷是否是顯示和隱藏。
首先先來實現手勢判斷是否隱藏和顯示
這裡就要用到了一個方法了,如下:
這個是ViewDradHelper裡面的方法:
/**
* 當view被釋放的時候處理的事情(松手)
*
* @param releasedChild 被釋放的子view
* @param xvel 水平方向的速度 幀每秒 向右為 +
* @param yvel 豎直方向的速度 向下為 +
*/
@Override
public void onViewReleased(View releasedChild, float xvel, float yvel) {
Log.d("DragLayout", "xvel : " + xvel + " yvel :" + yvel);
super.onViewReleased(releasedChild, xvel, yvel);
//判斷關閉和打開
//在這裡我們首先判斷什麼時候打開,然後剩下的都是關閉狀態
//首先是我的主面板的左側具體屏幕左側已經大於mRange/2的距離並且右滑的速度大於0,此時打開
if (xvel >= 0 && mMainContent.getLeft() > mRange / 2.0f) {
open();
} else if (xvel > 0) {
//第二種就是我右滑的速度大於0(這裡的速度自己定義哈,根據自己想要實現的敏感度)
open();
} else {
//剩余的所有情況都是關閉
close();
}
}
close()方法(DragLayout裡面的方法):
/**
* 關閉
*/
public void close() {
int finalLeft = 0;
//調用layout方法,擺放主布局
/**
* @param l Left position, relative to parent
* @param t Top position, relative to parent
* @param r Right position, relative to parent
* @param b Bottom position, relative to parent
*/
mMainContent.layout(finalLeft, 0, finalLeft + mWidth, finalLeft + mHeight);
}
open()方法(DragLayout裡面的方法):
/**
* 打開
*/
public void open() {
int finalLeft = mRange;
mMainContent.layout(finalLeft, 0, finalLeft + mWidth, finalLeft + mHeight);
}
這個是否就可以實現根據手勢來判斷是否打開和關閉了。
接下來我們就來實現如何平滑的關閉和打開,話不多說,代碼說話(這裡對上面的open和close做了一些處理):
public void close() {
close(true);
}
/**
* 關閉
*
* @param isSmooth 是否平滑的關閉
*/
public void close(boolean isSmooth) {
int finalLeft = 0;
if (isSmooth) {
/**
* public boolean smoothSlideViewTo(View child, int finalLeft, int finalTop)方法的解釋
*
* Animate the view <code>child</code> to the given (left, top) position.
* If this method returns true, the caller should invoke {@link #continueSettling(boolean)}
* on each subsequent frame to continue the motion until it returns false. If this method
* returns false there is no further work to do to complete the movement.
*
* 返回true 代表還沒有移動到指定的位置,需要刷新界面,繼續移動
* 返回false 就停止工作哈
*/
//1、觸發動畫
if (mDragHelper.smoothSlideViewTo(mMainContent, finalLeft, 0)) {
//參數傳this,也就是child所在的viewgroup
ViewCompat.postInvalidateOnAnimation(this);
}
} else {
//調用layout方法,擺放主布局
/**
* @param l Left position, relative to parent
* @param t Top position, relative to parent
* @param r Right position, relative to parent
* @param b Bottom position, relative to parent
*/
mMainContent.layout(finalLeft, 0, finalLeft + mWidth, finalLeft + mHeight);
}
}
/**
* 打開
*/
public void open(boolean isSmooth) {
int finalLeft = mRange;
if (isSmooth && mDragHelper.smoothSlideViewTo(mMainContent, finalLeft, 0)) {
//參數傳this,也就是child所在的viewgroup
ViewCompat.postInvalidateOnAnimation(this);
} else {
mMainContent.layout(finalLeft, 0, finalLeft + mWidth, finalLeft + mHeight);
}
}
public void open() {
open(true);
}
來看下效果圖吧(裡面的白道問題是錄屏導致,運行的沒有這個哈):
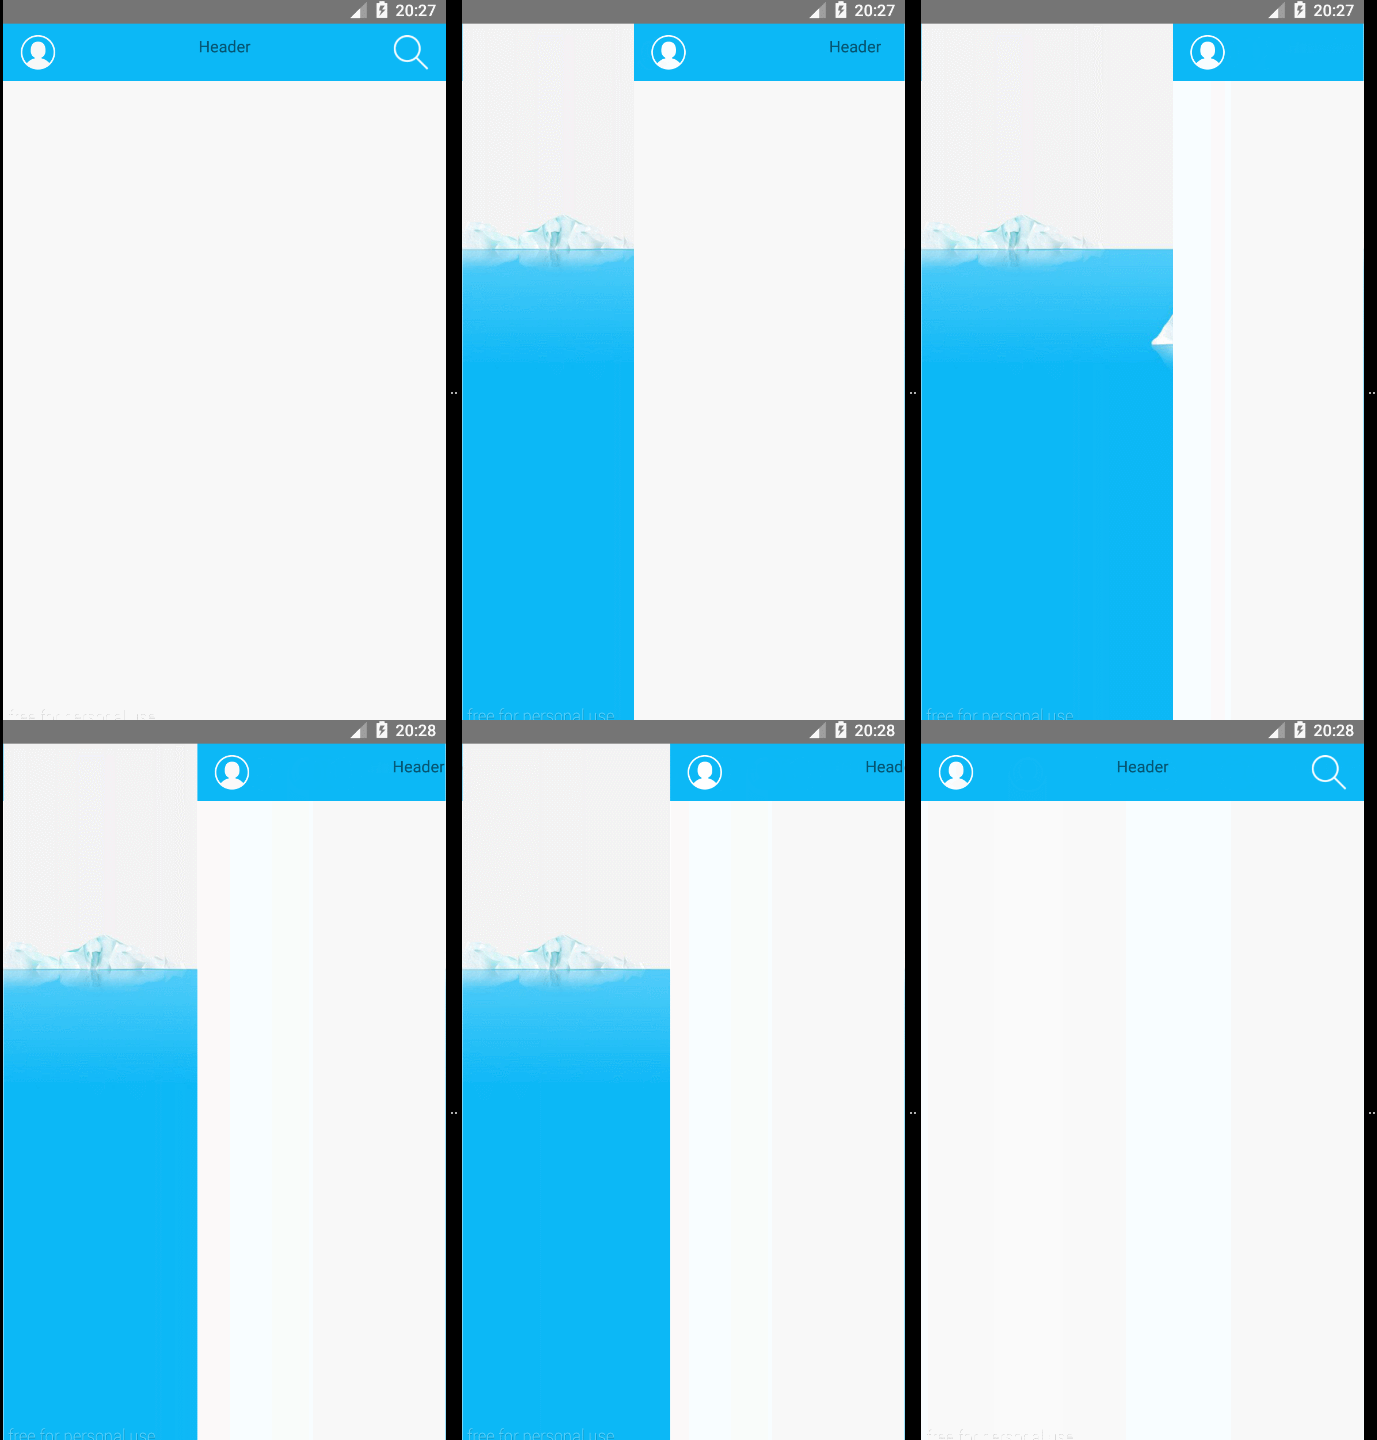
這個時候,基本上差不多了,剩下的,我們就來添加一些狀態和設置listener的方法,留給外面的調用吧。,代碼很簡單:
/**
* 定義當前狀態 默認是關閉狀態
*/
private Status mStatus = Status.CLOSE;
/**
* 狀態枚舉
* 關閉 CLOSE
* 打開 OPEN
* 拖拽 DRAGING
*/
public enum Status {
CLOSE, OPEN, DRAGING;
}
private OnDragStatusListener mListener;
public void setDragStateListener(OnDragStatusListener listener) {
mListener = listener;
}
public interface OnDragStatusListener {
/**
* 關閉邏輯
*/
void onClose();
/**
* 打開邏輯
*/
void onOpen();
/**
* 拖拽邏輯
*
* @param percent
*/
void onDraging(float percent);
}
狀態更新,方法調用,這個dispatchDragEvent()在onViewPositionChanged()這個方法中調用一下就行,因為拖拽的時候狀態時刻在變化,所以我們在這個方法中調用:
/**
* 狀態更新方法執行
*
* @param newLeft
*/
private void dispatchDragEvent(int newLeft) {
//得到的一個百分比
float percent = newLeft * 1.0f / mRange;
//0.0f--->1.0f
Log.d("DragLayout", "percent : " + percent);
if (mListener != null) {
mListener.onDraging(percent);
}
//跟新狀態執行回調
Status lastStatus = mStatus;
mStatus = updateStatus(percent);
if (mStatus != lastStatus) {
//狀態發生變化
if (mStatus == Status.CLOSE) {
//當前狀態是關閉
if (mListener != null) {
mListener.onClose();
}
} else if (mStatus == Status.OPEN) {
if (mListener != null) {
mListener.onOpen();
}
}
}
}
/**
* 狀態更新方法
*
* @param percent
* @return
*/
private Status updateStatus(float percent) {
if (percent == 0) {
return Status.CLOSE;
} else if (percent == 1) {
return Status.OPEN;
}
return Status.DRAGING;
}
好了,到此為止,高仿QQ6.0側滑基本完成,下面我們來看下效果吧。
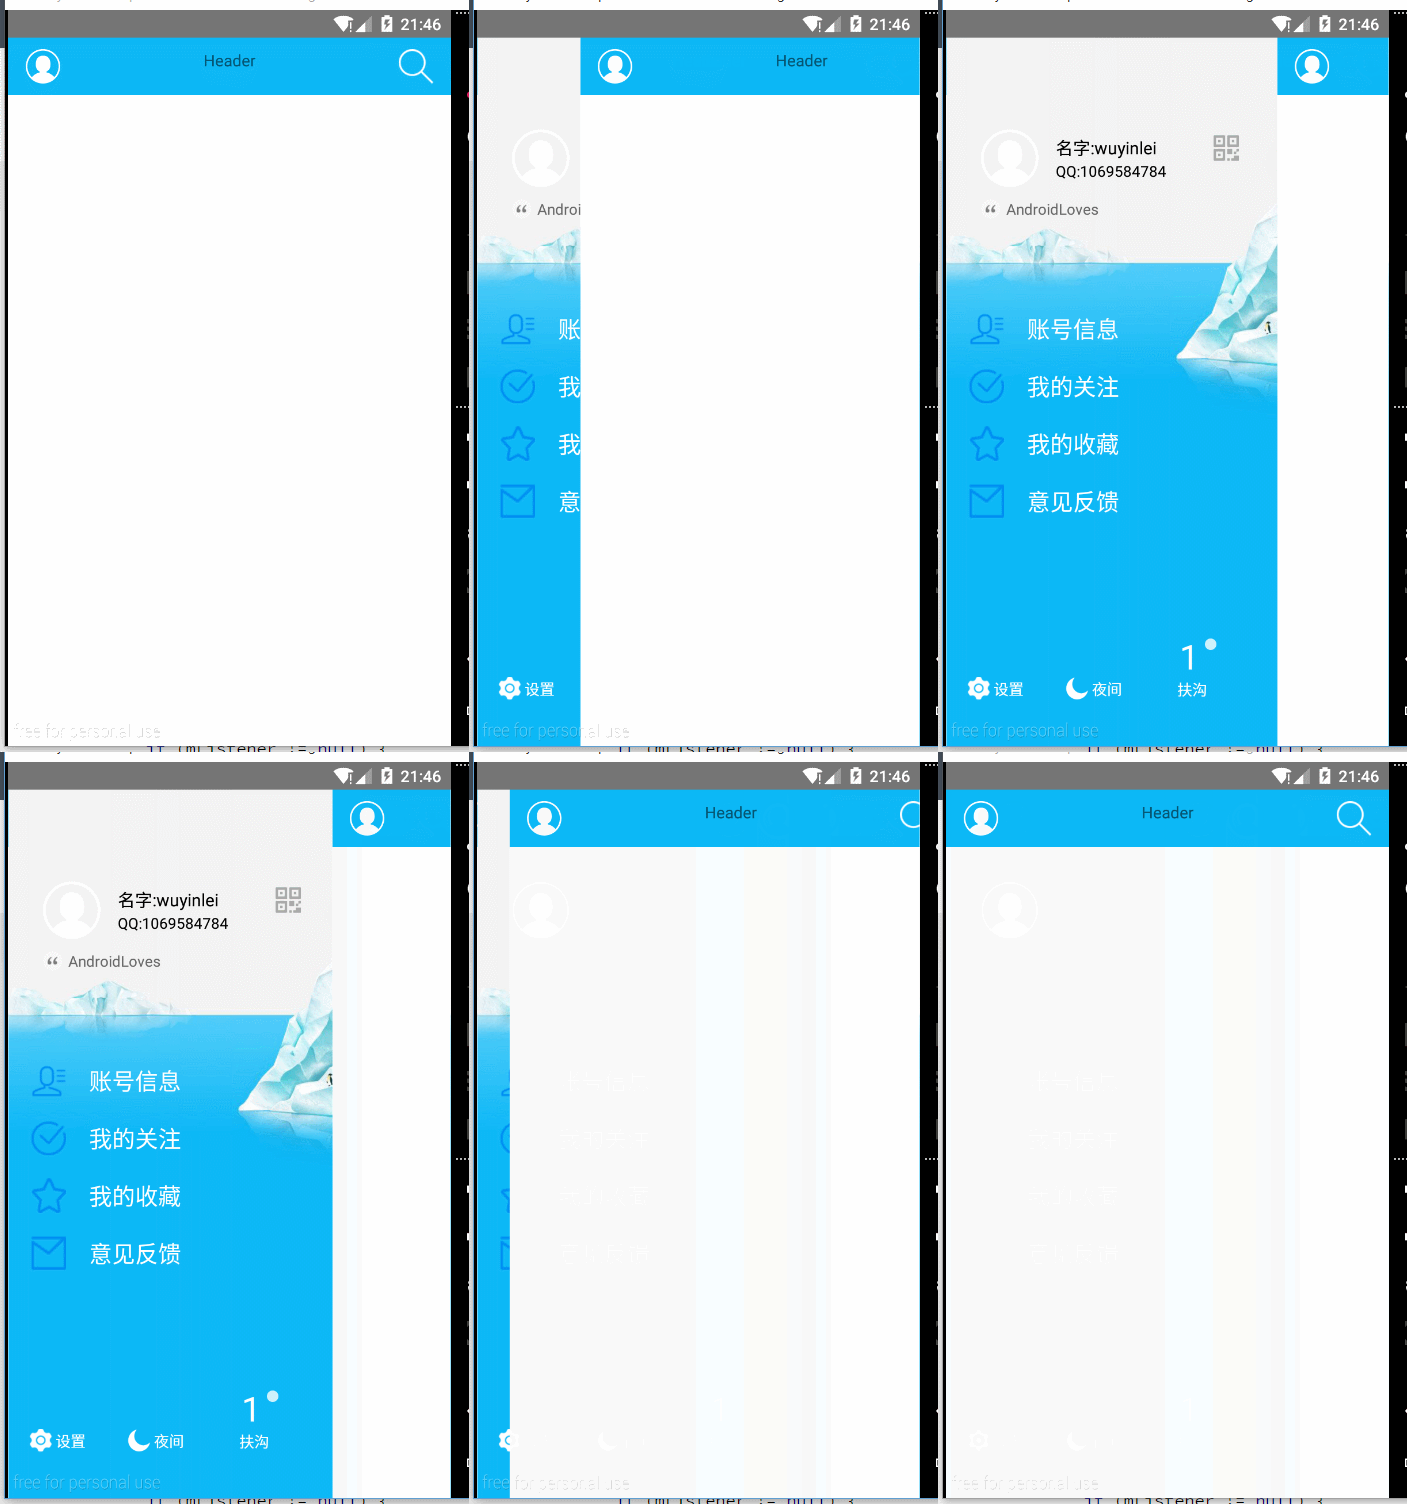
好了,這個側滑就這樣完成了,後期會加在主頁中加入listview(嘗試用RecycleView)實現左滑刪除效果,現在附上該demo的地址,後期添加的也會更新至此。
 Android學習路線(四)構建一個簡單的UI
Android應用的圖形化用戶界面的構建使用的是View 和 ViewGroup 對象的層次嵌套。 View 對象通常是UI部件,例如 buttons 或者 text
 Android Studio NDK JNI開發入門記錄
很早使用eclipse+ndk研究過jni開發,當時覺得配置、開發起來很麻煩,現在使用Android Studio開發jni,相對覺得比較容易。先說明一下開發環境Mac
 深入理解Android之AOP
深入理解Android之AOP 一、閒談AOP大家都知道OOP,即ObjectOriented Programming,面向對象編程。而本文要介紹的是AOP。A
 安卓root後哪些軟件可以卸載
剛剛買回了手機,手機裡面或多或少都會帶有一些本身的系統軟件,有些軟件很少用,但是卻很占內存,想必很多人選擇ROOT的直接原因就是系統自帶軟件太多了,不僅占用