編輯:關於Android編程
推薦閱讀:Android Webview添加網頁加載進度條實例詳解
先給大家展示下效果圖:這個效果圖大家一看就懂,在生活經常見到

1.wevbview_progressbar.xml
<layer-list xmlns:android="http://schemas.android.com/apk/res/android" >
<!-- 背景 -->
<item android:id="@android:id/background">
<shape>
<solid android:color="@android:color/transparent" />
</shape>
</item>
<!-- 進度條 -->
<item android:id="@android:id/progress">
<clip>
<shape>
<solid android:color="@android:color/holo_green_light" />
</shape>
</clip>
</item>
</layer-list>
2.ProgressWebView.java
@SuppressWarnings("deprecation")public class ProgressWebView extends WebView
{
private final static String TAG = ProgressWebView.class.getSimpleName();
private ProgressBar progressBar;
private Context context;
public ProgressWebView(Context context, AttributeSet attrs)
{
super(context, attrs);
this.context = context;
progressBar = new ProgressBar(context, null, android.R.attr.progressBarStyleHorizontal);
progressBar.setLayoutParams(new AbsoluteLayout.LayoutParams(AbsoluteLayout.LayoutParams.MATCH_PARENT, 3, 0, 0)); progressBar.setProgressDrawable(getResources().getDrawable(R.drawable.wevbview_progressbar));
addView(progressBar);
setWebChromeClient(new WebChromeClient());
}
public class WebChromeClient extends android.webkit.WebChromeClient
{
@Override
public void onProgressChanged(WebView view, int newProgress)
{
Log.d(TAG, "newProgress" + newProgress);
if (newProgress == 100)
{
progressBar.setVisibility(GONE);
}
else
{
if (progressBar.getVisibility() == GONE)
progressBar.setVisibility(VISIBLE);
progressBar.setProgress(newProgress);
}
super.onProgressChanged(view, newProgress);
}
// 處理javascript中的console.log
@Override
public boolean onConsoleMessage(ConsoleMessage cm)
{
android.util.Log.d(TAG, "webview console " + cm.lineNumber() + " of " + cm.sourceId() + " : " + cm.message());
return true;
} // 處理javascript中的alert()
@Override
public boolean onJsAlert(WebView view, String url, String message, JsResult result)
{
result.cancel();
return true;
}
}
@Override
protected void onScrollChanged(int l, int t, int oldl, int oldt)
{
LayoutParams lp = (LayoutParams) progressBar.getLayoutParams();
lp.x = l;
lp.y = t;
progressBar.setLayoutParams(lp);
super.onScrollChanged(l, t, oldl, oldt);
}}
3.MainActivity.java
ProgressWebView webView = (ProgressWebView)findViewById(R.id.them_webview);webView.setDownloadListener(new DownloadListener()
{
@Override
public void onDownloadStart(String url, String userAgent, String contentDisposition, String mimetype, long contentLength)
{
if (url != null && url.startsWith("http://"))
startActivity(new Intent(Intent.ACTION_VIEW, Uri.parse(url)));
}});webView.loadUrl("http://www.cnblogs.com/hubli/p/4835549.html");
4.activity_main.xml
<com.etoury.webviewprogress.ProgressWebView
android:id="@+id/them_webview"
android:layout_width="match_parent"
android:layout_height="match_parent" />
通過以上代碼內容給大家介紹了Android WebView線性進度條的相關知識,希望對大家有所幫助。
 mac開發android環境搭建步驟圖解
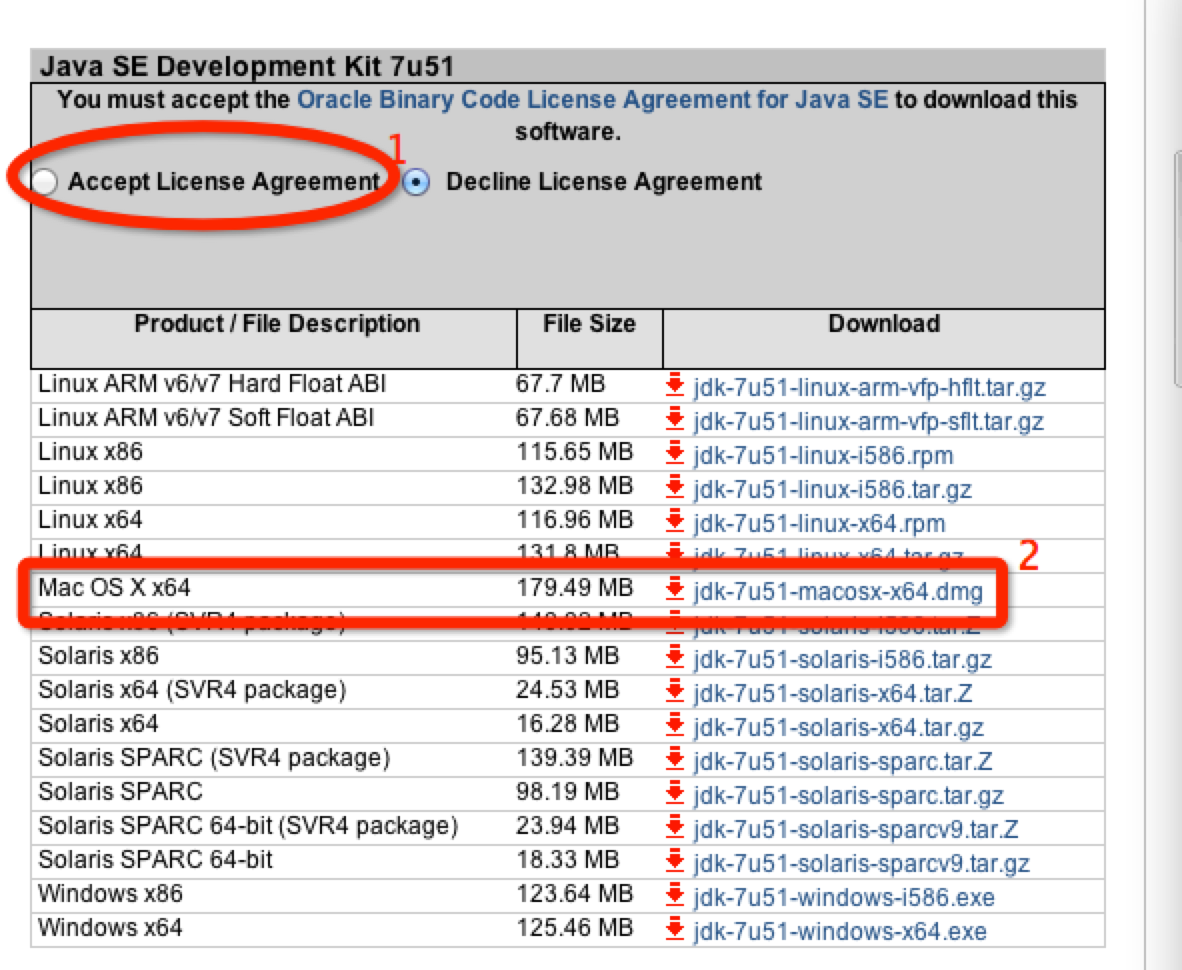
1.Java JDK需要先說明下,OS X系統是自帶有Java JDK1.6的。不過這裡我安裝的是JDK7,下載地址:http://www.oracle.co
 Android FM模塊學習之二 FM搜索頻率流程
上一篇大概分析了一下FM啟動流程,若不了解Fm啟動流程的,可以去打開前面的鏈接先了解FM啟動流程,接下來我們簡單分析一下FM的搜索頻率流程。 在了解源碼之前,我們先看一下
 Android Intent 序列化和反序列化
[java] view plaincopyprint? //序列化 intent.toURI(); //反序列 化使用: Inte
 Android實現仿網易今日頭條等自定義頻道listview 或者grideview等item上移到另一個view中
我這裡只是簡單的用了兩個listview來實現的,先上效果圖。比較粗糙。預留了自定義的空間。思路:從上圖應該可以看的出來。就是上下兩個listview。點擊下面的ltem