編輯:關於Android編程
一、問題描述
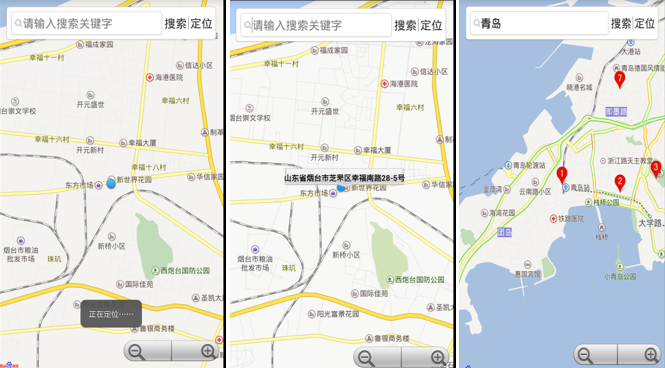
上一次我們使用百度地圖實現基本的定位功能,接下來我們繼續實現搜索和定位,並使用LocationOverlay繪制定位位置,同時展示如何使用自定義圖標繪制並點擊時彈出泡泡
如圖所示:

二、編寫MyApplication類
public class MyApplication extends Application {
private static MyApplication mInstance = null;
public boolean m_bKeyRight = true;
public BMapManager mBMapManager = null;
public static final String strKey = "申請的應用key";
@Override
public void onCreate() {
super.onCreate();
mInstance = this;
initEngineManager(this);
}
public void initEngineManager(Context context) {
if (mBMapManager == null) {
mBMapManager = new BMapManager(context);
}
if (!mBMapManager.init(strKey,new MyGeneralListener())) {
Toast.makeText(MyApplication.getInstance().getApplicationContext(), "BMapManager 初始化錯誤!", Toast.LENGTH_LONG).show();
}
}
public static MyApplication getInstance() {
return mInstance;
}
// 常用事件監聽,用來處理通常的網絡錯誤,授權驗證錯誤等
public static class MyGeneralListener implements MKGeneralListener {
@Override
public void onGetNetworkState(int iError) {
if (iError == MKEvent.ERROR_NETWORK_CONNECT) {
Toast.makeText(MyApplication.getInstance().getApplicationContext(), "您的網絡出錯啦!",Toast.LENGTH_LONG).show();
}else if (iError == MKEvent.ERROR_NETWORK_DATA) {
Toast.makeText(MyApplication.getInstance().getApplicationContext(), "輸入正確的檢索條件!",Toast.LENGTH_LONG).show();
}
}
@Override
public void onGetPermissionState(int iError) {
//非零值表示key驗證未通過
if (iError != 0) {
//授權Key錯誤:
Toast.makeText(MyApplication.getInstance().getApplicationContext(),
"請在 DemoApplication.java文件輸入正確的授權Key,並檢查您的網絡連接是否正常!error: "+iError, Toast.LENGTH_LONG).show();
MyApplication.getInstance().m_bKeyRight = true;
}
else{
MyApplication.getInstance().m_bKeyRight = true;
//Toast.makeText(DemoApplication.getInstance().getApplicationContext(), "key認證成功", Toast.LENGTH_LONG).show();
}
}
}
}
三、編寫MyLocationMapView,繼承MapView重寫onTouchEvent實現泡泡處理操作
public class MyLocationMapView extends MapView {


public static PopupOverlay pop = null;// 彈出泡泡圖層,點擊圖標使用
public MyLocationMapView(Context context) {
super(context);
}
public MyLocationMapView(Context context, AttributeSet attrs) {
super(context, attrs);
}
public MyLocationMapView(Context context, AttributeSet attrs, int defStyle) {
super(context, attrs, defStyle);
}
@Override
public boolean onTouchEvent(MotionEvent event) {
if (!super.onTouchEvent(event)) {
// 消隱泡泡
if (pop != null && event.getAction() == MotionEvent.ACTION_UP)
pop.hidePop();
}
return true;
}
}
三、編寫主程序MainActivity
編寫主程序MainActivity,用來展示如何結合定位SDK實現定位,並使用MyLocation Overlay繪制定位位置 同時展示如何使用自定義圖標繪制並點擊時彈出泡泡。
public class MainActivity extends Activity {
private EditText txtAddr;
// 定位相關
LocationClient mLocClient;
LocationData locData = null;
public MyLocationListenner myListener = new MyLocationListenner();
public MyApplication app;
//定位圖層
locationOverlay myLocationOverlay = null;
//彈出泡泡圖層
private PopupOverlay pop = null;//彈出泡泡圖層,浏覽節點時使用
private TextView popupText = null;//泡泡view
private View viewCache = null;
//地圖相關,使用繼承MapView的MyLocationMapView目的是重寫touch事件實現泡泡處理
//如果不處理touch事件,則無需繼承,直接使用MapView即可
public MyLocationMapView mMapView = null; // 地圖View
private MapController mMapController = null;
private MKSearch mMKSearch = null;//用於信息檢索服務
//UI相關
OnCheckedChangeListener radioButtonListener = null;
TextView requestLocButton ,btSerach;
boolean isRequest = false;//是否手動觸發請求定位
boolean isFirstLoc = true;//是否首次定位
@Override
public void onCreate(Bundle savedInstanceState) {
super.onCreate(savedInstanceState);
/**
* 使用地圖sdk前需先初始化BMapManager.
* BMapManager是全局的,可為多個MapView共用,它需要地圖模塊創建前創建,
* 並在地圖地圖模塊銷毀後銷毀,只要還有地圖模塊在使用,BMapManager就不應該銷毀
*/
app = (MyApplication)this.getApplication();
if (app.mBMapManager == null) {
app.mBMapManager = new BMapManager(getApplicationContext());
/**
* 如果BMapManager沒有初始化則初始化BMapManager
*/
app.mBMapManager.init(MyApplication.strKey,new MyApplication.MyGeneralListener());
}
setContentView(R.layout.activity_main);
txtAddr=(EditText)findViewById(R.id.txtAddr);//關鍵字輸入框
//監聽搜索單擊事件
btSerach= (TextView)findViewById(R.id.btOk);
btSerach.setOnClickListener(new OnClickListener() {
@Override
public void onClick(View v) {
mMKSearch.poiSearchInCity("", txtAddr.getText().toString());
}
});
//定位按鈕
requestLocButton = (TextView)findViewById(R.id.btget);
requestLocButton.setOnClickListener(new OnClickListener() {
@Override
public void onClick(View v) {
requestLocClick();
}
});
//地圖初始化
mMapView = (MyLocationMapView)findViewById(R.id.bmapView);
mMapView.setTraffic(true);//設置地圖模式為交通視圖(也可為衛星視圖)
mMapController = mMapView.getController();
mMapView.getController().setZoom(15);
mMapView.getController().enableClick(true);
mMapView.setBuiltInZoomControls(true);
//信息檢索初始化
mMKSearch = new MKSearch();
mMKSearch.init(app.mBMapManager, new MKSearchListener() {
@Override
public void onGetAddrResult(MKAddrInfo arg0, int arg1) {
}
@Override
public void onGetBusDetailResult(MKBusLineResult arg0, int arg1) {
}
@Override
public void onGetDrivingRouteResult(MKDrivingRouteResult arg0,
int arg1) {
}
@Override
public void onGetPoiDetailSearchResult(int arg0, int arg1) {
}
@Override
public void onGetPoiResult(MKPoiResult res, int type, int error) {
if (error == MKEvent.ERROR_RESULT_NOT_FOUND) {
Toast.makeText(MainActivity.this, "抱歉,未找到結果",
Toast.LENGTH_LONG).show();
return;
} else if (error != 0 || res == null) {
Toast.makeText(MainActivity.this, "搜索出錯啦.."+error,
Toast.LENGTH_LONG).show();
return;
}
PoiOverlay poiOverlay = new PoiOverlay(MainActivity.this,
mMapView);
poiOverlay.setData(res.getAllPoi());
mMapView.getOverlays().clear();
mMapView.getOverlays().add(poiOverlay);
mMapView.refresh();
for (MKPoiInfo info : res.getAllPoi()) {
if (info.pt != null) {
mMapView.getController().animateTo(info.pt);
break;
}
}
}
@Override
public void onGetShareUrlResult(MKShareUrlResult arg0, int arg1,
int arg2) {
}
@Override
public void onGetSuggestionResult(MKSuggestionResult arg0, int arg1){
}
@Override
public void onGetTransitRouteResult(MKTransitRouteResult arg0,
int arg1) {
}
@Override
public void onGetWalkingRouteResult(MKWalkingRouteResult arg0,
int arg1) {
}
});
createPaopao();
//定位初始化
mLocClient = new LocationClient( this );
locData = new LocationData();
mLocClient.registerLocationListener( myListener );
LocationClientOption option = new LocationClientOption();
option.setOpenGps(true);//打開gps
option.setAddrType("all");//返回的定位結果包含地址信息
option.disableCache(false);//禁止啟用緩存定位
option.setCoorType("bd09ll"); //設置坐標類型
option.setScanSpan(1000);
mLocClient.setLocOption(option);
mLocClient.start();
//定位圖層初始化
myLocationOverlay = new locationOverlay(mMapView);
//設置定位數據
myLocationOverlay.setData(locData);
//添加定位圖層
mMapView.getOverlays().add(myLocationOverlay);
myLocationOverlay.enableCompass();
//修改定位數據後刷新圖層生效
mMapView.refresh();
}
/**
* 手動觸發一次定位請求
*/
public void requestLocClick(){
isRequest = true;
mLocClient.requestLocation();
Toast.makeText(MainActivity.this, "正在定位……", Toast.LENGTH_SHORT).show();
}
/**
* 創建彈出泡泡圖層
*/
public void createPaopao(){
viewCache = getLayoutInflater().inflate(R.layout.custom_text_view, null);
popupText =(TextView) viewCache.findViewById(R.id.textcache);
//泡泡點擊響應回調
PopupClickListener popListener = new PopupClickListener(){
@Override
public void onClickedPopup(int index) {
}
};
pop = new PopupOverlay(mMapView,popListener);
MyLocationMapView.pop = pop;
}
/**
* 定位SDK監聽函數
*/
public class MyLocationListenner implements BDLocationListener {
@Override
public void onReceiveLocation(BDLocation location) {
if (location == null)
return ;
locData.latitude = location.getLatitude();
locData.longitude = location.getLongitude();
//如果不顯示定位精度圈,將accuracy賦值為0即可
locData.accuracy = location.getRadius();
// 此處可以設置 locData的方向信息, 如果定位 SDK 未返回方向信息,用戶可以自己實現羅盤功能添加方向信息。
locData.direction = location.getDerect();
//更新定位數據
myLocationOverlay.setData(locData);
//更新圖層數據執行刷新後生效
mMapView.refresh();
//是手動觸發請求或首次定位時,移動到定位點
if (isRequest || isFirstLoc){
//移動地圖到定位點
//Log.d("LocationOverlay", "receive location, animate to it");
mMapController.animateTo(new GeoPoint((int)(locData.latitude* 1e6), (int)(locData.longitude * 1e6)));
isRequest = false;
myLocationOverlay.setLocationMode(LocationMode.FOLLOWING);
}
//首次定位完成
isFirstLoc = false;
}
public void onReceivePoi(BDLocation poiLocation) {
if (poiLocation == null){
return ;
}
}
}
//繼承MyLocationOverlay重寫dispatchTap實現點擊處理
public class locationOverlay extends MyLocationOverlay{
public locationOverlay(MapView mapView) {
super(mapView);
}
@Override
protected boolean dispatchTap() {
//處理點擊事件,彈出泡泡
popupText.setBackgroundResource(R.drawable.popup);
popupText.setText(mLocClient.getLastKnownLocation().getAddrStr());
pop.showPopup(BMapUtil.getBitmapFromView(popupText),new GeoPoint((int)(locData.latitude*1e6), (int)(locData.longitude*1e6)),8);
return true;
}
}
@Override
protected void onPause() {
mMapView.onPause();
if(app.mBMapManager!=null){
app.mBMapManager.stop();
}
super.onPause();
}
@Override
protected void onResume() {
mMapView.onResume();
if(app.mBMapManager!=null){
app.mBMapManager.start();
}
super.onResume();
}
@Override
protected void onDestroy() {
//退出時銷毀定位
if (mLocClient != null)
mLocClient.stop();
mMapView.destroy();
if(app.mBMapManager!=null){
app.mBMapManager.destroy();
app.mBMapManager=null;
}
super.onDestroy();
}
@Override
protected void onSaveInstanceState(Bundle outState) {
super.onSaveInstanceState(outState);
mMapView.onSaveInstanceState(outState);
}
@Override
protected void onRestoreInstanceState(Bundle savedInstanceState) {
super.onRestoreInstanceState(savedInstanceState);
mMapView.onRestoreInstanceState(savedInstanceState);
}
@Override
public boolean onCreateOptionsMenu(Menu menu) {
return true;
}
}
MainActivity的布局文件如下:
<?xml version="1.0" encoding="utf-8"?>
<RelativeLayout xmlns:android="http://schemas.android.com/apk/res/android"
android:layout_width="match_parent"
android:layout_height="match_parent" >
<FrameLayout
android:layout_width="fill_parent"
android:layout_height="fill_parent" >
<com.jerehedu.ljb.MyLocationMapView
android:id="@+id/bmapView"
android:layout_width="fill_parent"
android:layout_height="fill_parent"
android:clickable="true" />
<RelativeLayout
android:layout_width="fill_parent"
android:layout_height="wrap_content"
android:layout_marginLeft="10dp"
android:layout_marginRight="10dp"
android:layout_marginTop="10dp"
android:background="@drawable/edit_bg_all" >
<EditText
android:id="@+id/txtAddr"
android:layout_width="fill_parent"
android:layout_height="40dp"
android:layout_centerVertical="true"
android:layout_marginRight="2dp"
android:layout_toLeftOf="@+id/btOk"
android:background="@drawable/edit_bg_all"
android:completionThreshold="2"
android:drawableLeft="@drawable/qz_icon_seabar_search"
android:hint="請輸入搜索關鍵字" />
<TextView
android:id="@+id/btOk"
android:layout_width="wrap_content"
android:layout_height="wrap_content"
android:layout_centerVertical="true"
android:layout_marginRight="2dp"
android:layout_toLeftOf="@+id/s2"
android:text="搜索"
android:textSize="18sp" />
<ImageView
android:id="@+id/s2"
android:layout_width="wrap_content"
android:layout_height="wrap_content"
android:layout_centerVertical="true"
android:layout_marginRight="2dp"
android:layout_toLeftOf="@+id/btget"
android:src="@drawable/slide_center" />
<TextView
android:id="@+id/btget"
android:layout_width="wrap_content"
android:layout_height="wrap_content"
android:layout_alignParentRight="true"
android:layout_centerVertical="true"
android:text="定位"
android:textSize="18sp" />
</RelativeLayout>
</FrameLayout>
</RelativeLayout>
通過以上內容給大家分享了Android百度地圖實現搜索和定位及自定義圖標繪制並點擊時彈出泡泡的相關知識,希望對大家有所幫助。
 對Android opengl ES世界坐標系和紋理坐標系的理解
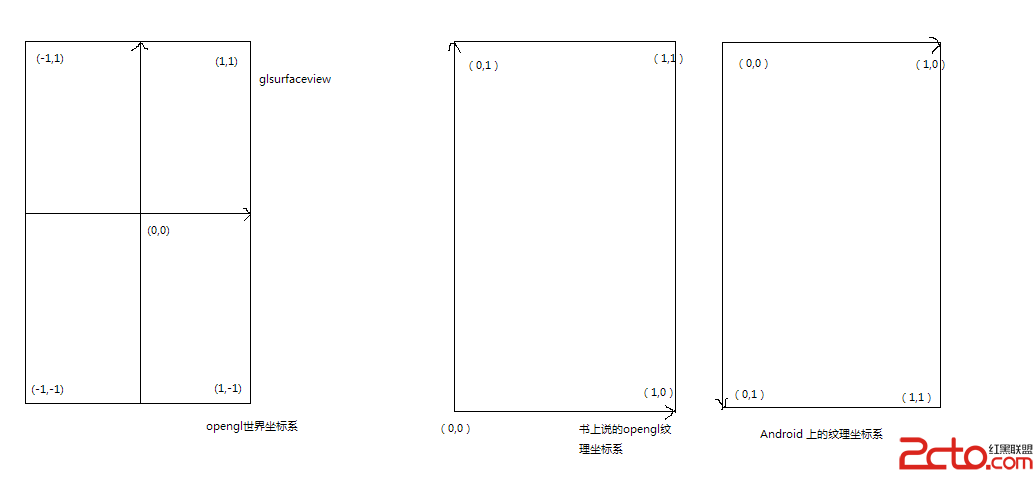
初學opengl ES,每一個教你在屏幕上貼圖的opengl版hello world都有這麼兩數組: static final float COORD[] = {
 Android開發筆記之:深入理解多線程AsyncTask
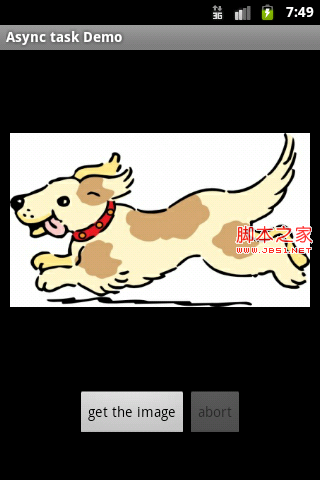
Understanding AsyncTaskAsyncTask是Android 1.5 Cubake加入的用於實現異步操作的一個類,在此之前只能用Java SE庫中的T
 android修改tab 導航 指示器顏色
我其實想修改的上面的藍色條條,改成紅色。 這個問題實在是困擾我了太長時間。之前參照google的這個文章: 呵呵,終於找到原因。 下面說下具體流程吧:這個流程上面
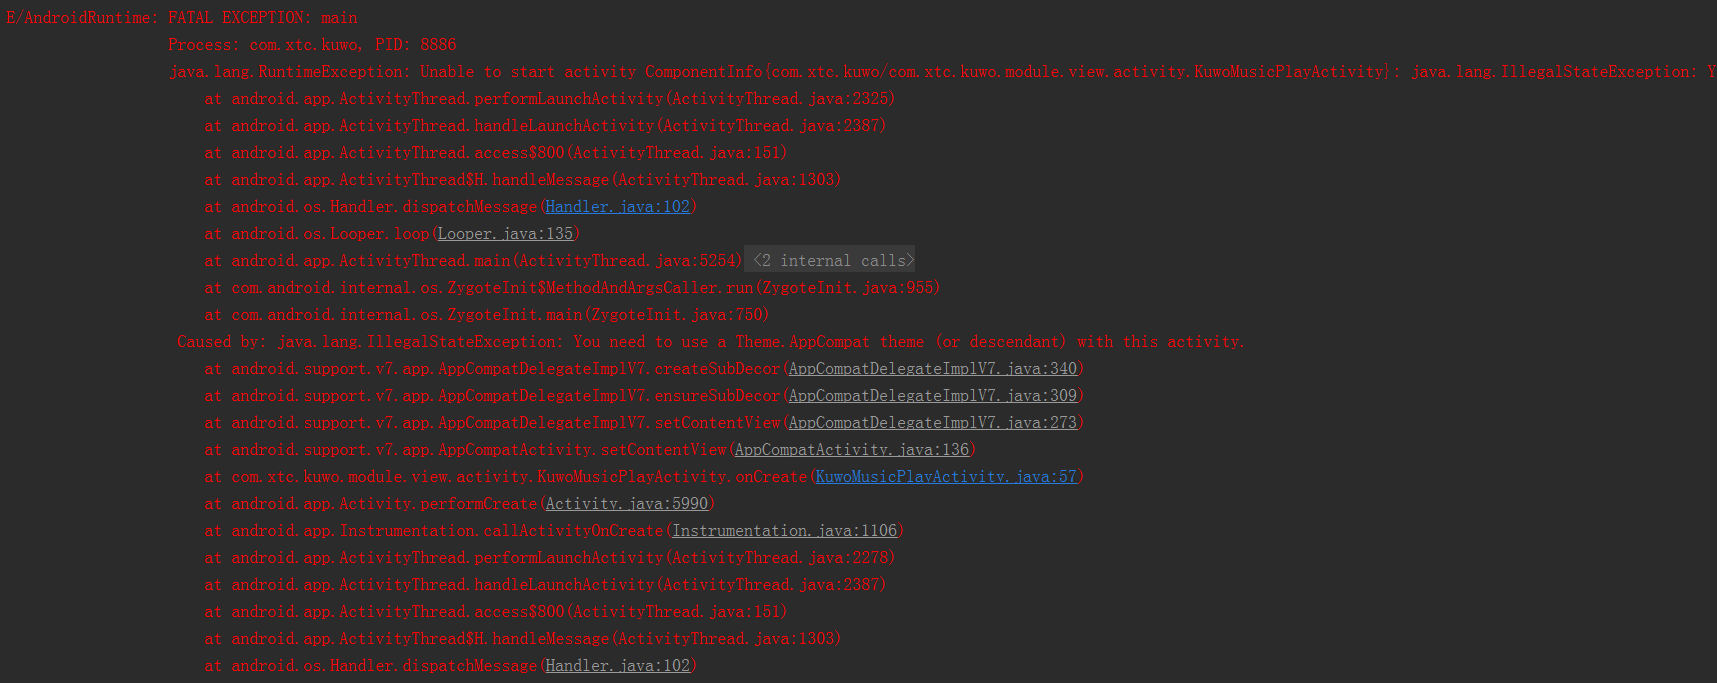
 我的Android進階之旅------)解決錯誤:You need to use a Theme.AppCompat theme (or descendant) with this activity.
#1、錯誤描述今天,想實現Activity不顯示標題欄的效果,在項目的AndroidManifest.xml文件,對相應的Activity添加屬性 android:the