編輯:關於Android編程
ImageView用來顯示任意圖像圖片,可以自己定義顯示尺寸,顯示顏色等等.
運行效果是這樣的(文字說明):
首次進入程序,手指點擊屏幕上的任意位置,圖片會隨之移動。
布局文件
<?xml version="1.0" encoding="utf-8"?>
<FrameLayout xmlns:android="http://schemas.android.com/apk/res/android"
android:id="@+id/FrameLayout01"
android:layout_width="fill_parent"
android:layout_height="fill_parent"
android:background="#f0f0f0" >
<com.sgw.move.MoveImageView
android:id="@+id/ImageView01"
android:layout_width="wrap_content"
android:layout_height="wrap_content"
android:src="@drawable/icon" >
</com.sgw.move.MoveImageView>
</FrameLayout>
實現代碼
public class MoveImageView extends ImageView {
public MoveImageView(Context context) {
super(context);
}
public MoveImageView(Context context, AttributeSet attrs) {
super(context, attrs, 0);
}
public MoveImageView(Context context, AttributeSet attrs, int defStyle) {
super(context, attrs, defStyle);
}
public void setLocation(int x, int y) {
this.setFrame(x, y - this.getHeight(), x + this.getWidth(), y);
}
// 移動
public boolean autoMouse(MotionEvent event) {
boolean rb = false;
switch (event.getAction()) {
case MotionEvent.ACTION_MOVE:
this.setLocation((int) event.getX(), (int) event.getY());
rb = true;
break;
}
return rb;
}
}
public class TestImageViewMove extends Activity {
private MoveImageView moveImageView;
public void onCreate(Bundle savedInstanceState) {
super.onCreate(savedInstanceState);
setContentView(R.layout.main);
moveImageView = (MoveImageView) this.findViewById(R.id.ImageView01);
}
@Override
public boolean onTouchEvent(MotionEvent event) {
moveImageView.autoMouse(event);
return false;
}
}
以上內容給大家介紹了基於Android實現隨手指移動的ImageView的相關知識,希望本文分享對大家有所幫助。
 Android進程間通信之----Aidl傳遞對象
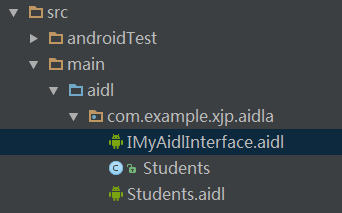
前言有關Android進程間通信之Aidl編程的基本使用步驟已經在上一篇博客中有講解,Android studio 下的aidl編程實現Android的誇進程間通信。上一
 Android中使用SQLite3 命令行查看內嵌數據庫的方法
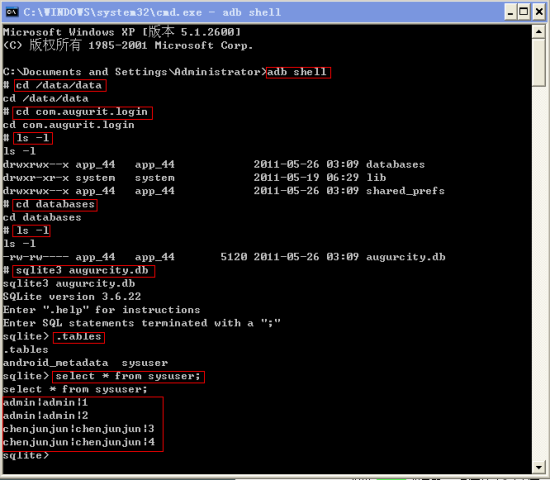
在上圖中,除了最後一個紅色的方框,其它方框都是adb shell下的命令。【1】在Android程序中,一般創建的數據庫存放在 /data/data/[應用程序包名]/d
 RecyclerView實現條目Item拖拽排序與滑動刪除
效果演示需求和技術分析RecyclerView Item拖拽排序::長按RecyclerView的Item或者觸摸Item的某個按鈕。 RecyclerView Item
 Eclipse搭建android環境
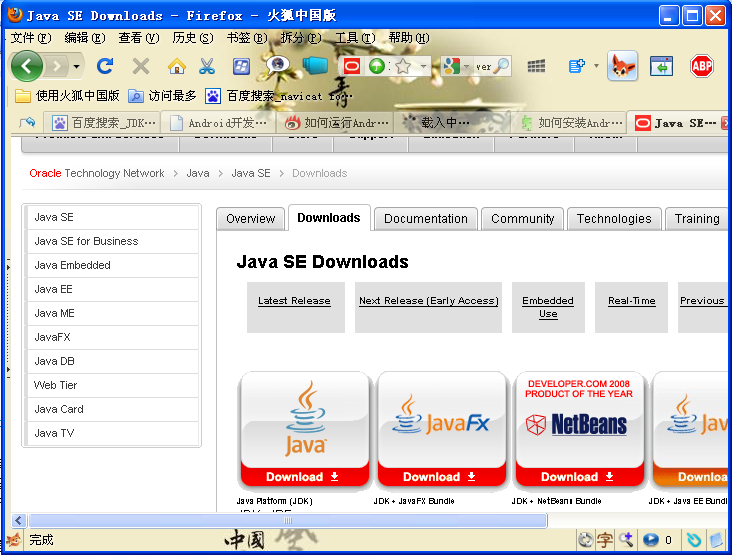
目錄一、安裝JDK.. 11、JDK下載... 12、安裝JDK.. 13、環境變量設置... 3二、安裝Eclipse. 51、Eclipse下載... 52、Ecli