編輯:關於Android編程
本文實例講述了Android編程使用ListView實現數據列表顯示的方法。分享給大家供大家參考,具體如下:
要將數據庫中的數據列表顯示在屏幕上,我們要使用ListView這個控件,當用戶從數據庫中取出數據時,要將數據綁定到顯示控件上,如何綁定呢,我們需要創建適配器進行綁定,創建適配器有兩種方式:
第一種是用SimpleAdapter創建(要求綁定的數據是List<HashMap<String, Object>>數據類型)
第二種是用SimpleCursorAdapter創建(要求綁定的數據是Cursor數據類型)
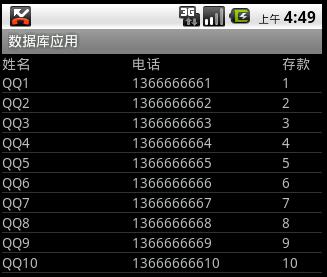
顯示效果如圖所示:

界面布局:
item.xml
<?xml version="1.0" encoding="utf-8"?>
<!--item -->
<LinearLayout
 xmlns:android="http://schemas.android.com/apk/res/android"
 android:orientation="horizontal"
 android:layout_width="fill_parent"
 android:layout_height="fill_parent">
 <!-- 名稱 -->
 <TextView
  android:layout_width="130dp"
  android:layout_height="wrap_content"
  android:id="@+id/name"
 />
 <!-- 電話 -->
 <TextView
  android:layout_width="150dp"
  android:layout_height="wrap_content"
  android:id="@+id/phone"
 />
 <!-- 存款 -->
 <TextView
  android:layout_width="fill_parent"
  android:layout_height="wrap_content"
  android:id="@+id/amount"
 />
</LinearLayout>
main.xml
<?xml version="1.0" encoding="utf-8"?>
<LinearLayout xmlns:android="http://schemas.android.com/apk/res/android"
  android:orientation="vertical"
  android:layout_width="fill_parent"
  android:layout_height="fill_parent"
  >
 <!-- 標題 -->
 <LinearLayout
 android:orientation="horizontal"
 android:layout_width="fill_parent"
 android:layout_height="wrap_content">
 <TextView
  android:layout_width="130dp"
  android:layout_height="wrap_content"
  android:text="姓名"
 />
  <TextView
  android:layout_width="150dp"
  android:layout_height="wrap_content"
  android:text="電話"
 />
 <TextView
  android:layout_width="fill_parent"
  android:layout_height="wrap_content"
  android:text="存款"
 />
</LinearLayout>
 <!-- ListView控件 -->
<ListView
  android:layout_width="fill_parent"
  android:layout_height="fill_parent"
  android:id="@+id/listView"
  />
</LinearLayout>
使用SimpleAdapter進行數據綁定
public class MainActivity extends Activity {
  private PersonService service;
  @Override
  public void onCreate(Bundle savedInstanceState) {
    super.onCreate(savedInstanceState);
    setContentView(R.layout.main);
    service = new PersonService(this);
    ListView listView = (ListView) this.findViewById(R.id.listView);
    //獲取到集合數據
    List<Person> persons = service.getScrollData(0, 10);
    List<HashMap<String, Object>> data = new ArrayList<HashMap<String,Object>>();
    for(Person person : persons){
      HashMap<String, Object> item = new HashMap<String, Object>();
      item.put("id", person.getId());
      item.put("name", person.getName());
      item.put("phone", person.getPhone());
      item.put("amount", person.getAmount());
      data.add(item);
    }
    //創建SimpleAdapter適配器將數據綁定到item顯示控件上
    SimpleAdapter adapter = new SimpleAdapter(this, data, R.layout.item,
        new String[]{"name", "phone", "amount"}, new int[]{R.id.name, R.id.phone, R.id.amount});
    //實現列表的顯示
    listView.setAdapter(adapter);
    //條目點擊事件
    listView.setOnItemClickListener(new ItemClickListener());
  }
    //獲取點擊事件
  private final class ItemClickListener implements OnItemClickListener{
    public void onItemClick(AdapterView<?> parent, View view, int position, long id) {
      ListView listView = (ListView) parent;
      HashMap<String, Object> data = (HashMap<String, Object>) listView.getItemAtPosition(position);
      String personid = data.get("id").toString();
      Toast.makeText(getApplicationContext(), personid, 1).show();
    }
  }
}
使用SimpleCursorAdapter進行數據綁定
public class MainActivity extends Activity {
  private PersonService service;
  @Override
  public void onCreate(Bundle savedInstanceState) {
    super.onCreate(savedInstanceState);
    setContentView(R.layout.main);
    service = new PersonService(this);
    ListView listView = (ListView) this.findViewById(R.id.listView);
    //獲取游標
    Cursor cursor = service.getCursorScrollData(0, 10);
    //創建SimpleCursorAdapter適配器將數據綁定到item顯示控件上
    SimpleCursorAdapter adapter = new SimpleCursorAdapter(this, R.layout.item, cursor,
        new String[]{"name", "phone", "amount"}, new int[]{R.id.name, R.id.phone, R.id.amount});
    listView.setAdapter(adapter);
    //條目點擊事件
    listView.setOnItemClickListener(new ItemClickListener());
  }
  private final class ItemClickListener implements OnItemClickListener{
    public void onItemClick(AdapterView<?> parent, View view, int position, long id) {
      ListView listView = (ListView) parent;
      Cursor cursor = (Cursor) listView.getItemAtPosition(position);
      String personid = String.valueOf(cursor.getInt(cursor.getColumnIndex("_id")));
      Toast.makeText(getApplicationContext(), personid, 1).show();
    }
  }
}
注意:使用第二種方式在獲取數據集合時必須指定主鍵"_id"
希望本文所述對大家Android程序設計有所幫助。
 Android開發之自動更換壁紙
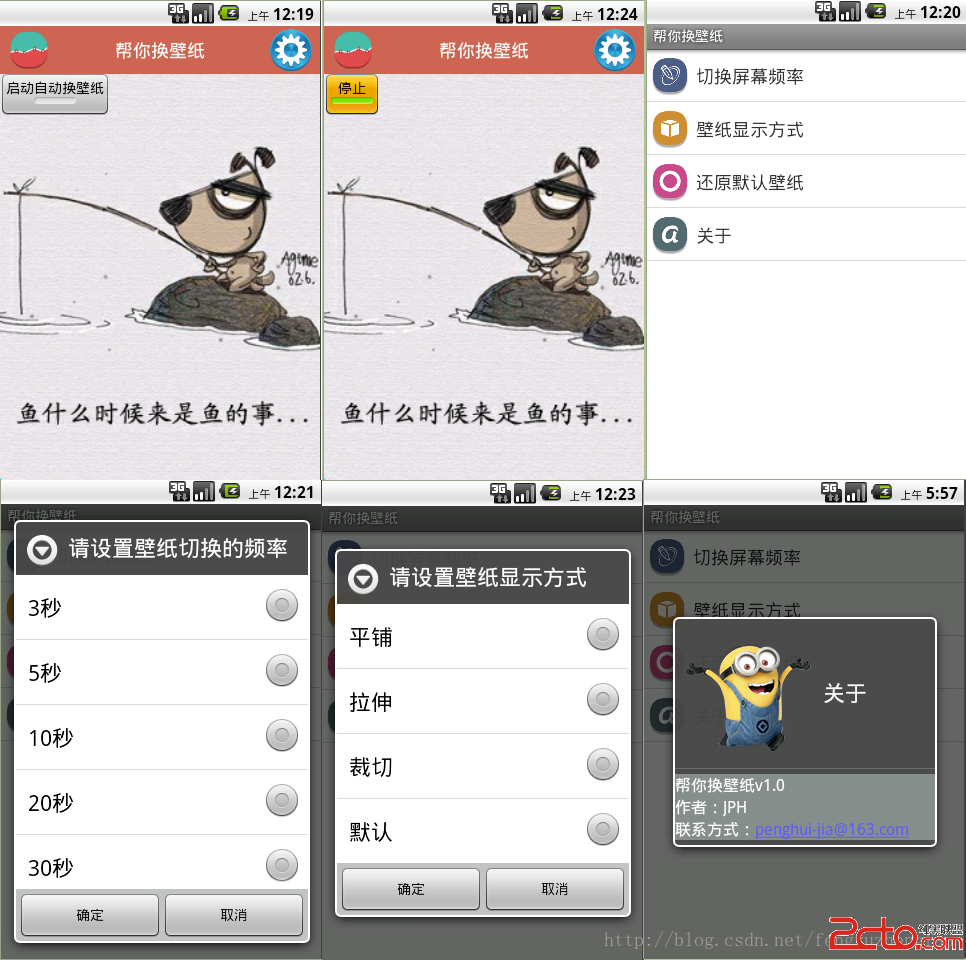
本程序主要實現了: 1.使用AssetManager將assets目錄中的文件復制到SD卡的指定位置 2.使用AlarmManager全局定時器,周期性的啟動指定組件切換
 Android 手勢檢測實戰 打造支持縮放平移的圖片預覽效果(下)
轉載請標明出處:http://blog.csdn.net/lmj623565791/article/details/39480503,本文出自:【張鴻洋的博客】上一篇已經
 Android編程使用自定義View實現水波進度效果示例
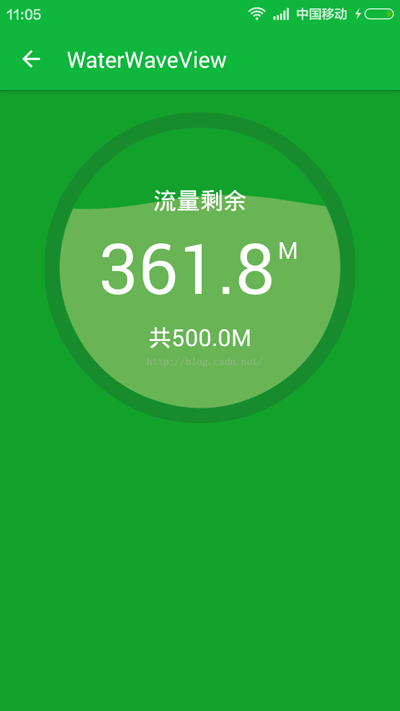
本文實例講述了Android編程使用自定義View實現水波進度效果。分享給大家供大家參考,具體如下:首先上效果圖:簡介:1.自動適應屏幕大小;2.水波自動橫向滾動;3.各
 Android實現點贊動畫(27)
本文實例為大家分享了Android使用入門第二十七篇點贊動畫的具體代碼,供大家參考,具體內容如下MainActivity.java代碼:package siso.like
 Android入門之Activity四種啟動模式(standard、singleTop、singleTask、singleInstance)
當應用運行起來後就會開啟一條線程,線程中會運行一個任務棧,當Activi