編輯:關於Android編程
本文實例講述了Android實現學生管理系統,分享給大家供大家參考。具體如下:
(1)管理系統實現的功能主要是:學生、教師的注冊登錄,和選課,以及修改學生的成績等基本簡單的功能,最主要的是實現一些Dialog的使用。
界面如下:
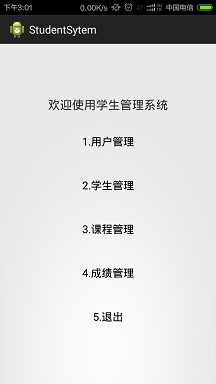
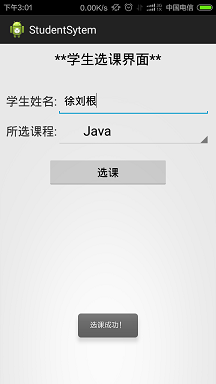
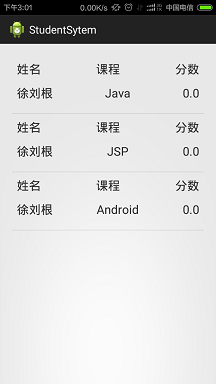
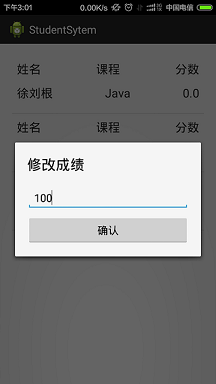
(2)主要代碼如下:(個人留作筆記,如需要完整代碼,在最下邊免費下載)
下邊是一個適配器,適配器是為了一個listvie進行設置值,其中加載的是一個itemview,適配器中還是用了繼承的方法,用於通知適配器進行更新。
public class CourseAdapter extends BaseAdapter {

 private Context context;
 private List<Course> coursetList;

 public CourseAdapter(Context context, List<Course> coursetList) {
 this.context = context;
 this.coursetList = coursetList;
 }

 public int getCount() {
 return coursetList.size();
 }

 public Object getItem(int position) {
 return coursetList.get(position);
 }

 public long getItemId(int position) {
 return position;
 }

 /**
 * 通知adapter更新數據
 */
 @Override
 public void notifyDataSetChanged() {
 super.notifyDataSetChanged();
 }

 public View getView(int position, View convertView, ViewGroup parent) {

 if (convertView == null) {
 //這裡加載的每一個item條目的布局文件
 convertView = LayoutInflater.from(context).inflate(
  R.layout.student_score_item, null);
 }

 TextView tv_name = (TextView) convertView.findViewById(R.id.tv_name);
 TextView tv_course = (TextView) convertView
 .findViewById(R.id.tv_course);
 TextView tv_score = (TextView) convertView.findViewById(R.id.tv_score);

 // 獲得某一個位置的student
 Course course = coursetList.get(position);
 tv_name.setText(course.getStudentName() + "");
 tv_course.setText(course.getCourseName() + "");
 tv_score.setText(course.getCourseSocre() + "");

 return convertView;
 }

}
(3)還用到了Java的反射機制,結合工廠模式進行操作:
public class PersonFactory {

 /**
 * 根據類的名稱來生產對象:java的反射機制使用
 *
 * @param className
 * @return
 */
 public PersonInter getPersonByClass(String className) {

 try {
 PersonInter personInter = (PersonInter) Class.forName(className).newInstance();
 return personInter;
 } catch (InstantiationException e) {
 e.printStackTrace();
 } catch (IllegalAccessException e) {
 e.printStackTrace();
 } catch (ClassNotFoundException e) {
 e.printStackTrace();
 }
 return null;
 }

 /**
 * 根據類型來創建對象
 */
 public PersonInter getHair(String key) {
 if ("student".equals(key)) {
 return new StudentImpl();
 } else if ("teacher".equals(key)) {
 return new TeacherImpl();
 }
 return null;
 }

 /**
 * 根據類的名稱來生產對象:java的映射
 */
 public PersonInter getPersonByClassKey(String key) {

 try {
 Map<String, String> map = new PropertiesReader().getProperties();

 PersonInter person = (PersonInter) Class.forName(map.get(key)).newInstance();
 return person;
 } catch (InstantiationException e) {
 e.printStackTrace();
 } catch (IllegalAccessException e) {
 e.printStackTrace();
 } catch (ClassNotFoundException e) {
 e.printStackTrace();
 }
 return null;
 }
}
源碼下載: Android學生管理系統
希望本文所述對大家學習Android軟件編程有所幫助。
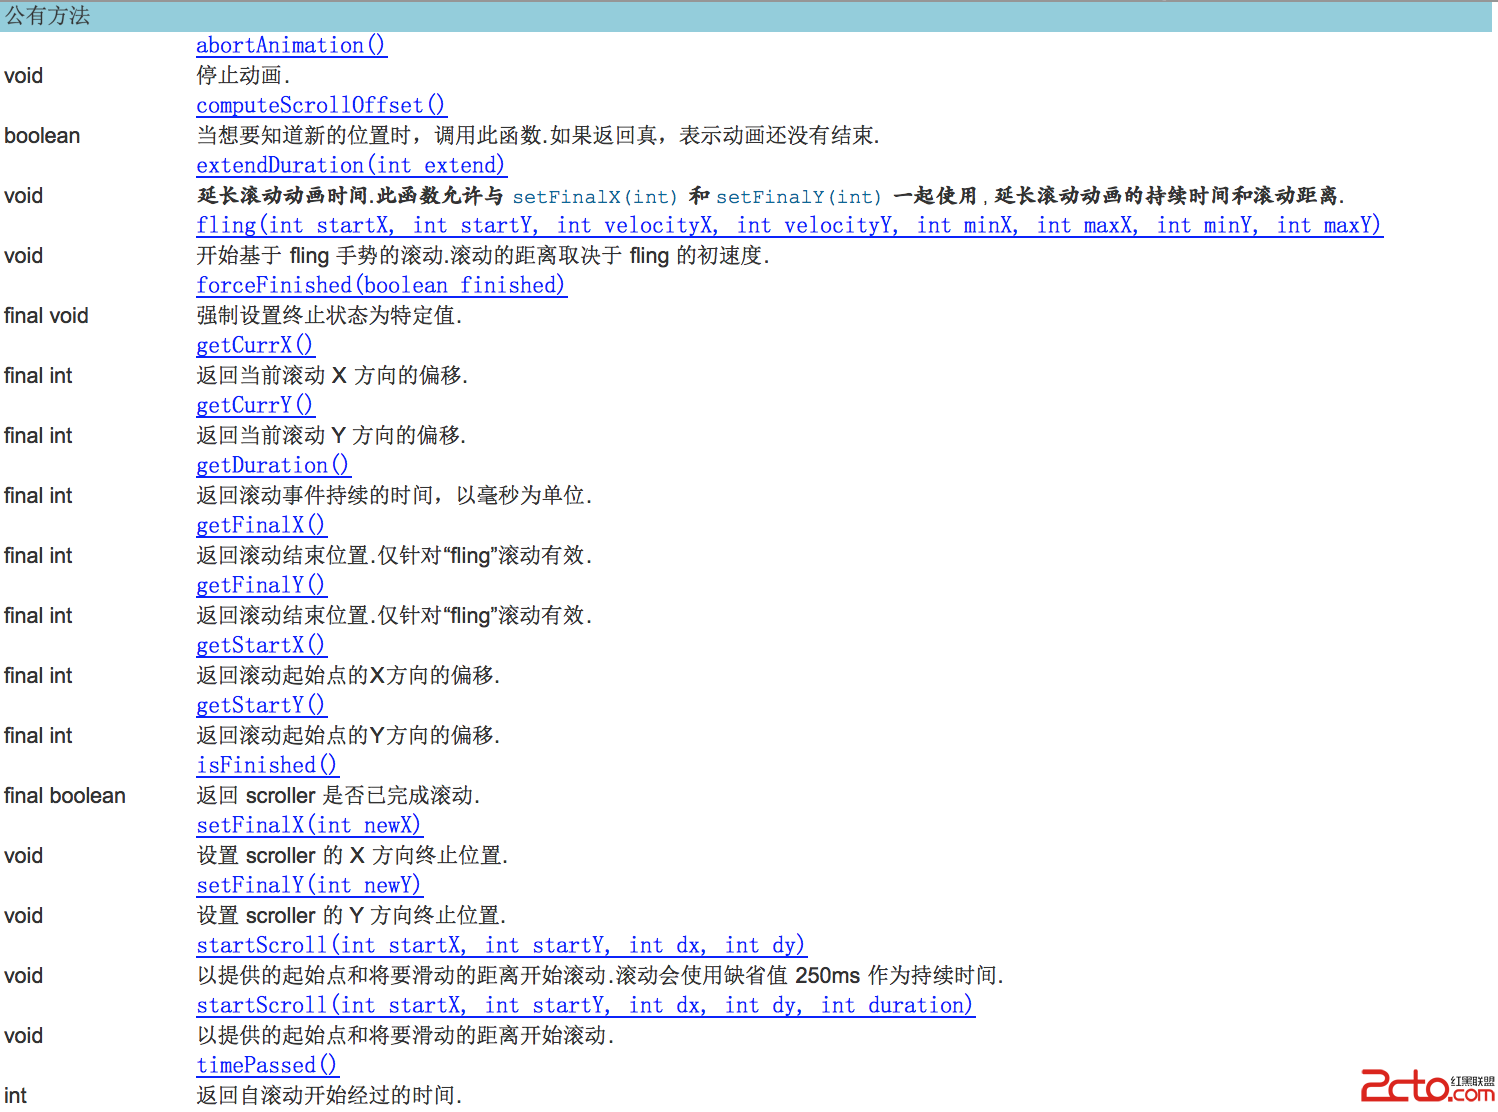 Android學習之 Scroller的介紹與使用
類概述Android裡Scroller類是為了實現View平滑滾動的一個Helper類。通常在自定義的View時使用,在View中定義一個私有成員mScroller =
 Android懸浮對話框(即點即關對話框)實現代碼
Activity是Android系統的4個應用程序組件之一。通過傳統方法顯示的Activity都是充滿整個屏幕,也就是全屏的Activity。事實上,Activity不僅
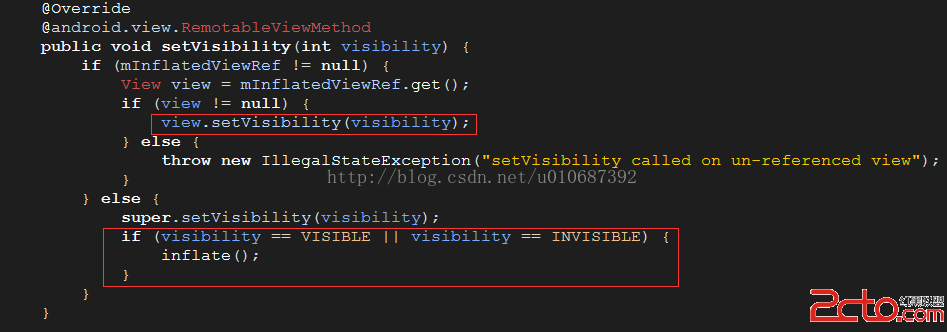 Android布局性能優化—從源碼角度看ViewStub延遲加載技術
在項目中,難免會遇到這種需求,在程序運行時需要動態根據條件來決定顯示哪個View或某個布局,最通常的想法就是把需要動態顯示的View都先寫在布局中,然後把它們的可見性設為
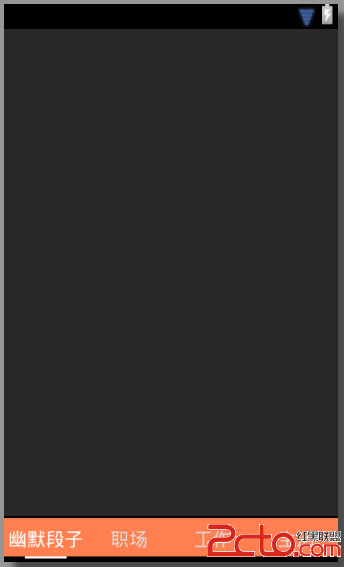 android項目剖解之ViewPager+Fragment 實現tabhost效果
項目中需要用到底欄導航欄,滑動或者點擊會切換上面的視圖,如圖: 這個效果使用Viewpager+Fragmen實現是主流方案,加入你之前對fragment