編輯:關於Android編程
1、activity_main.xml 兩個按鈕,一個open一個close
復制代碼 代碼如下:
<RelativeLayout xmlns:android="http://schemas.android.com/apk/res/android"
xmlns:tools="http://schemas.android.com/tools"
android:layout_width="match_parent"
android:layout_height="match_parent"
android:paddingBottom="@dimen/activity_vertical_margin"
android:paddingLeft="@dimen/activity_horizontal_margin"
android:paddingRight="@dimen/activity_horizontal_margin"
android:paddingTop="@dimen/activity_vertical_margin"
tools:context=".MainActivity" >
<TextView
android:id="@+id/textView1"
android:layout_width="match_parent"
android:layout_height="wrap_content"
android:text="@string/hello_world" />
<Button
android:id="@+id/button_open"
android:layout_width="match_parent"
android:layout_height="wrap_content"
android:layout_alignLeft="@+id/textView1"
android:layout_below="@+id/textView1"
android:layout_marginTop="38dp"
android:text="open" />
<Button
android:id="@+id/button_close"
android:layout_width="match_parent"
android:layout_height="wrap_content"
android:layout_alignLeft="@+id/button_open"
android:layout_below="@+id/button_open"
android:layout_marginTop="50dp"
android:text="close" />
</RelativeLayout>
2、MainActivity 核心代碼
復制代碼 代碼如下:
package com.qiantu.flashlight;
import android.app.Activity;
import android.hardware.Camera;
import android.hardware.Camera.Parameters;
import android.os.Bundle;
import android.view.Menu;
import android.view.View;
import android.view.View.OnClickListener;
import android.widget.Button;
public class MainActivity extends Activity {
private Camera camera;
private Button openBtn;
private Button closeBtn;
@Override
protected void onCreate(Bundle savedInstanceState) {
super.onCreate(savedInstanceState);
setContentView(R.layout.activity_main);
openBtn = (Button) findViewById(R.id.button_open);
openBtn.setOnClickListener(new OnClickListener() {
@Override
public void onClick(View v) {
if (null != camera) {
Parameters parameters = camera.getParameters();
parameters.setFlashMode(Parameters.FLASH_MODE_TORCH);
camera.setParameters(parameters);
}
}
});
closeBtn = (Button) findViewById(R.id.button_close);
closeBtn.setOnClickListener(new OnClickListener() {
@Override
public void onClick(View v) {
if (null != camera) {
Parameters parameters = camera.getParameters();
parameters.setFlashMode(Parameters.FLASH_MODE_OFF);
camera.setParameters(parameters);
}
}
});
}
@Override
protected void onStart() {
super.onStart();
camera = Camera.open();
}
@Override
protected void onDestroy() {
super.onDestroy();
if (null != camera) {
camera.release();
}
}
@Override
public boolean onCreateOptionsMenu(Menu menu) {
getMenuInflater().inflate(R.menu.main, menu);
return true;
}
}
3、AndroidManifest.xml 加入攝像頭和閃關燈的權限
復制代碼 代碼如下:
<?xml version="1.0" encoding="utf-8"?>
<manifest xmlns:android="http://schemas.android.com/apk/res/android"
package="com.qiantu.flashlight"
android:versionCode="1"
android:versionName="1.0" >
<uses-sdk
android:minSdkVersion="8"
android:targetSdkVersion="18" />
<!-- 添加的部分 -->
<uses-feature android:name="android.hardware.camera" />
<uses-feature android:name="android.hardware.autofocus" />
<uses-permission android:name="android.permission.CAMERA" />
<uses-permission android:name="android.permission.FLASHLIGHT" />
<uses-permission android:name="android.permission.DISABLE_KEYGUARD" />
<!-- end -->
<application
android:allowBackup="true"
android:icon="@drawable/ic_launcher"
android:label="@string/app_name"
android:theme="@style/AppTheme" >
<activity
android:name="com.qiantu.flashlight.MainActivity"
android:label="@string/app_name" >
<intent-filter>
<action android:name="android.intent.action.MAIN" />
<category android:name="android.intent.category.LAUNCHER" />
</intent-filter>
</activity>
</application>
</manifest>
 Android WebView簡要介紹和學習計劃
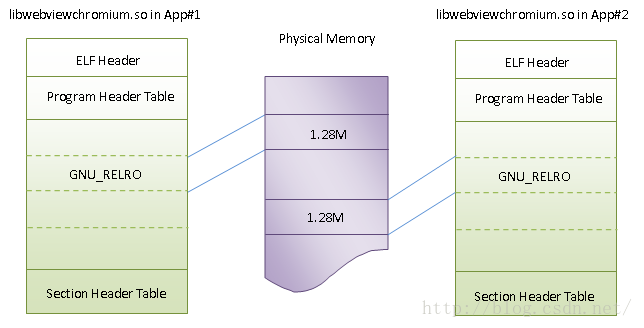
我們通常會在App的UI中嵌入WebView,用來實現某些功能的動態更新。在4.4版本之前,Android WebView基於WebKit實現。不過,在4.4版本之後,A
 深入講解Android中Activity launchMode
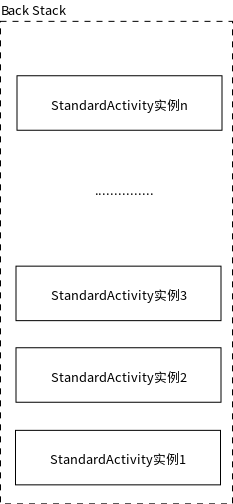
Android系統中的Activity可以說一件很贊的設計,它在內存管理上良好的設計,使得多任務管理在Android系統中運行游刃有余。但是Activity絕非啟動展示在
 android開發自定義View(四)仿掌上英雄聯盟能力值分析效果
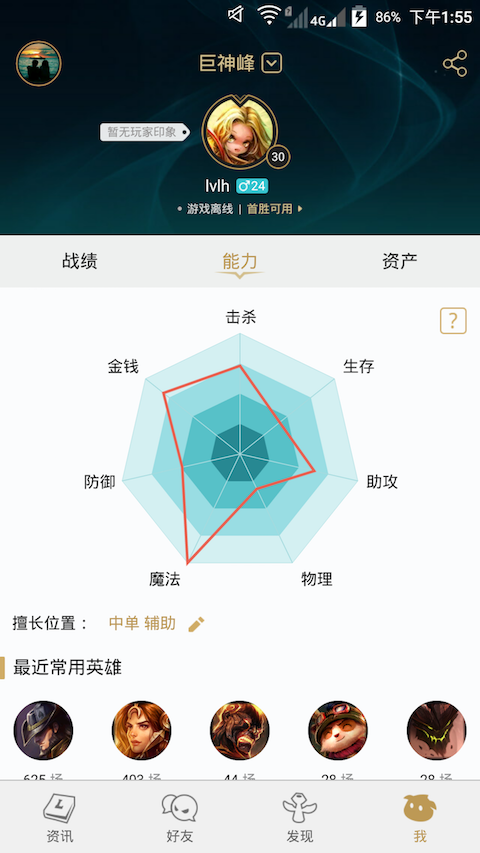
原始圖效果 模仿效果PNGGIF 流程繪制中心線,用於計算外層多邊形各點的坐標 繪制最外層多邊形 分析原型圖算出每個多邊形之間的間距 繪制裡三層多邊形
 Android LaunchMode四種啟動模式詳細介紹
Android LaunchMode詳解越是做的時間越長,基礎知識就忘的越干淨,最近做一個項目中,發現啟動的幾個Activity居然重疊了,我ri~~,再不回憶一下就要退