編輯:關於Android編程
時候我們需要監聽ScroView的滑動情況,比如滑動了多少距離,是否滑到布局的頂部或者底部。可惜的是SDK並沒有相應的方法,不過倒是提供了一個
復制代碼 代碼如下:
protected void onScrollChanged(int x, int y, int oldx, int oldy)
方法,顯然這個方法是不能被外界調用的,因此就需要把它暴露出去,方便使用。解決方式就是寫一個接口,
復制代碼 代碼如下:
package com.example.demo1;
public interface ScrollViewListener {
void onScrollChanged(ObservableScrollView scrollView, int x, int y, int oldx, int oldy);
}
然後重寫ScrollView類,給它提供上面寫的回調接口。
復制代碼 代碼如下:
package com.example.demo1;
import android.content.Context;
import android.util.AttributeSet;
import android.widget.ScrollView;
public class ObservableScrollView extends ScrollView {
private ScrollViewListener scrollViewListener = null;
public ObservableScrollView(Context context) {
super(context);
}
public ObservableScrollView(Context context, AttributeSet attrs,
int defStyle) {
super(context, attrs, defStyle);
}
public ObservableScrollView(Context context, AttributeSet attrs) {
super(context, attrs);
}
public void setScrollViewListener(ScrollViewListener scrollViewListener) {
this.scrollViewListener = scrollViewListener;
}
@Override
protected void onScrollChanged(int x, int y, int oldx, int oldy) {
super.onScrollChanged(x, y, oldx, oldy);
if (scrollViewListener != null) {
scrollViewListener.onScrollChanged(this, x, y, oldx, oldy);
}
}
}
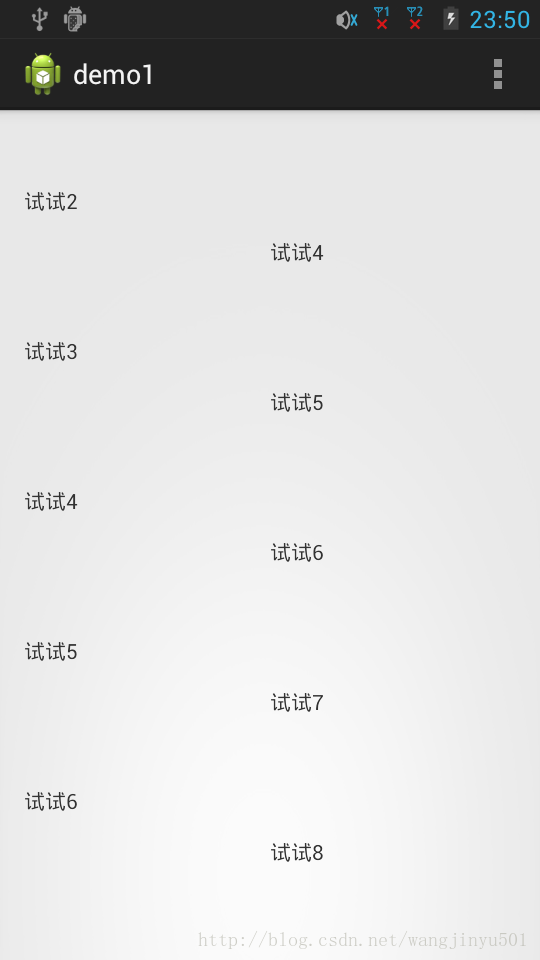
注意在xml布局的時候,不要寫錯了包。
復制代碼 代碼如下:
<LinearLayout xmlns:android="http://schemas.android.com/apk/res/android"
xmlns:tools="http://schemas.android.com/tools"
android:layout_width="match_parent"
android:layout_height="match_parent"
android:orientation="horizontal"
android:paddingBottom="@dimen/activity_vertical_margin"
android:paddingLeft="@dimen/activity_horizontal_margin"
android:paddingRight="@dimen/activity_horizontal_margin"
android:paddingTop="@dimen/activity_vertical_margin"
tools:context=".MainActivity" >
<com.example.demo1.ObservableScrollView
android:id="@+id/view1"
android:layout_width="wrap_content"
android:layout_height="match_parent" >
<LinearLayout
android:layout_width="wrap_content"
android:layout_height="match_parent"
android:orientation="vertical" >
<TextView
android:layout_width="100dp"
android:layout_height="100dp"
android:text="試試1" />
<TextView
android:layout_width="100dp"
android:layout_height="100dp"
android:text="試試2" />
<TextView
android:layout_width="100dp"
android:layout_height="100dp"
android:text="試試3" />
<TextView
android:layout_width="100dp"
android:layout_height="100dp"
android:text="試試4" />
<TextView
android:layout_width="100dp"
android:layout_height="100dp"
android:text="試試5" />
<TextView
android:layout_width="100dp"
android:layout_height="100dp"
android:text="試試6" />
</LinearLayout>
</com.example.demo1.ObservableScrollView>
<com.example.demo1.ObservableScrollView
android:id="@+id/view2"
android:layout_width="wrap_content"
android:layout_height="match_parent" >
<LinearLayout
android:layout_width="wrap_content"
android:layout_height="match_parent"
android:orientation="vertical" >
<TextView
android:layout_width="100dp"
android:layout_height="100dp"
android:text="試試1" />
<TextView
android:layout_width="100dp"
android:layout_height="100dp"
android:text="試試2" />
<TextView
android:layout_width="100dp"
android:layout_height="100dp"
android:text="試試3" />
<TextView
android:layout_width="100dp"
android:layout_height="100dp"
android:text="試試4" />
<TextView
android:layout_width="100dp"
android:layout_height="100dp"
android:text="試試5" />
<TextView
android:layout_width="100dp"
android:layout_height="100dp"
android:text="試試6" />
</LinearLayout>
</com.example.demo1.ObservableScrollView>
</LinearLayout>
最後activity代碼如下,
復制代碼 代碼如下:
package com.example.demo1;
import android.os.Bundle;
import android.app.Activity;
import android.view.Menu;
public class MainActivity extends Activity implements ScrollViewListener {
private ObservableScrollView scrollView1 = null;
private ObservableScrollView scrollView2 = null;
@Override
protected void onCreate(Bundle savedInstanceState) {
super.onCreate(savedInstanceState);
setContentView(R.layout.activity_main);
scrollView1 = (ObservableScrollView) findViewById(R.id.view1);
scrollView1.setScrollViewListener(this);
scrollView2 = (ObservableScrollView) findViewById(R.id.view2);
scrollView2.setScrollViewListener(this);
}
@Override
public boolean onCreateOptionsMenu(Menu menu) {
// Inflate the menu; this adds items to the action bar if it is present.
getMenuInflater().inflate(R.menu.main, menu);
return true;
}
@Override
public void onScrollChanged(ObservableScrollView scrollView, int x, int y,
int oldx, int oldy) {
if (scrollView == scrollView1) {
scrollView2.scrollTo(x, y);
} else if (scrollView == scrollView2) {
scrollView1.scrollTo(x, y);
}
}
}

 Android手勢密碼的實現
一、大致界面介紹:圖1圖2圖3圖4圖1:手勢密碼繪制界面 【主要是繪制上方的9個提示圖標和9個宮格密碼圖標】圖2:設置手勢密碼 【監聽手勢的輸入,TouchEvent的事
 如何從UA分辨出Android設備類型
隨著Android設備增多,不少網站都開始設備Android設備,而Android主流設備類型以手機和平板為主。網站在適配時通過User Agent(用戶代理,以下簡稱U
 android ViewSwitcher的用法介紹
ViewSwitcher 的作用簡單來說就是:在兩個視圖間轉換時顯示動畫它的兩個子類應該很熟悉,ImageSwitcher:轉換圖片時增加動畫效果;TextSwitche
 Android側滑效果簡單實現代碼
先看看效果: 首先,導入包:compile files(libs/nineoldandroids-2.4.0.jar)r然後在main中創建一個widget包。 c創建V