編輯:關於Android編程
本文實例講述了Android編程之頁面切換測試。分享給大家供大家參考。具體分析如下:
一、軟件平台:
win7 + eclipse + sdk
二、設計思路:
兩個頁面:mian和ok,每個頁面上有一個按鍵,點擊則可以互相切換
三、源代碼:
main.xml源代碼:
<?xml version="1.0" encoding="utf-8"?>
<LinearLayout xmlns:android="http://schemas.android.com/apk/res/android"
 android:orientation="vertical"
 android:layout_width="fill_parent"
 android:layout_height="fill_parent"
 >
<TextView
 android:layout_width="fill_parent"
 android:layout_height="wrap_content"
 android:text="@string/hello"
 />
<Button android:id="@+id/button1" android:layout_width="wrap_content" android:layout_height="wrap_content" android:text="下一頁面 "></Button>
</LinearLayout>
ok.xml源代碼:
<?xml version="1.0" encoding="utf-8"?>
<LinearLayout
 xmlns:android="http://schemas.android.com/apk/res/android"
 android:layout_width="match_parent"
 android:layout_height="match_parent">
 <Button android:layout_width="wrap_content" android:layout_height="wrap_content" android:text="上一頁面 " android:id="@+id/button1"></Button>
</LinearLayout>
makechoice源代碼:
package com.makechoice;
import android.app.Activity;
import android.os.Bundle;
import android.view.View;
import android.widget.Button;
public class makechoice extends Activity
{
 /** Called when the activity is first created. */
 @Override
 public void onCreate(Bundle savedInstanceState)
 {
  super.onCreate(savedInstanceState);
  setContentView(R.layout.main);
  Button btn = (Button)findViewById(R.id.button1);
  btn.setOnClickListener(new Button.OnClickListener()
  {
   @Override
   public void onClick(View v)
   {
    jump2ok();
   }
  });
 }
 //跳到ok頁面
 public void jump2ok()
 {
  setContentView(R.layout.ok);
  //當有按鍵按下跳到main頁面
  Button btn = (Button)findViewById(R.id.button1);
  btn.setOnClickListener(new Button.OnClickListener()
  {
   @Override
   public void onClick(View v)
   {
    jump2main();
   }
  });
 }
 //跳到main頁面
 public void jump2main()
 {
  setContentView(R.layout.main);
  //當有按鍵按下跳到ok頁面
  Button btn = (Button)findViewById(R.id.button1);
  btn.setOnClickListener(new Button.OnClickListener()
  {
   @Override
   public void onClick(View v)
   {
    jump2ok();
   }
  });
 }
}
四、運行效果圖:
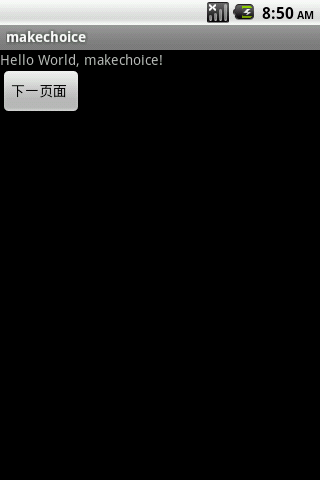
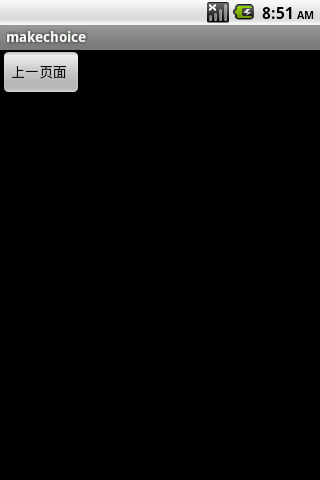
五、注意:
類R中存放的ID號為當前頁面的ID號,所以findViewById函數捕獲的控件也為當前頁面的控件
希望本文所述對大家的Android程序設計有所幫助。
 Calabash-Android用法入門
上文介紹了如何在windows中安裝calabash-android的測試環境,本文用一個實例來介紹calabash-android的基本用法。 本文所用的
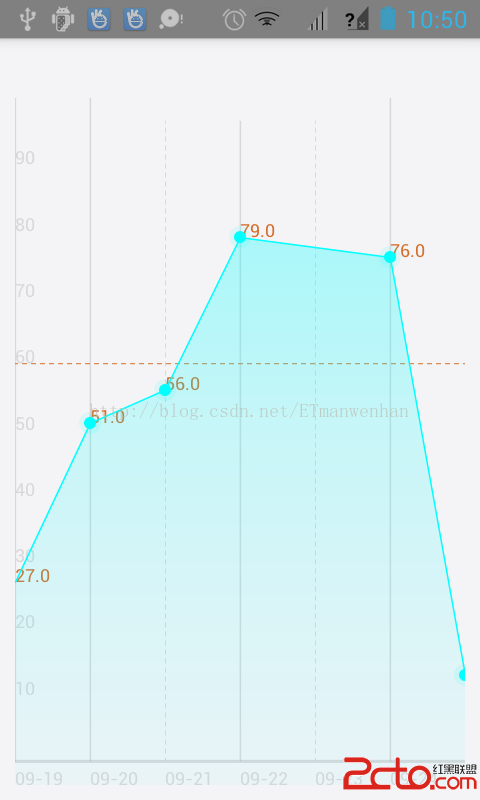 android自定義折線圖
BrokenLine控件: import java.text.SimpleDateFormat; import java.util.ArrayList;
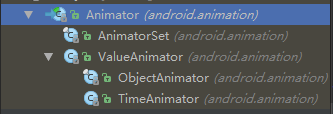 Android 動畫系列之屬性(Property)動畫詳解
前言今天有時間來繼續寫寫屬性動畫。簡介眾所周知,屬性動畫是Android3.0版本開始的,一個東西的推出肯定是有它的道理的,那為什麼前面已經有逐幀和補間動畫了還要推出屬性
 三星Galaxy S6 Edge卡 S6最常見問題解決辦法
三星Galaxy S6 Edge推出有一段時間了,受很多用戶的贊揚,不過再好的手機在使用的過程中也會出現一定的問題。比如數據連接問題,手機卡頓滯後問題,攝像