編輯:關於Android編程
本文實例介紹的Android的Gallery控件是個很不錯的看圖控件,可以大大減輕開發者對於看圖功能的開發,並且效果也很美觀。本文實例中的Gallery的用法,主要實現用反射機制來動態讀取資源中的圖片。
該實例代碼運行的效果圖如下:

main.xml源碼如下:
<?xml version="1.0" encoding="utf-8"?>
<LinearLayout xmlns:android="http://schemas.android.com/apk/res/android"
  android:orientation="vertical"
  android:layout_width="fill_parent"
  android:layout_height="fill_parent"
  >
<Gallery android:id="@+id/gallery" android:layout_height="fill_parent" android:layout_width="fill_parent"></Gallery>
</LinearLayout>
Java程序源碼如下:
package com.testImageView;

import java.lang.reflect.Field;
import java.util.ArrayList;

import android.app.Activity;
import android.content.Context;
import android.graphics.Bitmap;
import android.graphics.BitmapFactory;
import android.os.Bundle;
import android.view.View;
import android.view.ViewGroup;
import android.widget.AdapterView;
import android.widget.BaseAdapter;
import android.widget.Gallery;
import android.widget.ImageView;
import android.widget.AdapterView.OnItemClickListener;

public class testImageView extends Activity {
  private Gallery mGallery;
  @Override
  public void onCreate(Bundle savedInstanceState) {
    super.onCreate(savedInstanceState);
    setContentView(R.layout.main);

    mGallery = (Gallery)findViewById(R.id.gallery);
    try {
      mGallery.setAdapter(new ImageAdapter(this));
    } catch (IllegalArgumentException e) {
      // TODO Auto-generated catch block
      e.printStackTrace();
    } catch (IllegalAccessException e) {
      // TODO Auto-generated catch block
      e.printStackTrace();
    }
    mGallery.setOnItemClickListener(new OnItemClickListener() {
      public void onItemClick(AdapterView parent, View v, int position, long id) {
        testImageView.this.setTitle(String.valueOf(position));
      }
    });
  }

  /*
   * class ImageAdapter is used to control gallery source and operation.
   */
  private class ImageAdapter extends BaseAdapter{
    private Context mContext;
    private ArrayList<Integer> imgList=new ArrayList<Integer>();
    private ArrayList<Object> imgSizes=new ArrayList<Object>();
    public ImageAdapter(Context c) throws IllegalArgumentException, IllegalAccessException{
      mContext = c;

      //用反射機制來獲取資源中的圖片ID和尺寸
      Field[] fields = R.drawable.class.getDeclaredFields();
      for (Field field : fields)
      {
        if (!"icon".equals(field.getName()))//除了icon之外的圖片
        {
          int index=field.getInt(R.drawable.class);
          //保存圖片ID
          imgList.add(index);
          //保存圖片大小
          int size[]=new int[2];
          Bitmap bmImg=BitmapFactory.decodeResource(getResources(),index);
          size[0]=bmImg.getWidth();size[1]=bmImg.getHeight();
          imgSizes.add(size);
        }
      }
    }
    @Override
    public int getCount() {
      // TODO Auto-generated method stub

      return imgList.size();
    }

    @Override
    public Object getItem(int position) {
      // TODO Auto-generated method stub

      return position;
    }

    @Override
    public long getItemId(int position) {
      // TODO Auto-generated method stub

      return position;
    }

    @Override
    public View getView(int position, View convertView, ViewGroup parent) {
      // TODO Auto-generated method stub

      ImageView i = new ImageView (mContext);
      //從imgList取得圖片ID
      i.setImageResource(imgList.get(position).intValue());
      i.setScaleType(ImageView.ScaleType.FIT_XY);
      //從imgSizes取得圖片大小
      int size[]= new int[2];
      size=(int[]) imgSizes.get(position);
      i.setLayoutParams(new Gallery.LayoutParams(size[0], size[1]));
      return i;
    }

  };
}
 Android 界面開發顏色整理
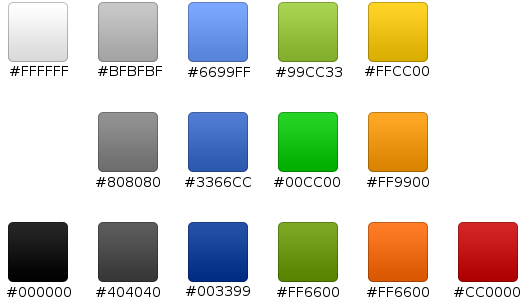
下圖是幫助文檔中的關於界面開發的推薦色值,大家可以參考一下: 補充一些常用的顏色值: <color name=white>#f
 Android入門教程之ListView的應用示例
本文實例講述了Android ListView的簡單應用。分享給大家供大家參考,具體如下:我們今天要講的內容是Android中ListView中的實現.一共分為四個步驟,
 Android Composite(ListView)詳解
目錄:1.ListView概述2.ListView使用中的重要角色(Adapter,ViewHolder,數據集,布局)3.ListView常用屬性4.ListView+
 PreferenceActivity源碼分析與簡單應用
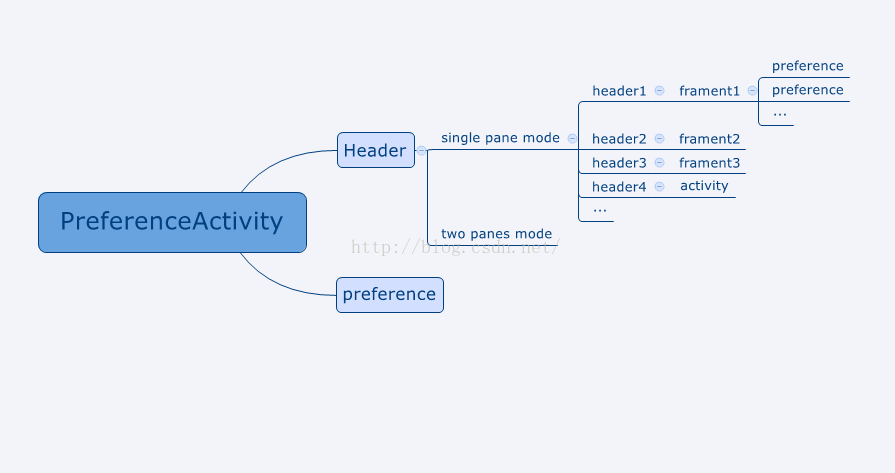
·PreferenceActivity可以顯示一系列Header,每一個Header可以關聯一個Fragment或者Activity。此外,它還可以直接顯示