編輯:關於Android編程
本文實例介紹了Android中LinearLayout、AbsoluteLayout的用法,希望能對於初學Android的朋友起到一點幫助作用。具體內容如下:
Android 的UI 布局都以Layout 作為容器,並且在上面按照規定排列控件,這方面跟JAVA 的Swing 和LWUIT 很像。控件跟Layout 有很多屬性是一樣的,可以在Properties 裡面修改,跟.NET/Delphi 等RAD 類似,其中最常用的屬性有以下這些:
id="@+id/edtInput",ID 是連接UI 與代碼的橋梁
Gravity= "center" ,Layout 中的控件居中

layout_width="fill_parent" ,自動填充至屏幕寬度,layout_height 同理

layout_width="wrap_content" ,自動填充為控件大小,layout_height 同理

LinearLayout ,在Android入門實例一篇所用的Layout 就是LinearLayout ,它的理解很簡單:在LinearLayout 裡面的控件,按照水平或者垂直排列:
orientation="horizontal" :水平排列;orientation=" vertical" :垂直排列
當LinearLayout 是horizontal ,並且裡面的控件使用了layout_width="fill_parent" ,第二組控件會擋在屏幕的右邊,那也就是看不到了。
AbsoluteLayout ,是一個按照絕對坐標定義的布局,由於使用絕對坐標去定位控件,因此要實現自適應界面時,應盡少使用 AbsoluteLayout 。 AbsoluteLayout 裡面的控件都以layout_x 、layout_y 來定義其位置:

上圖中的TextView01的X坐標為10px,Y坐標為10px,頁面布局代碼如下:
<AbsoluteLayout android:id="@+id/AbsoluteLayout01" android:layout_height="wrap_content" android:layout_width="fill_parent" >
<TextView android:text="TextView01" android:id="@+id/TextView01" android:layout_height="wrap_content" android:layout_y="10px" android:layout_width="wrap_content" android:layout_x="110px">
</TextView>
</AbsoluteLayout>
 Android自定義狀態欄顏色與應用標題欄顏色一致
每次看IOS上的應用,應用中狀態欄的顏色總能與應用標題欄顏色保持一致,用戶體驗很不錯,對於這種效果,像我這種好奇心強的人就會去看看那安卓是否可以呢?若是在安卓4.4之前,
 【Android開發—電商系列】(二):仿淘寶商品屬性標簽頁
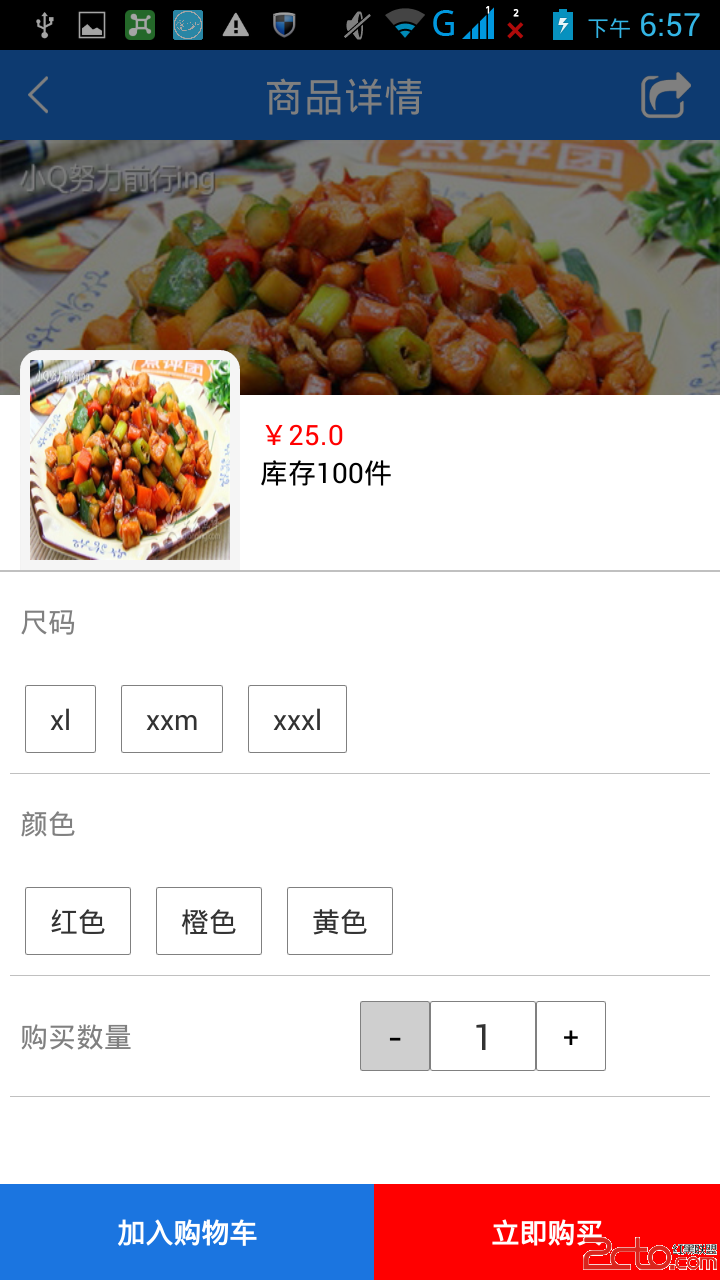
一睹為快 需求 1.動態加載屬性,如尺碼,顏色,款式等 由於每件商品的屬性是不確定的,有的商品的屬性是顏色和尺碼,有的是口味,有的是大小,所以這些屬性不能直接
 android的ListView點擊item使item展開的做法
直接上代碼把,主要是重新給item measure高度,直接上代碼把 import java.util.ArrayList; import android.app.A
 Android屏幕截圖詳解
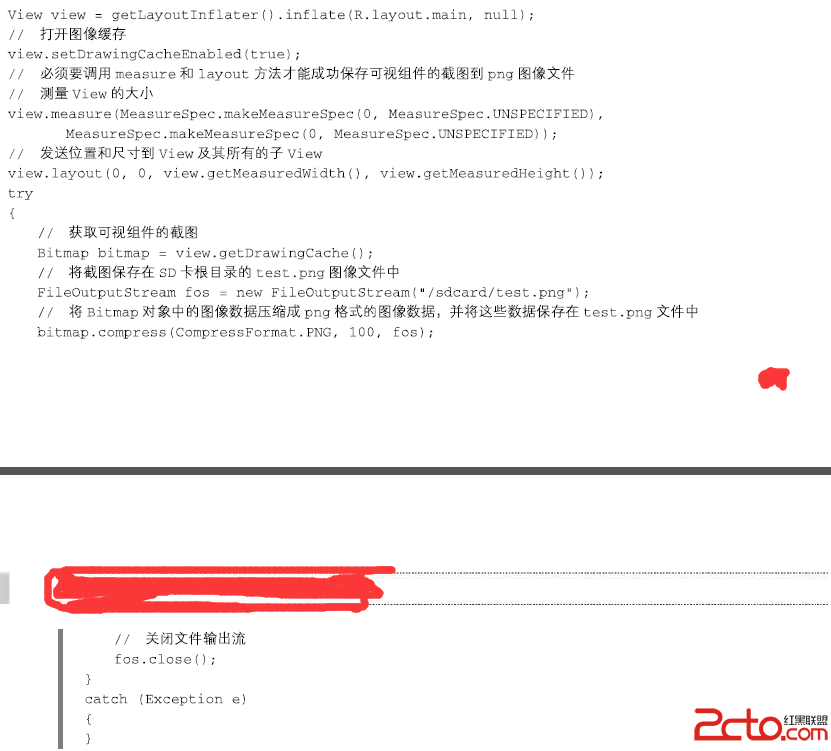
Android屏幕截圖功能實現這裡介紹兩種方式: 第一種 截取整個屏幕實現方式三種 ImageView imgV = (ImageView) findVie