編輯:關於Android編程
先看效果圖:
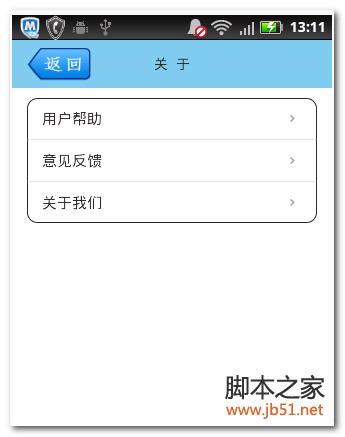
首先,你得寫一個類我們命名為CornerListView
[java]
復制代碼 代碼如下:
/**
* 圓角ListView示例
* @Description: 圓角ListView示例
* @FileName: CornerListView.java
*/
public class CornerListView extends ListView {
public CornerListView(Context context) {
super(context);
}
public CornerListView(Context context, AttributeSet attrs, int defStyle) {
super(context, attrs, defStyle);
}
public CornerListView(Context context, AttributeSet attrs) {
super(context, attrs);
}
@Override
public boolean onInterceptTouchEvent(MotionEvent ev) {
switch (ev.getAction()) {
case MotionEvent.ACTION_DOWN:
int x = (int) ev.getX();
int y = (int) ev.getY();
int itemnum = pointToPosition(x, y);
if (itemnum == AdapterView.INVALID_POSITION)
break;
else{
if(itemnum==0){
if(itemnum==(getAdapter().getCount()-1)){
setSelector(R.drawable.<SPAN >app_list_corner_round</SPAN>);
}else{
setSelector(R.drawable.<SPAN >app_list_corner_round_top</SPAN>);
}
}else if(itemnum==(getAdapter().getCount()-1))
setSelector(R.drawable.<SPAN >app_list_corner_round_bottom</SPAN>);
else{
setSelector(R.drawable.<SPAN >app_list_corner_shape</SPAN>);
}
}
break;
case MotionEvent.ACTION_UP:
break;
}
return super.onInterceptTouchEvent(ev);
}
}
/**
* 圓角ListView示例
* @Description: 圓角ListView示例
* @FileName: CornerListView.java
*/
public class CornerListView extends ListView {
public CornerListView(Context context) {
super(context);
}
public CornerListView(Context context, AttributeSet attrs, int defStyle) {
super(context, attrs, defStyle);
}
public CornerListView(Context context, AttributeSet attrs) {
super(context, attrs);
}
@Override
public boolean onInterceptTouchEvent(MotionEvent ev) {
switch (ev.getAction()) {
case MotionEvent.ACTION_DOWN:
int x = (int) ev.getX();
int y = (int) ev.getY();
int itemnum = pointToPosition(x, y);
if (itemnum == AdapterView.INVALID_POSITION)
break;
else{
if(itemnum==0){
if(itemnum==(getAdapter().getCount()-1)){
setSelector(R.drawable.app_list_corner_round);
}else{
setSelector(R.drawable.app_list_corner_round_top);
}
}else if(itemnum==(getAdapter().getCount()-1))
setSelector(R.drawable.app_list_corner_round_bottom);
else{
setSelector(R.drawable.app_list_corner_shape);
}
}
break;
case MotionEvent.ACTION_UP:
break;
}
return super.onInterceptTouchEvent(ev);
}
}
其中,app_list_corner_round
[html]
復制代碼 代碼如下:
<SPAN ><?xml version="1.0" encoding="utf-8"?>
<shape xmlns:android="http://schemas.android.com/apk/res/android">
<gradient android:startColor="#BFEEFF"
android:endColor="#40B9FF"
android:angle="270"/>
<corners android:topLeftRadius="6dip"
android:topRightRadius="6dip"
android:bottomLeftRadius="6dip"
android:bottomRightRadius="6dip"/>
</shape> </SPAN>
<?xml version="1.0" encoding="utf-8"?>
<shape xmlns:android="http://schemas.android.com/apk/res/android">
<gradient android:startColor="#BFEEFF"
android:endColor="#40B9FF"
android:angle="270"/>
<corners android:topLeftRadius="6dip"
android:topRightRadius="6dip"
android:bottomLeftRadius="6dip"
android:bottomRightRadius="6dip"/>
</shape>
app_list_corner_round_top
[html]
復制代碼 代碼如下:
<SPAN ><?xml version="1.0" encoding="utf-8"?>
<shape xmlns:android="http://schemas.android.com/apk/res/android">
<gradient android:startColor="#BFEEFF"
android:endColor="#40B9FF"
android:angle="270"/>
<corners android:topLeftRadius="6dip"
android:topRightRadius="6dip"/>
</shape> </SPAN>
<?xml version="1.0" encoding="utf-8"?>
<shape xmlns:android="http://schemas.android.com/apk/res/android">
<gradient android:startColor="#BFEEFF"
android:endColor="#40B9FF"
android:angle="270"/>
<corners android:topLeftRadius="6dip"
android:topRightRadius="6dip"/>
</shape>
app_list_corner_round_bottom
[html]
復制代碼 代碼如下:
<SPAN ><?xml version="1.0" encoding="utf-8"?>
<shape xmlns:android="http://schemas.android.com/apk/res/android">
<gradient android:startColor="#BFEEFF"
android:endColor="#40B9FF"
android:angle="270"/>
<corners android:bottomLeftRadius="6dip"
android:bottomRightRadius="6dip" />
</shape> </SPAN>
<?xml version="1.0" encoding="utf-8"?>
<shape xmlns:android="http://schemas.android.com/apk/res/android">
<gradient android:startColor="#BFEEFF"
android:endColor="#40B9FF"
android:angle="270"/>
<corners android:bottomLeftRadius="6dip"
android:bottomRightRadius="6dip" />
</shape>
app_list_corner_shape
[html]
復制代碼 代碼如下:
<?xml version="1.0" encoding="utf-8"?>
<shape xmlns:android="http://schemas.android.com/apk/res/android">
<gradient android:startColor="#BFEEFF"
android:endColor="#40B9FF"
android:angle="270"/>
</shape>
<?xml version="1.0" encoding="utf-8"?>
<shape xmlns:android="http://schemas.android.com/apk/res/android">
<gradient android:startColor="#BFEEFF"
android:endColor="#40B9FF"
android:angle="270"/>
</shape>
寫好了之後,就可以在你的代碼中直接像listview一樣調用。
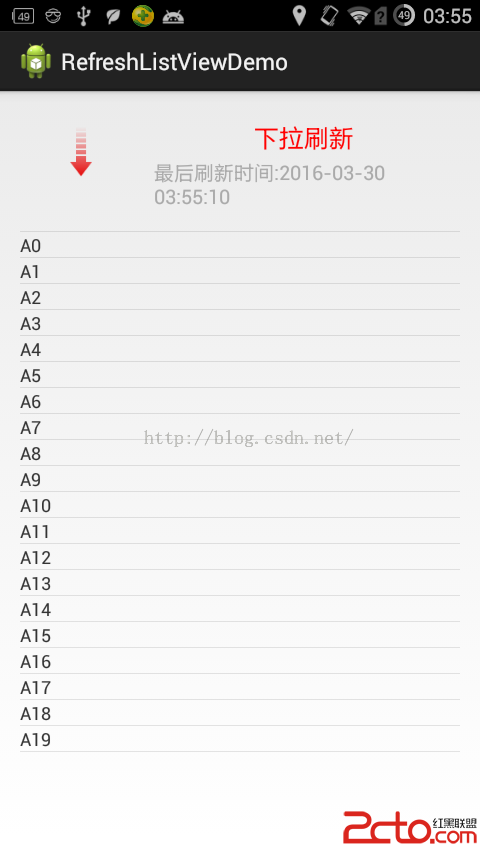 Android自定義控件--下拉刷新的實現
我們在使用ListView的時候,很多情況下需要用到下拉刷新的功能。為了了解下拉刷新的底層實現原理,我采用自定義ListView控件的方式來實現效果。實現的基本原理是:自
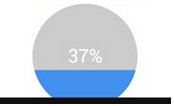 Android 實現自定義圓形進度條的實例代碼
Android 自定義圓形進度條今天無意中發現一個圓形進度,想想自己實現一個,如下圖:基本思路是這樣的:1.首先繪制一個實心圓2.繪制一個白色實心的正方形,遮住實心圓3.
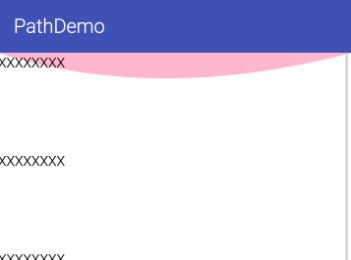 Android利用貝塞爾曲線實現ScrollView滑動到頂部後陰影反饋效果
當ScrollView滑動到頂部後,根據手指在屏幕上繼續下拉出現的陰影效果的簡單實現方式,僅供學習參考,在實際項目中引用還需慎重!!!技術點:1、利用Path中的move
 華為榮耀V8手機怎麼支付?榮耀V8怎麼刷手機消費
華為手機也可以刷刷消費啦!作為國內率先商用、支持NFC+指紋支付、以用戶體驗和支付安全為核心的Huawei Pay,擁有四重保障,芯片級安全;無需聯網,無需