編輯:關於Android編程
先看效果圖
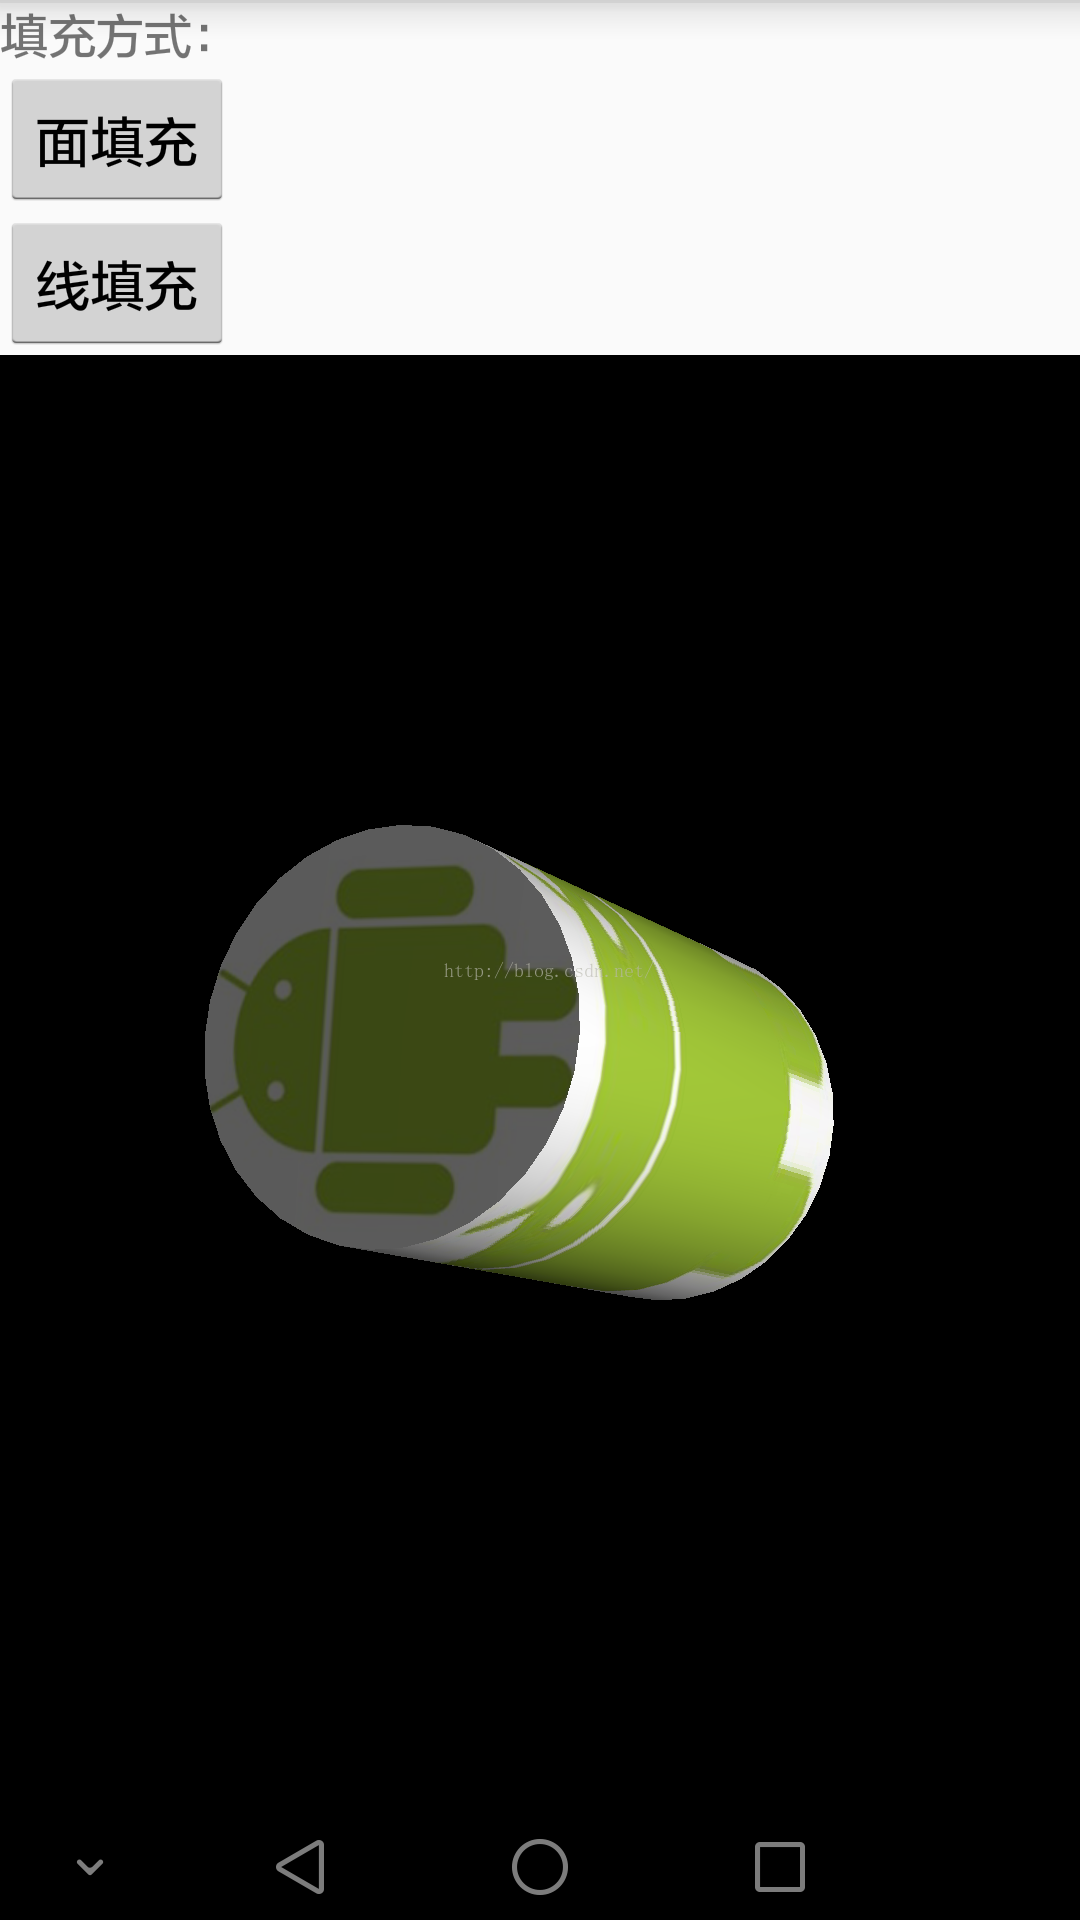
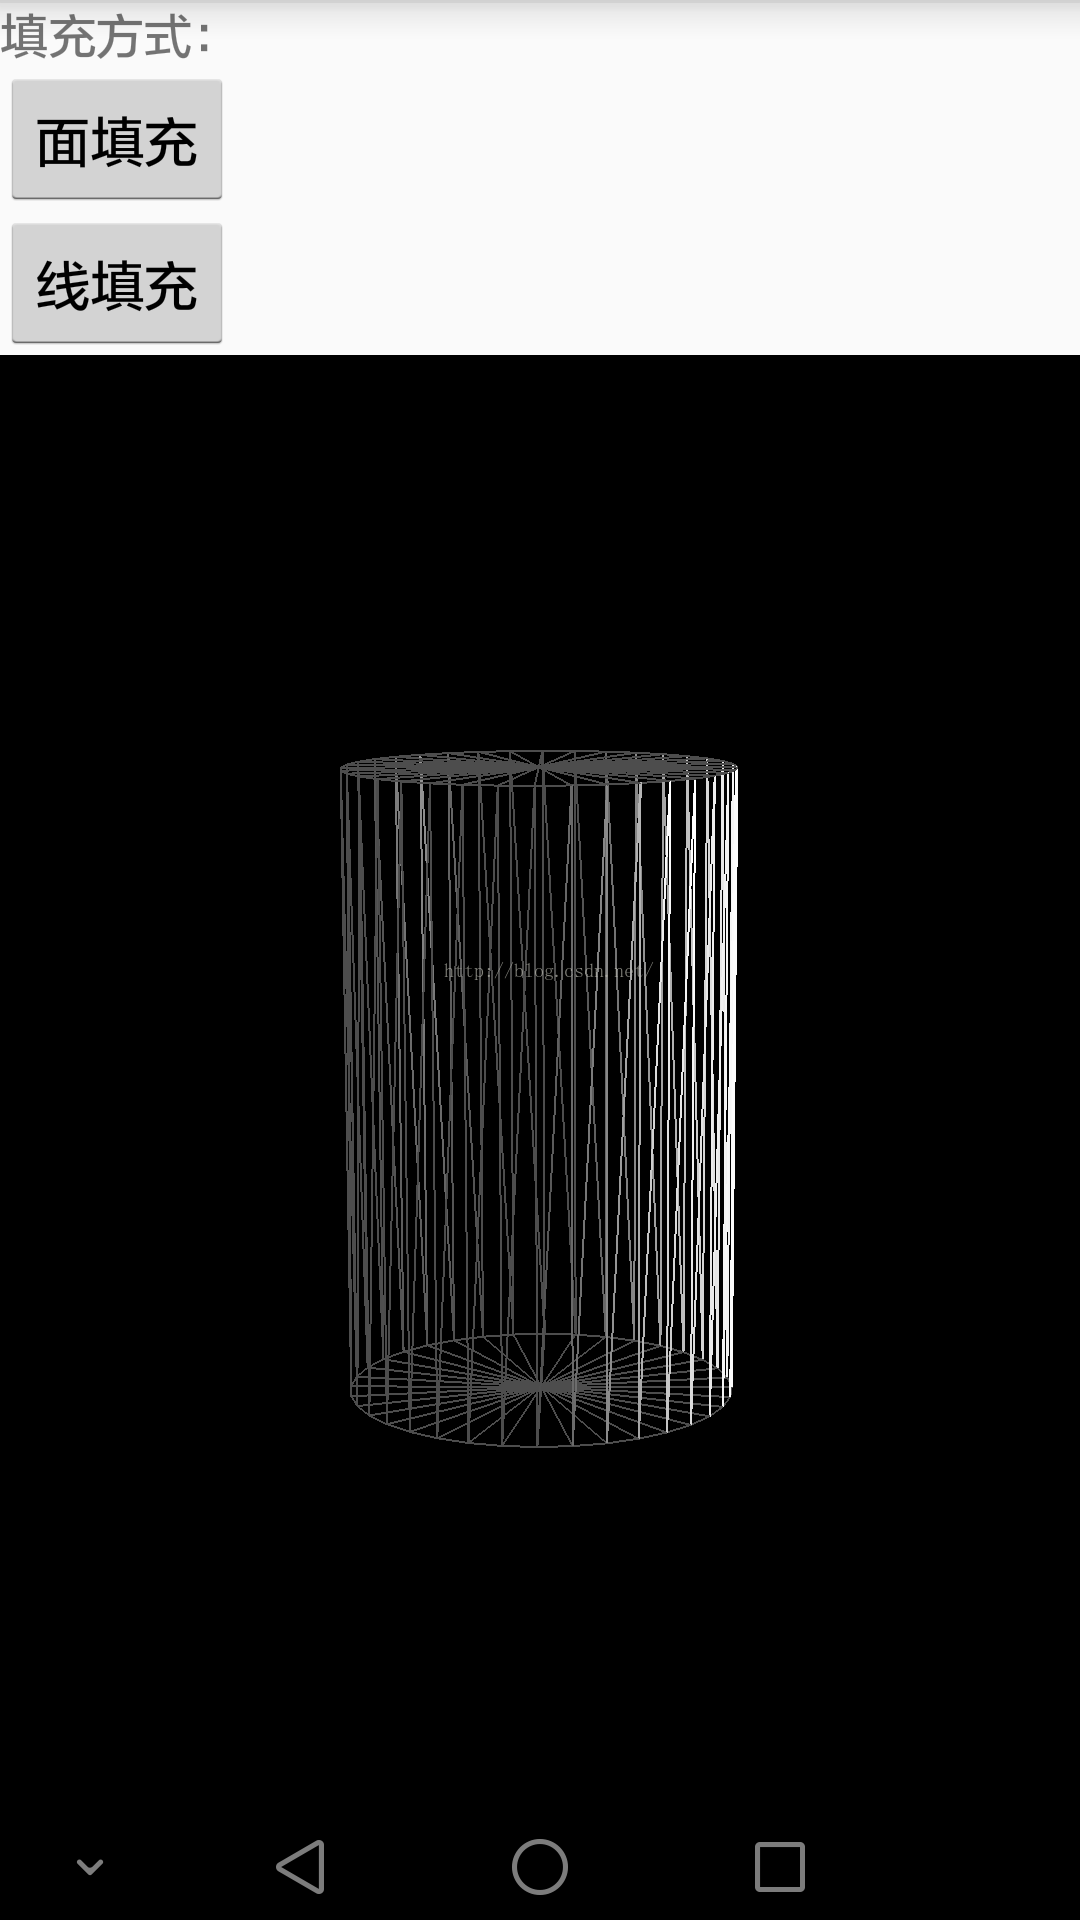
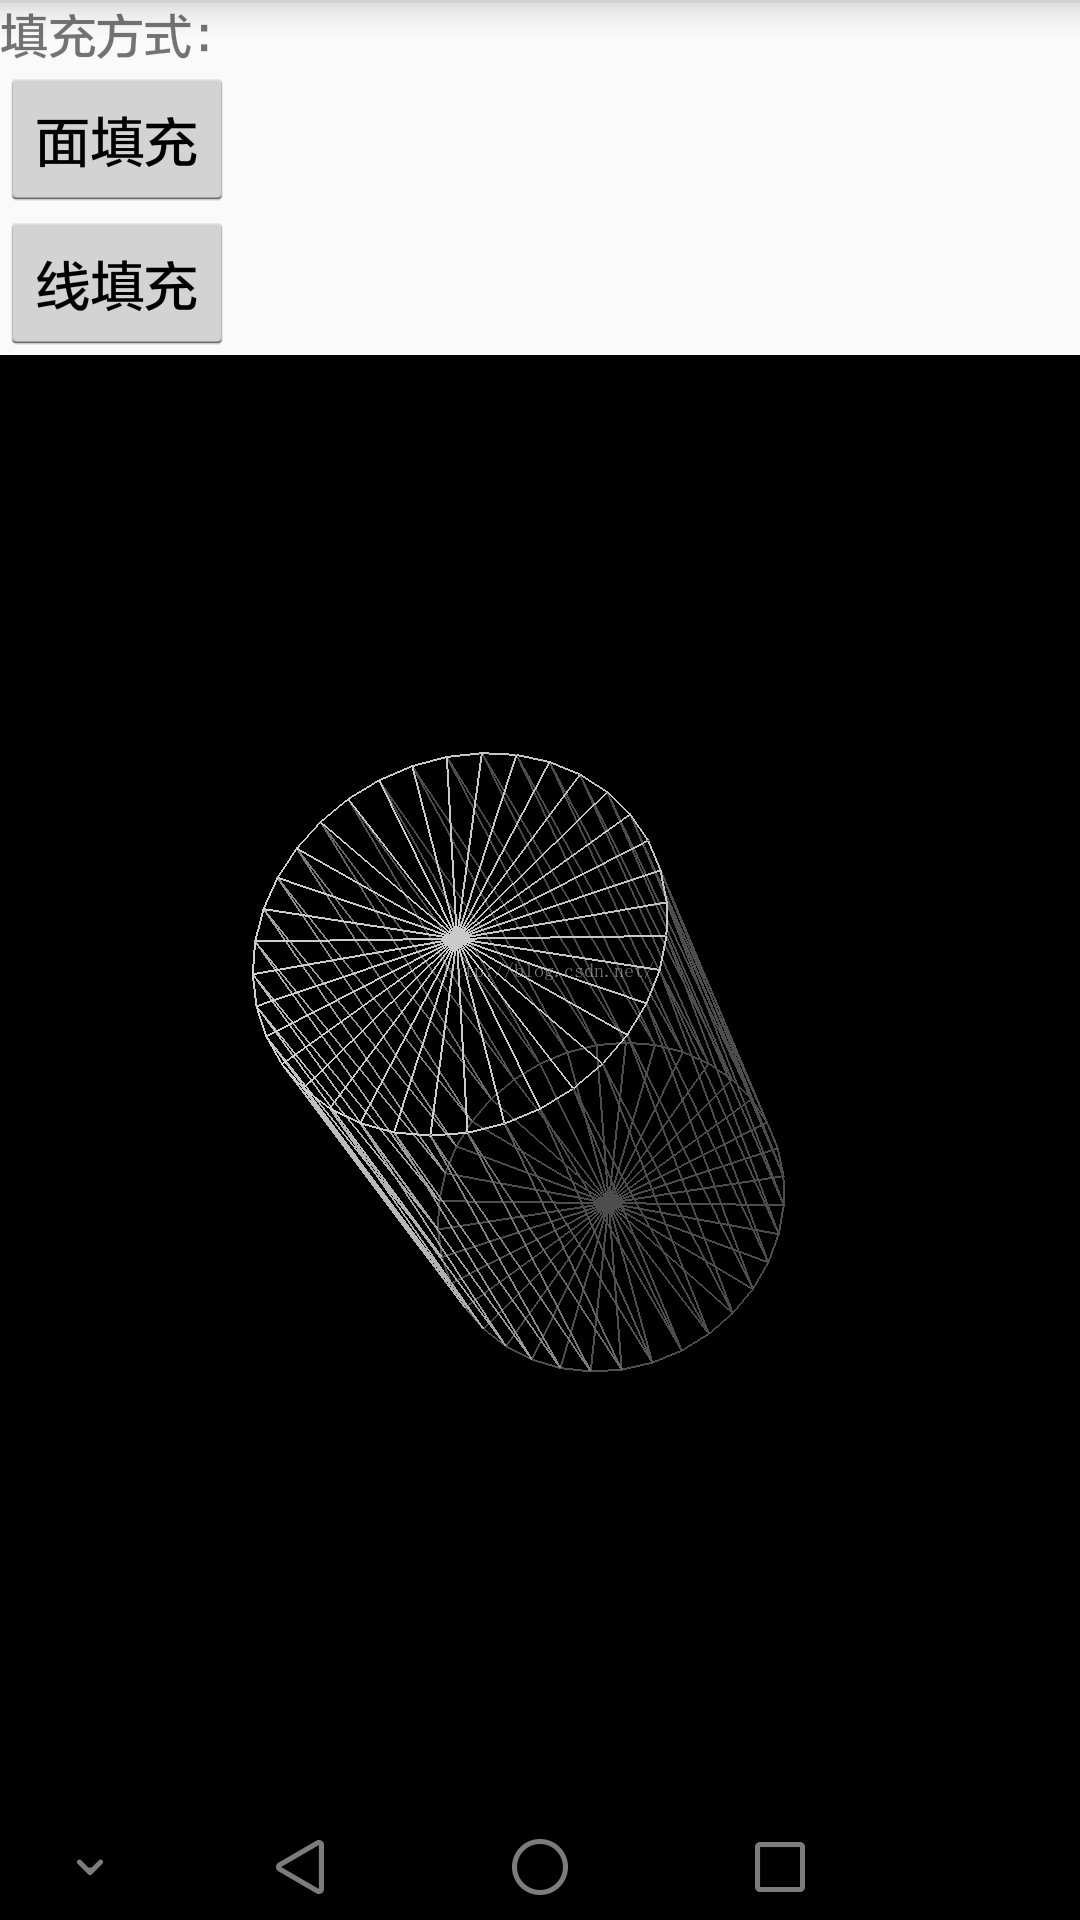
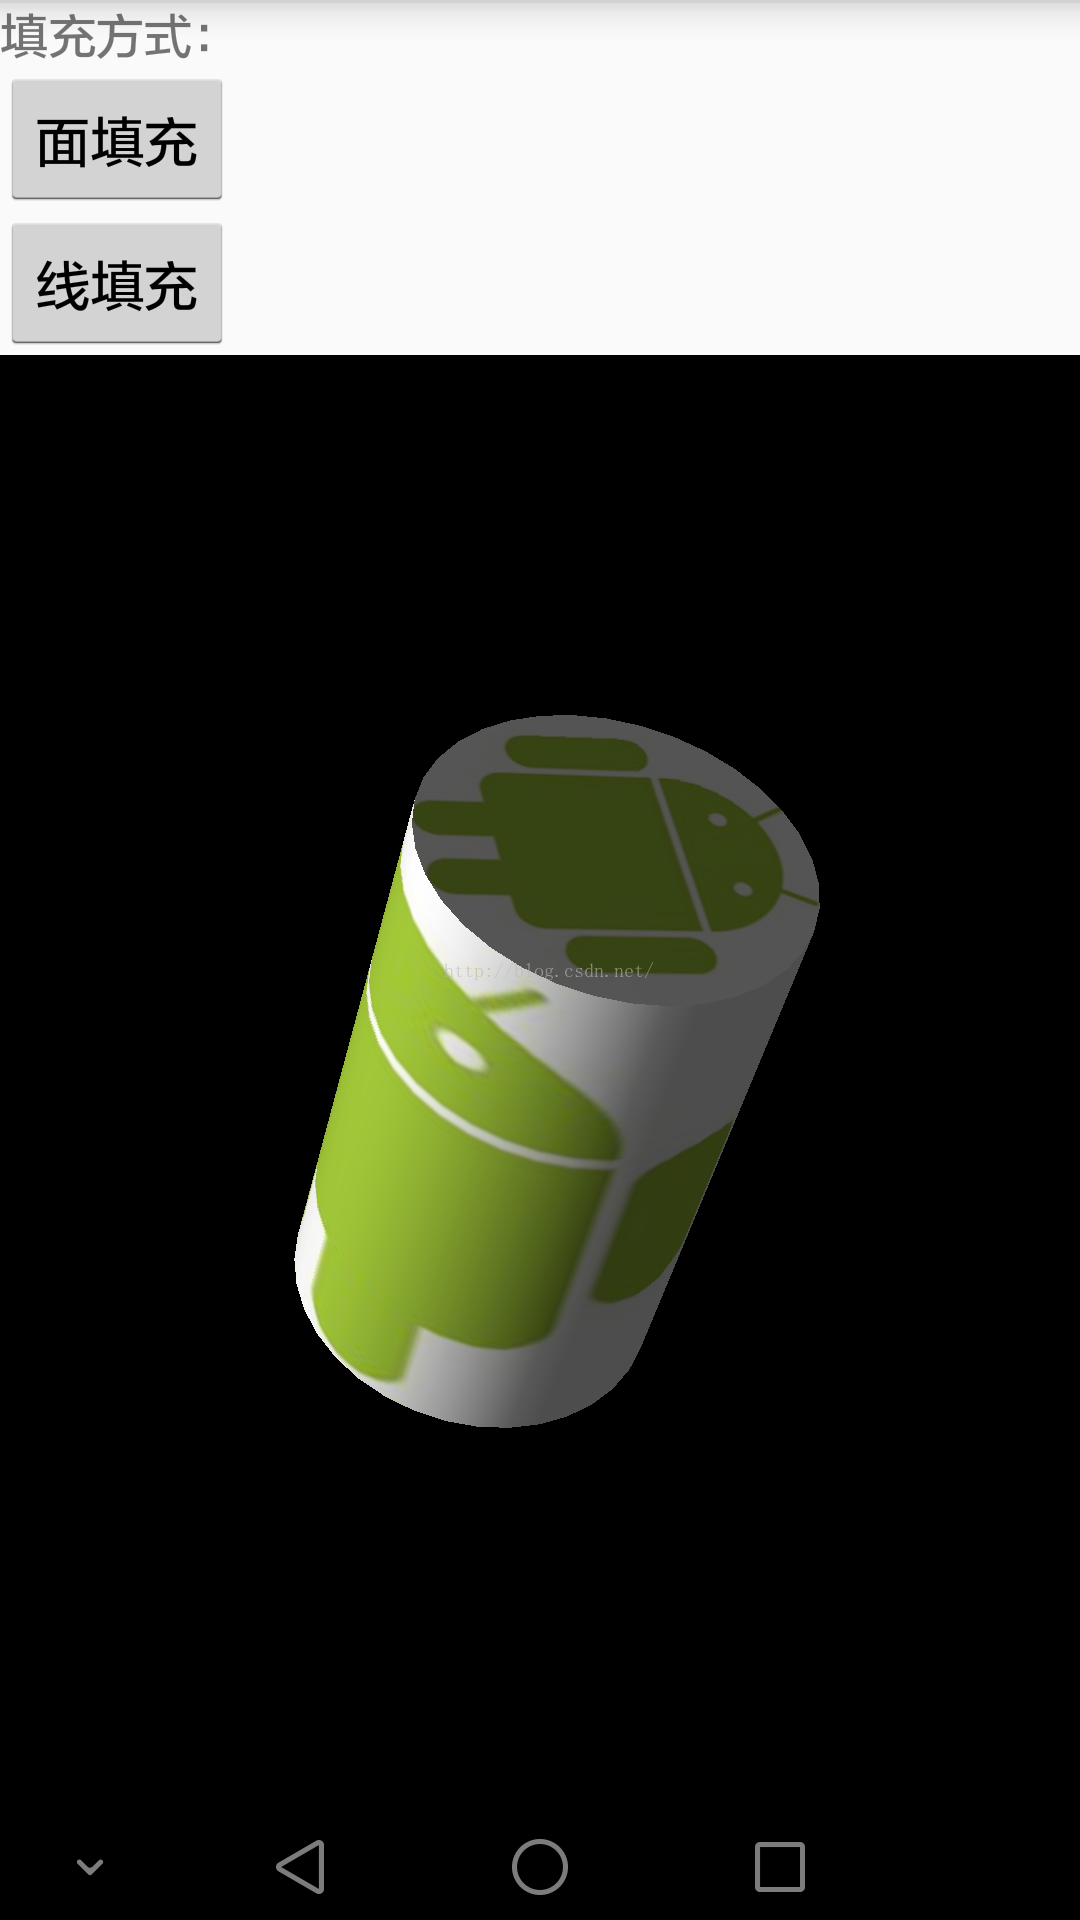
圓面的繪制:
package test.com.opengles8_1;


import java.nio.ByteBuffer;
import java.nio.ByteOrder;
import java.nio.FloatBuffer;
import android.opengl.GLES20;
/**
 * Created by hbin on 2016/9/5.
 * 圓面
 */
public class Circle {
    int mProgram;//自定義渲染管線著色器程序id
    int muMVPMatrixHandle;//總變換矩陣引用
    int maPositionHandle; //頂點位置屬性引用
    int maTexCoorHandle; //頂點紋理坐標屬性引用
    int muMMatrixHandle;

    int maCameraHandle; //攝像機位置屬性引用
    int maNormalHandle; //頂點法向量屬性引用
    int maLightLocationHandle;//光源位置屬性引用


    String mVertexShader;//頂點著色器代碼腳本
    String mFragmentShader;//片元著色器代碼腳本

    FloatBuffer   mVertexBuffer;//頂點坐標數據緩沖
    FloatBuffer   mTexCoorBuffer;//頂點紋理坐標數據緩沖
    FloatBuffer   mNormalBuffer;//頂點法向量數據緩沖
    int vCount=0;
    float xAngle=0;//繞x軸旋轉的角度
    float yAngle=0;//繞y軸旋轉的角度
    float zAngle=0;//繞z軸旋轉的角度

    public Circle(MySurfaceView mv,float scale,float r,int n)
    {
        //調用初始化頂點數據的initVertexData方法
        initVertexData(scale,r,n);
        //調用初始化著色器的intShader方法
        initShader(mv);
    }

    public void initVertexData(
            float scale,//大小
            float r,//半徑
            int n //切分的份數
    ){
        r=r*scale;
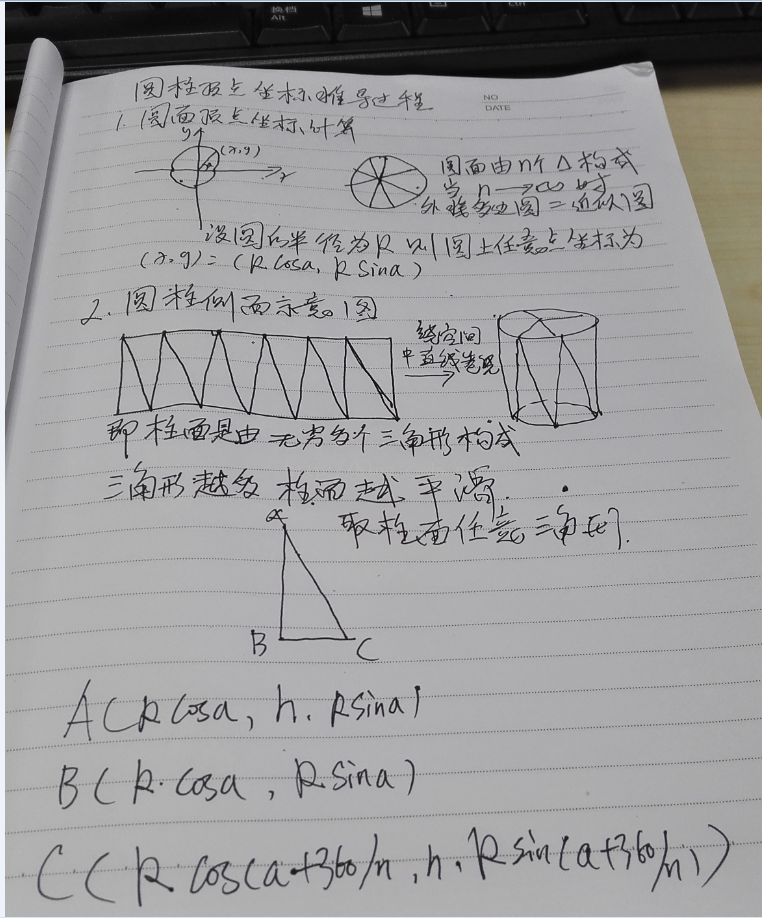
        float angdegSpan=360.0f/n;//頂角的讀書
        vCount=3*n;//頂點個數,共有n個三角形,每個三角形都有3個頂點

        float[] vertices=new float[vCount*3];//頂點坐標數據
        float[] textures=new float[vCount*2];//頂點紋理S,T坐標值數組

        //坐標數據初始化
        int count=0;
        int stCount=0;
        for (float angdeg=0;Math.ceil(angdeg)<360;angdeg+=angdegSpan){
            double angrad=Math.toRadians(angdeg);//當前弧度
            double angradNext=Math.toRadians(angdeg+angdegSpan);//下一弧度

            //中心點
            vertices[count++]=0;//頂點坐標
            vertices[count++]=0;
            vertices[count++]=0;

            textures[stCount++]=0.5F;//ST坐標
            textures[stCount++]=0.5f;

            //當前點
            vertices[count++]=(float)(-r*Math.sin(angrad));//頂點坐標
            vertices[count++]=(float)(r*Math.cos(angrad));
            vertices[count++]=0;

            textures[stCount++]=(float)(0.5-0.5*Math.sin(angrad));//st坐標
            textures[stCount++]=(float)(0.5-0.5*Math.cos(angrad));

            //下一點
            vertices[count++]=(float)(-r*Math.sin(angradNext));//頂點坐標
            vertices[count++]=(float)(r*Math.cos(angradNext));
            vertices[count++]=0;

            textures[stCount++]=(float)(0.5-0.5*Math.sin(angradNext));//st坐標
            textures[stCount++]=(float)(0.5-0.5*Math.cos(angradNext));
        }

        ByteBuffer vbb = ByteBuffer.allocateDirect(vertices.length*4);//創建頂點坐標數據緩沖
        vbb.order(ByteOrder.nativeOrder());//設置字節順序為本地操作系統順序
        mVertexBuffer = vbb.asFloatBuffer();//轉換為float型緩沖
        mVertexBuffer.put(vertices);//向緩沖區中放入頂點坐標數據
        mVertexBuffer.position(0);//設置緩沖區起始位置
        //法向量數據初始化-用於計算光照
        float[] normals=new float[vertices.length];
        for(int i=0;i圓柱側面的繪制  package test.com.opengles8_1;

import android.opengl.GLES20;

import java.nio.ByteBuffer;
import java.nio.ByteOrder;
import java.nio.FloatBuffer;

/**
 * Created by hbin on 2016/9/5.
 * 圓柱側面
 */
public class CylinderSide {
    int mProgram;//自定義渲染管線著色器程序id
    int muMVPMatrixHandle;//總變換矩陣引用
    int maPositionHandle; //頂點位置屬性引用
    int maTexCoorHandle; //頂點紋理坐標屬性引用

    int muMMatrixHandle;//位置、旋轉、縮放變換矩陣
    int maCameraHandle; //攝像機位置屬性引用
    int maNormalHandle; //頂點法向量屬性引用
    int maLightLocationHandle;//光源位置屬性引用


    String mVertexShader;//頂點著色器代碼腳本
    String mFragmentShader;//片元著色器代碼腳本

    FloatBuffer mVertexBuffer;//頂點坐標數據緩沖
    FloatBuffer   mTexCoorBuffer;//頂點紋理坐標數據緩沖
    FloatBuffer   mNormalBuffer;//頂點法向量數據緩沖
    int vCount=0;
    float xAngle=0;//繞x軸旋轉的角度
    float yAngle=0;//繞y軸旋轉的角度
    float zAngle=0;//繞z軸旋轉的角度

    public CylinderSide(MySurfaceView mv,float scale,float r,float h,int n)
    {
        //調用初始化頂點數據的initVertexData方法
        initVertexData(scale,r,h,n);
        //調用初始化著色器的intShader方法
        initShader(mv);
    }

    //自定義初始化頂點坐標數據的方法
    public void initVertexData(
            float scale,	//大小
            float r,		//半徑
            float h,		//高度
            int n			//切分的份數
    )
    {
        r=scale*r;
        h=scale*h;

        float angdegSpan=360.0f/n;
        vCount=3*n*4;//頂點個數,共有3*n*4個三角形,每個三角形都有三個頂點
        //坐標數據初始化
        float[] vertices=new float[vCount*3];
        float[] textures=new float[vCount*2];//頂點紋理S、T坐標值數組
        //坐標數據初始化
        int count=0;
        int stCount=0;
        for(float angdeg=0;Math.ceil(angdeg)<360;angdeg+=angdegSpan)//側面
        {
            double angrad=Math.toRadians(angdeg);//當前弧度
            double angradNext=Math.toRadians(angdeg+angdegSpan);//下一弧度
            //底圓當前點---0
            vertices[count++]=(float) (-r*Math.sin(angrad));
            vertices[count++]=0;
            vertices[count++]=(float) (-r*Math.cos(angrad));

            textures[stCount++]=(float) (angrad/(2*Math.PI));//st坐標
            textures[stCount++]=1;
            //頂圓下一點---3
            vertices[count++]=(float) (-r*Math.sin(angradNext));
            vertices[count++]=h;
            vertices[count++]=(float) (-r*Math.cos(angradNext));

            textures[stCount++]=(float) (angradNext/(2*Math.PI));//st坐標
            textures[stCount++]=0;
            //頂圓當前點---2
            vertices[count++]=(float) (-r*Math.sin(angrad));
            vertices[count++]=h;
            vertices[count++]=(float) (-r*Math.cos(angrad));

            textures[stCount++]=(float) (angrad/(2*Math.PI));//st坐標
            textures[stCount++]=0;

            //底圓當前點---0
            vertices[count++]=(float) (-r*Math.sin(angrad));
            vertices[count++]=0;
            vertices[count++]=(float) (-r*Math.cos(angrad));

            textures[stCount++]=(float) (angrad/(2*Math.PI));//st坐標
            textures[stCount++]=1;
            //底圓下一點---1
            vertices[count++]=(float) (-r*Math.sin(angradNext));
            vertices[count++]=0;
            vertices[count++]=(float) (-r*Math.cos(angradNext));

            textures[stCount++]=(float) (angradNext/(2*Math.PI));//st坐標
            textures[stCount++]=1;
            //頂圓下一點---3
            vertices[count++]=(float) (-r*Math.sin(angradNext));
            vertices[count++]=h;
            vertices[count++]=(float) (-r*Math.cos(angradNext));

            textures[stCount++]=(float) (angradNext/(2*Math.PI));//st坐標
            textures[stCount++]=0;
        }
        //法向量數據初始化
        float[] normals=new float[vertices.length];
        for(int i=0;i<vertices.length;i++){ 3="=1){" bytebuffer="" vbb="ByteBuffer.allocateDirect(vertices.length*4);//創建頂點坐標數據緩沖" mvertexbuffer="vbb.asFloatBuffer();//轉換為float型緩沖" nbb="ByteBuffer.allocateDirect(vertices.length*4);//創建頂點法向量數據緩沖" mnormalbuffer="nbb.asFloatBuffer();//轉換為float型緩沖" cbb="ByteBuffer.allocateDirect(textures.length*4);//創建頂點紋理數據緩沖" mtexcoorbuffer="cbb.asFloatBuffer();//轉換為float型緩沖" public="" void="" mysurfaceview="" mvertexshader="ShaderUtil.loadFromAssetsFile("vertex_tex_light.sh"," mfragmentshader="ShaderUtil.loadFromAssetsFile("frag_tex_light.sh"," mprogram="ShaderUtil.createProgram(mVertexShader," id="" mapositionhandle="GLES20.glGetAttribLocation(mProgram," matexcoorhandle="GLES20.glGetAttribLocation(mProgram," mumvpmatrixhandle="GLES20.glGetUniformLocation(mProgram," manormalhandle="GLES20.glGetAttribLocation(mProgram," macamerahandle="GLES20.glGetUniformLocation(mProgram," malightlocationhandle="GLES20.glGetUniformLocation(mProgram," mummatrixhandle="GLES20.glGetUniformLocation(mProgram," int="" gles20.glvertexattribpointer="" pre="">
圓面和圓柱側面公式推導過程
 Android自定義View——QQ音樂中圓形旋轉碟子
思路分析:1、在onMeasure中測量整個View的寬和高後,設置寬高2、獲取我們res的圖片資源後,在ondraw方法中進行繪制圓形圖片3、通過Handler發送Ru
 Android開發---Fragment學習總結(一)
下面正式開始Fragment使用講解:一.准備工作1.引入類庫(導包)步驟:復制jar包--->project視圖下--->工程--->app---&g
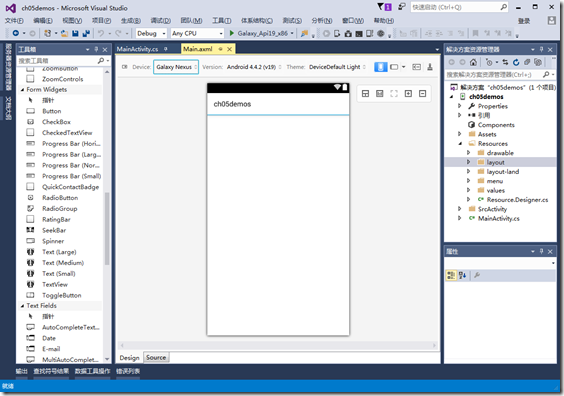 Android項目基本結構詳解
一、簡介第3章雖然通過百度地圖應用展示了你可能感興趣的內容,但是,如果你是一個初學者,一開始就看懂和理解代碼可能會非常費勁。為了解決此問題,從這一章開始,本模塊將從最基本
 自定義dialog+工具類
安卓低版本的效果很難看,高版本的dialog雖然好看,但還是和公司UI給的效果圖有些差距.於是乎就想辦法能不能dialog的布局也能自定義.好了先看效果圖:是不是感覺效果