編輯:關於Android編程
關於GreenDao的優點已經不用再說了,關於第三方數據庫框架有很多,相對於Android系統本身的SQLite以及其它第三方而言,我感覺GreenDao使用更方便,體積小、速度更快。網上大多是關於GreenDao之前版本的介紹,關於3.0+新版的介紹不多。GreenDao新版改動還是挺大的,之前版本使用起來比較復雜,需要新建項目,然後再項目中配置各個實體的字段等相關屬性,然後生成實體以及DAO操作相關的一些類。而GreenDao3.0及其以後是通過注解的方式定義實體類,並且是通過插件來生成相應代碼。
先來張效果圖
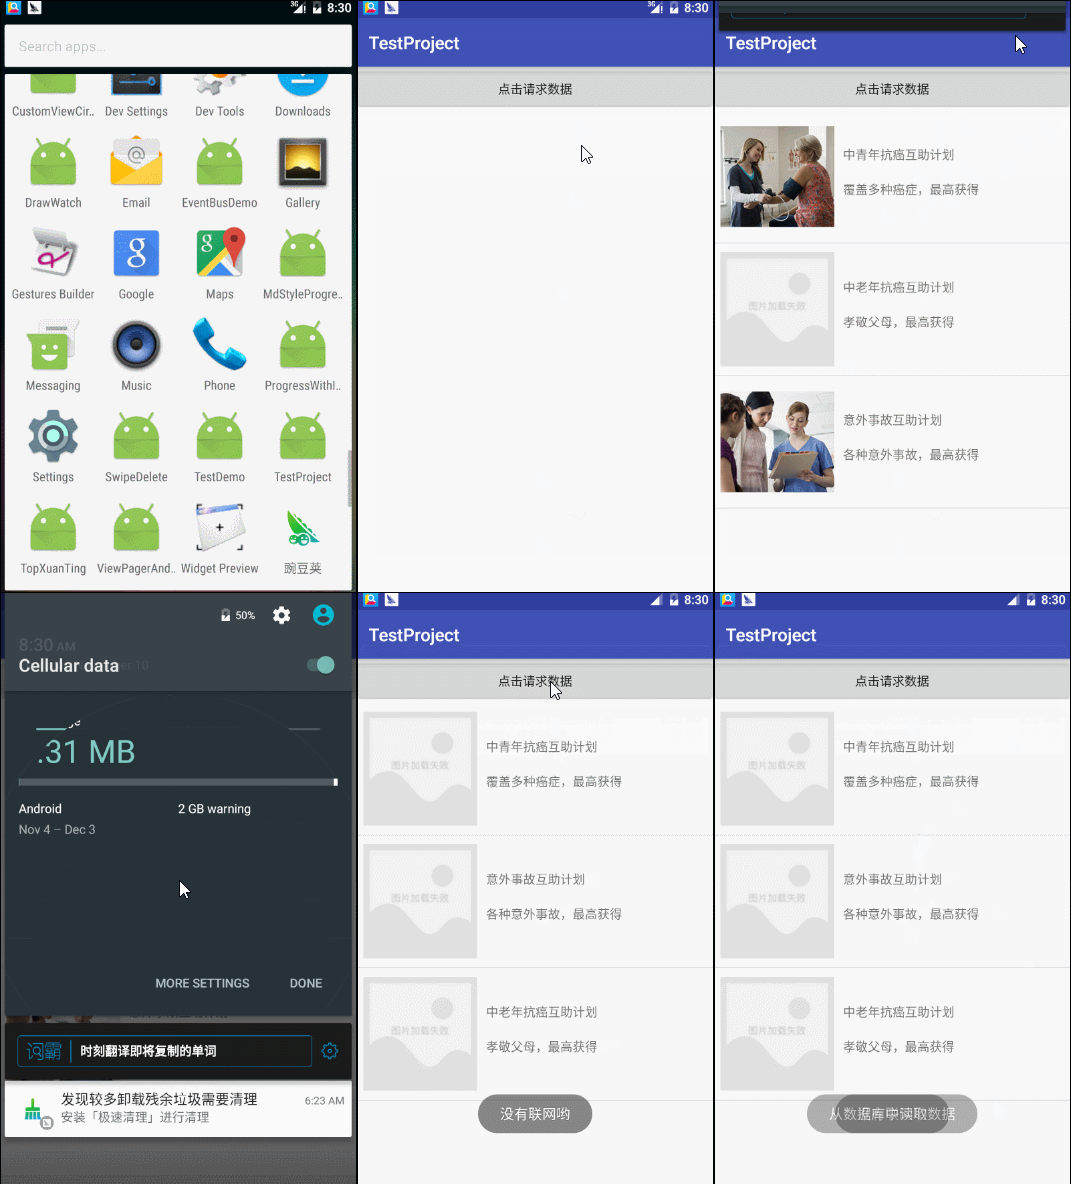 vc7Esb7X1rbOo6zNvMasz+C21MLpt7O+zcO709Cxo7Tmo6zV/cq9v6q3orXEu7DKx7GjtOa1vbu6tObW0LXEoaM8L3A+DQo8aDQgaWQ9"下面還是說下怎麼使用新版greendao3x-吧先給出官網github地址httpsgithubcomgreenrobotgreendao">下面還是說下怎麼使用新版GreenDao3.X 吧,先給出官網github地址:https://github.com/greenrobot/greenDAO
apply plugin: ‘org.greenrobot.greendao’
buildscript {
repositories {
mavenCentral()
}
dependencies {
classpath ‘org.greenrobot:greendao-gradle-plugin:3.0.0’
}
}
dependencies {
compile ‘org.greenrobot:greendao:3.0.0’
}
greendao {
    schemaVersion 1
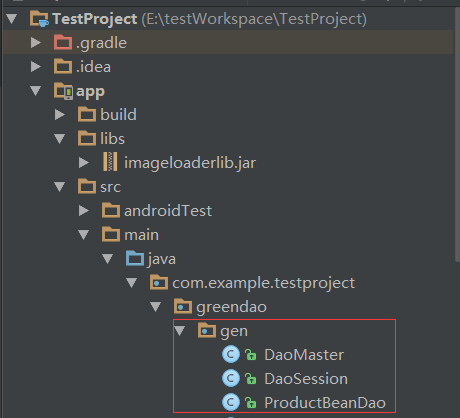
    daoPackage 'com.example.testproject.greendao.gen'
    targetGenDir 'src/main/java'
}
/**
 * 實體類,存儲到數據庫
 */
@Entity
public class ProductBean {
    private Long id;
    @Property(nameInDb = "url")
    private String picUrl;
    @Property(nameInDb = "title")
    private String proTitle;
    @Property(nameInDb = "info")
    private String proInfo;
    @Property(nameInDb = "proId")
    @Id
    private Long proId;
}
/**
 * 自定義MyApplication
 */
public class MyApplication extends Application {

    private static MyApplication myApplication;
    public RequestQueue requestQueue;

    private static DaoMaster daoMaster;
    private static DaoSession daoSession;

    @Override
    public void onCreate() {
        super.onCreate();
        myApplication = this;
        //創建隊列
        requestQueue = Volley.newRequestQueue(this);
    }

    public static DaoMaster getDaoMaster(Context context){
        if(daoMaster == null){
            DaoMaster.DevOpenHelper helper = new DaoMaster.DevOpenHelper(context,"mydata-db",null);
            daoMaster = new DaoMaster(helper.getWritableDatabase());
        }
        return daoMaster;
    }

    public static DaoSession getDaoSession(Context context){
        if(daoSession == null){
            if(daoMaster == null){
                daoMaster = getDaoMaster(context);
            }
            daoSession = daoMaster.newSession();
        }
        return daoSession;
    }

    public static MyApplication getApplication() {
        return myApplication;
    }
}
ProductBeanDao dao = MyApplication.getDaoSession(MainActivity.this).getProductBeanDao();
ProductBean productBean = new ProductBean(null,null,productData.getName(),productData.getInfo(),Long.parseLong(productData.getId())); dao.insert(productBean); //dao.insertOrReplace(productBean); //批量添加的情況(注意try的位置) final Listlists = new ArrayList (); for(int i=0;i<20;i++){ ProductBean productBean = new ProductBean(); productBean.setProTitle(xxxx); productBean.setProInfo(xxxx); lists.add(productBean); } try { MyApplication.getDaoSession(MainActivity.this).runInTx(new Runnable() { @Override public void run() { for(ProductBean bean : lists){ MyApplication.getDaoSession(MainActivity.this).insertOrReplace(bean); } } }); }catch (Exception e){ e.printStackTrace(); }
ProductBean bean = dao.queryBuilder().where(ProductBeanDao.Properties.ProTitle.eq("中青年抗癌互助計劃")).build().unique();
                    if(bean != null){
                        dao.delete(bean);
                    }
ProductBean bean = dao.queryBuilder().where(ProductBeanDao.Properties.ProTitle.eq("中青年抗癌互助計劃")).build().unique();
if(bean != null){
      bean.setProTitle("修改title");
      dao.update(bean);
     }
Listlists = dao.queryBuilder() .where(ProductBeanDao.Properties.ProId.eq(3)) .where(.......) .orderAsc(ProductBeanDao.Properties.ProId) .limit(3) .build().list();
public class MainActivity extends AppCompatActivity {

    private ListView listView;
    private ProductAdapter adapter;
    private List<listprobean> lists;
    private Button btnRequest;
    private static final  String url = "http://test.xinlechou.com/index.php?r=api/insuranceList";

    @Override
    protected void onCreate(Bundle savedInstanceState) {
        super.onCreate(savedInstanceState);
        setContentView(R.layout.activity_main);
        //初始化控件
        iniViews();
        getRequestDatas();
    }

    private void iniViews() {
        listView = (ListView) findViewById(R.id.listView);
        btnRequest = (Button) findViewById(R.id.btn_request);
    }

    public void getRequestDatas() {
        btnRequest.setOnClickListener(new View.OnClickListener() {
            @Override
            public void onClick(View v) {
                //數據庫
                final ProductBeanDao dao = MyApplication.getDaoSession(MainActivity.this).getProductBeanDao();
                if(NetUtil.isNetConnected(MainActivity.this)){
                    //volley請求數據
                    StringRequest request = new StringRequest(url, new Response.Listener<string>() {
                        @Override
                        public void onResponse(String response) {
                            Gson gson = new Gson();
                            ListProBean bean = gson.fromJson(response,ListProBean.class);
                            if(bean.getError() == 0){
                                ArrayList<productdata> datas = bean.getData();
                                adapter = new ProductAdapter(MainActivity.this,datas);
                                listView.setAdapter(adapter);
                                //將數據保存到greendao數據庫
                                for(int i=0;i<datas.size();i++){ productdata="" productbean="" boolean="" flag="dao.insert(productBean)" true="" :="" new="" override="" public="" void="" volleyerror=""> lists = dao.queryBuilder().build().list();
                    if(lists != null && lists.size() > 0){
                        Toast.makeText(MainActivity.this,"從數據庫中讀取數據",Toast.LENGTH_SHORT).show();
                        List<productdata> productDatas = new ArrayList<productdata>();
                        for(int i=0;i<lists.size();i++){ productbean="" string="" title="productBean.getProTitle();" info="productBean.getProInfo();" productdata="" adapter="new" pre="">
 Android手機簽核 Eclipse+VS2010+MSSQL
自己研究的安卓app簽核系統,目前公司內部用著好像也相對穩定,就用這篇文章記錄一下工具環境:Eclipse4.2 ADT23.0 JDK1.8.0 服務端vs2010簡單
 Android撥號盤 支持T9搜索和號碼搜索等撥號盤案例
之前做通訊錄軟件,其中在做撥號盤的時候一直為怎麼實現T9輸入煩惱,上網找了很多帖子,都沒有滿意的答案。不過最後終於是實現了,看社區內好像也有不少朋友需要,在此分享一下。這
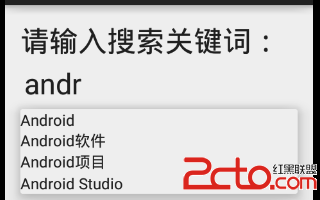 Android Studio開發基礎之AutoCompleteTextView控件的使用
在輸入框中輸入我們想要輸入的信息就會出現其他與其相關的提示信息,這種效果在Android中是用AutoCompleteTextView實現的。AutoCompleteTe
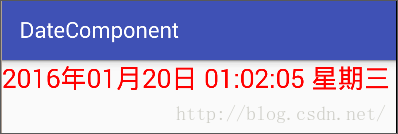 Android界面編程——日期時間組件(五)
2.6日期時間組件2.6.1 TextClock以文本的方式顯示系統日期和時間,可以自定義顯示格式,是 Android4.2(對應API Level 17)提供的新特性。