編輯:關於Android編程
本文翻譯自Riggaroo的《Introduction to Automated Android Testing – Part 2 – Setup》
注意:以下的測試特指“程序員編寫的自動化代碼測試”
水平有限,歡迎指教。如有錯漏,多多包涵。
作者的項目地址:
https://github.com/riggaroo/GithubUsersSearchApp。
請注意:每個分支對應這一系列博客的每一篇文章。
在這一系列博客中,我們將會介紹安卓的自動化測試。在Part 1中,我們了解了為什麼要寫測試,測試代碼放在哪裡和安卓中有幾種類型的代碼測試。
在這篇文章中,我們將會把項目配置成典型的架構以便進行測試。我將會根據本系列博客的草稿創建一個例子項目,並演示我設想中的每一個步驟。我們將會創建的例子是一個通過Github API搜索用戶的App。下圖是App的簡單原型:

我們將會從0開始。如果你跟著每個步驟做,你應該能得到一個這樣子的項目。
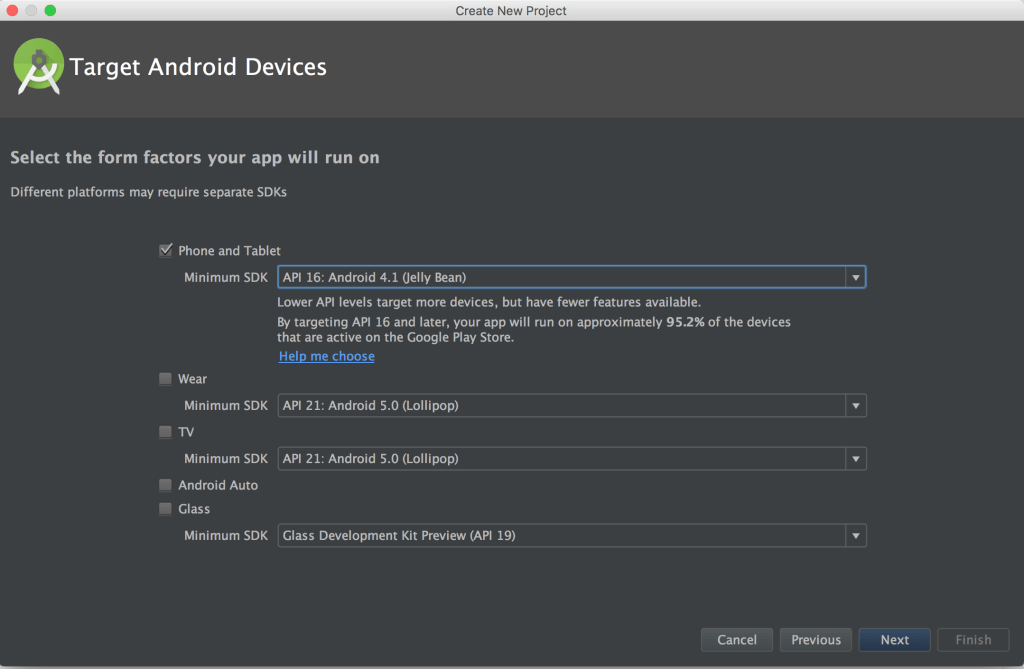
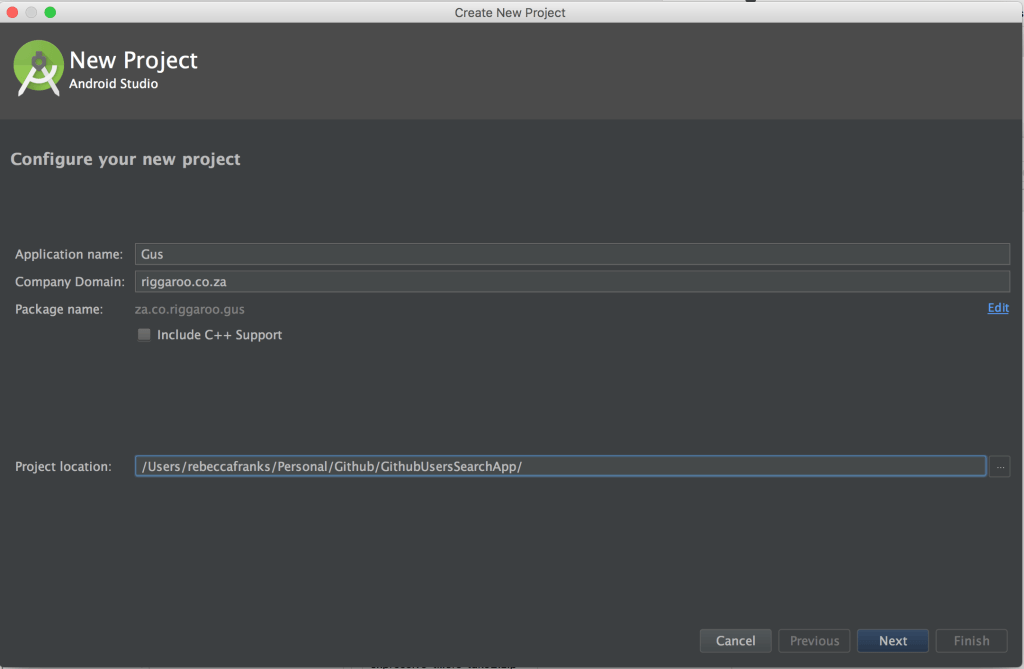 接下來選擇要支持的Android版本號(我一般不會選擇低於API 16,選擇API 16,你可以獲得95.2%的覆蓋率)。選擇API 16並點擊“Next”。
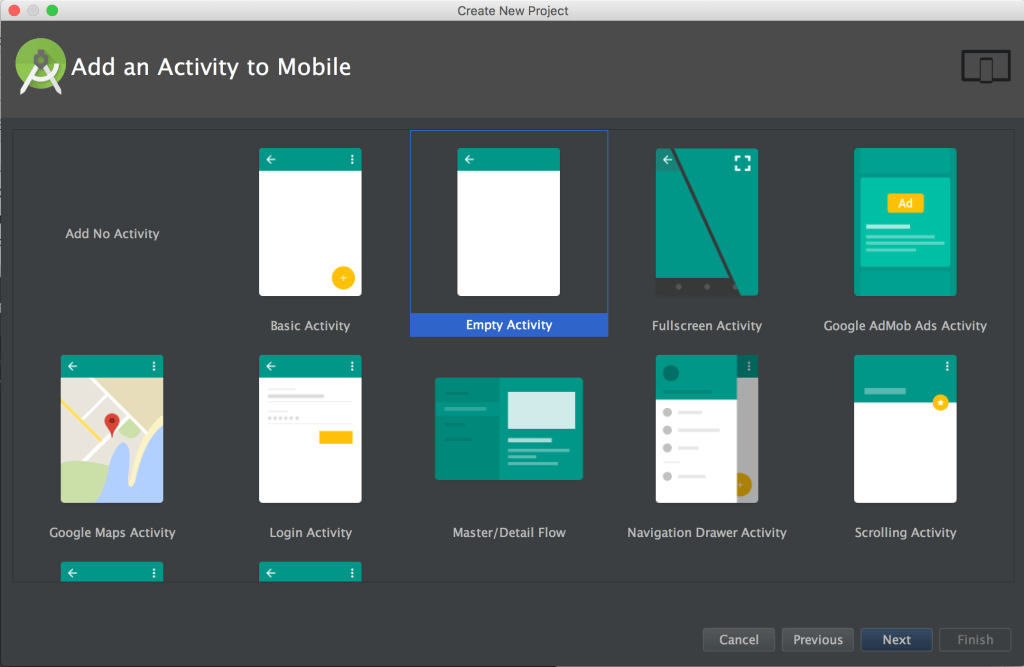
 選擇“Empty Activity”並點擊“Next”。
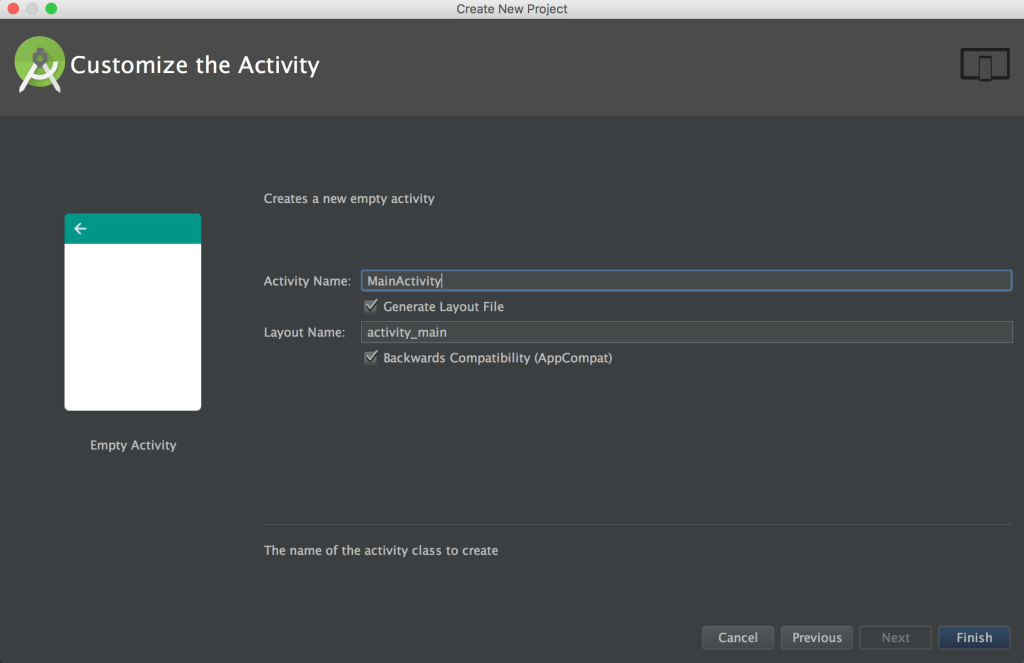
 修改Activity的名字為UserSearchActivity,修改layout的名字為activity_user_search。點擊“Finish”。
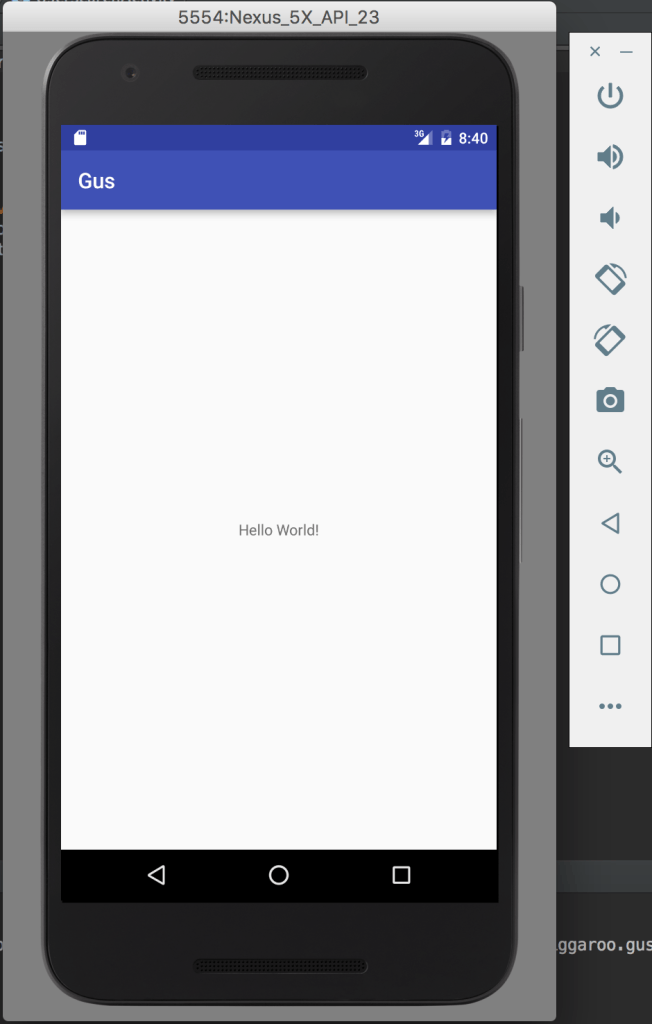
 如果你運行App - 你會看到一個空白的activity,如下:
導航到你的app中的build.gradle文件並添加以下依賴。需要添加的依賴包括 Espresso, Mockito, PowerMock 和 Hamcrest。Retrofit, OkHttp, Java">RxJava 和 RxAndroid 也被添加,它們可以幫忙實現高效的網絡訪問以及更整潔的代碼。
dependencies {
    compile fileTree(dir: 'libs', include: ['*.jar'])

    compile 'com.squareup.okhttp3:logging-interceptor:3.4.0-RC1'
    compile 'com.android.support:appcompat-v7:24.2.1'
    compile 'com.android.support.constraint:constraint-layout:1.0.0-alpha8'

    //Retrofit, RxJava and OkHttp.
    compile 'com.squareup.retrofit2:retrofit:2.1.0'
    compile 'com.squareup.retrofit2:converter-gson:2.1.0'
    compile 'com.squareup.okhttp3:okhttp:3.4.0-RC1'
    compile 'com.squareup.retrofit2:adapter-rxjava:2.1.0'
    compile 'io.reactivex:rxandroid:1.2.1'
    compile 'io.reactivex:rxjava:1.1.6'
    compile 'com.squareup.picasso:picasso:2.5.2'

    //Dependencies for JUNit and unit tests.
    testCompile "junit:junit:4.12"
    testCompile "org.mockito:mockito-all:1.10.19"
    testCompile "org.hamcrest:hamcrest-all:1.3"
    testCompile("org.powermock:powermock-module-junit4:1.6.2")
    testCompile("org.powermock:powermock-api-mockito:1.6.2")
    testCompile 'com.squareup.okhttp3:mockwebserver:3.4.0-RC1'

    //Dependencies for Espresso
    androidTestCompile 'com.android.support:appcompat-v7:24.2.1'
    androidTestCompile('com.android.support.test.espresso:espresso-core:2.2.2', {
        exclude group: 'com.android.support', module: 'support-annotations'
    })
    androidTestCompile("com.android.support.test:runner:0.5") {
        exclude module: 'support-annotations'
        exclude module: 'support-v4'
    }
    androidTestCompile("com.android.support.test:rules:0.5") {
        exclude module: 'support-annotations'
        exclude module: 'support-v4'
    }
    androidTestCompile("com.android.support.test.espresso:espresso-intents:2.2.2") {
        exclude module: 'recyclerview-v7'
        exclude module: 'support-annotations'
        exclude module: 'support-v4'
    }
    androidTestCompile('com.android.support.test.espresso:espresso-contrib:2.2.1') {
        exclude module: 'recyclerview-v7'
        exclude module: 'support-annotations'
        exclude module: 'support-v4'

    }
}
譯者注:在我翻譯的時候,有些依賴包已經更新了版本,所以跟原文會有些許出入。如果出現“Failed to resolve:包名”,點擊“Install artifact and sync project”下載安裝依賴包,應該可以解決。其它的依賴包沖突一般更新為最新版本都可解決。例如,我將原文中的appcompat-v7:24.1.1修改為appcompat-v7:24.2.1。
testCompile是配置單元測試的依賴(位於src/test)。而androidTestCompile則是用來配置instrumentation測試(位於src/androidTest)。兩者的不同之處你可以在本系列的第一篇博客中找到。
為了能輕松搞笑地測試UI,我們不會直接調用Github的生產環境API。我們將會mock響應,並模擬不同的網絡情況。想達到這樣的目的有幾種方式,我將會展示的是使用Gradle Product Flavors。
Flavors允許你為App構建不同的版本,不同版本之間可以有不同的源代碼或資源文件。例如,當你想要一個免費版本和一個擁有更多功能的付費版本,使用Product Flavors會是一個絕佳的實現方式。
在當前的情況下,我們要創建一個“Production”和一個“Mock”flavor。如果我們需要App指向某個展示環境,我們也可以添加一個“Staging”flavor。這樣我們就可以同時安裝production版本和mock版本的app。
為了使用productFlavor,導航到app的build.gradle文件並添加以下代碼進android{}區間。下面的代碼意味著,當變量為mock時,applicationId的值會不同於prod版本,這樣就可以同時安裝在同一台設備上。prod版本的applicationId的值將會從defaultConfig設置獲取。
productFlavors {
    prod {

    }
    mock {
        applicationId "za.co.riggaroo.gus.mock"
    }
}
執行Gradle Sync,然後在IDE的左邊你應該可以看到“Build Variants”tab。打開它,你就可以選擇不同的flavors。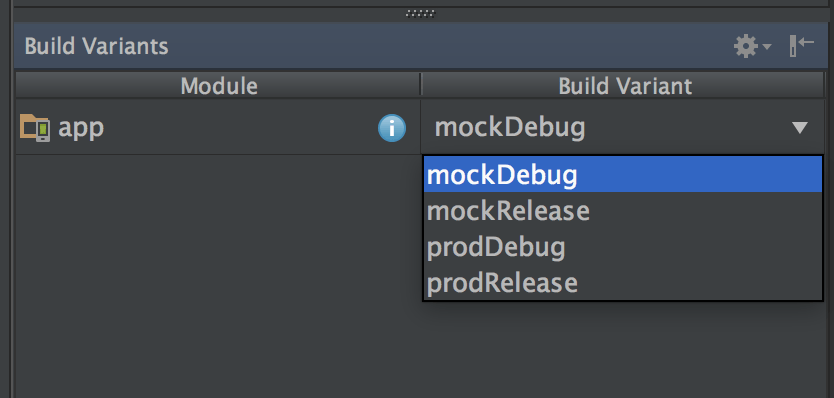
如果你選擇不同的variant,當你點擊“run”去編譯運行項目,這時部署到你的設備的將會是與variant相關的一套源碼及applicationId。
想運行已經存在於項目裡面的默認的單元測試(ExampleUnitTest),可以用下面兩種方法:
在Android Studio裡面導航到app/src/test/java文件夾,右鍵點擊並選擇彈出菜單的“Run Tests”。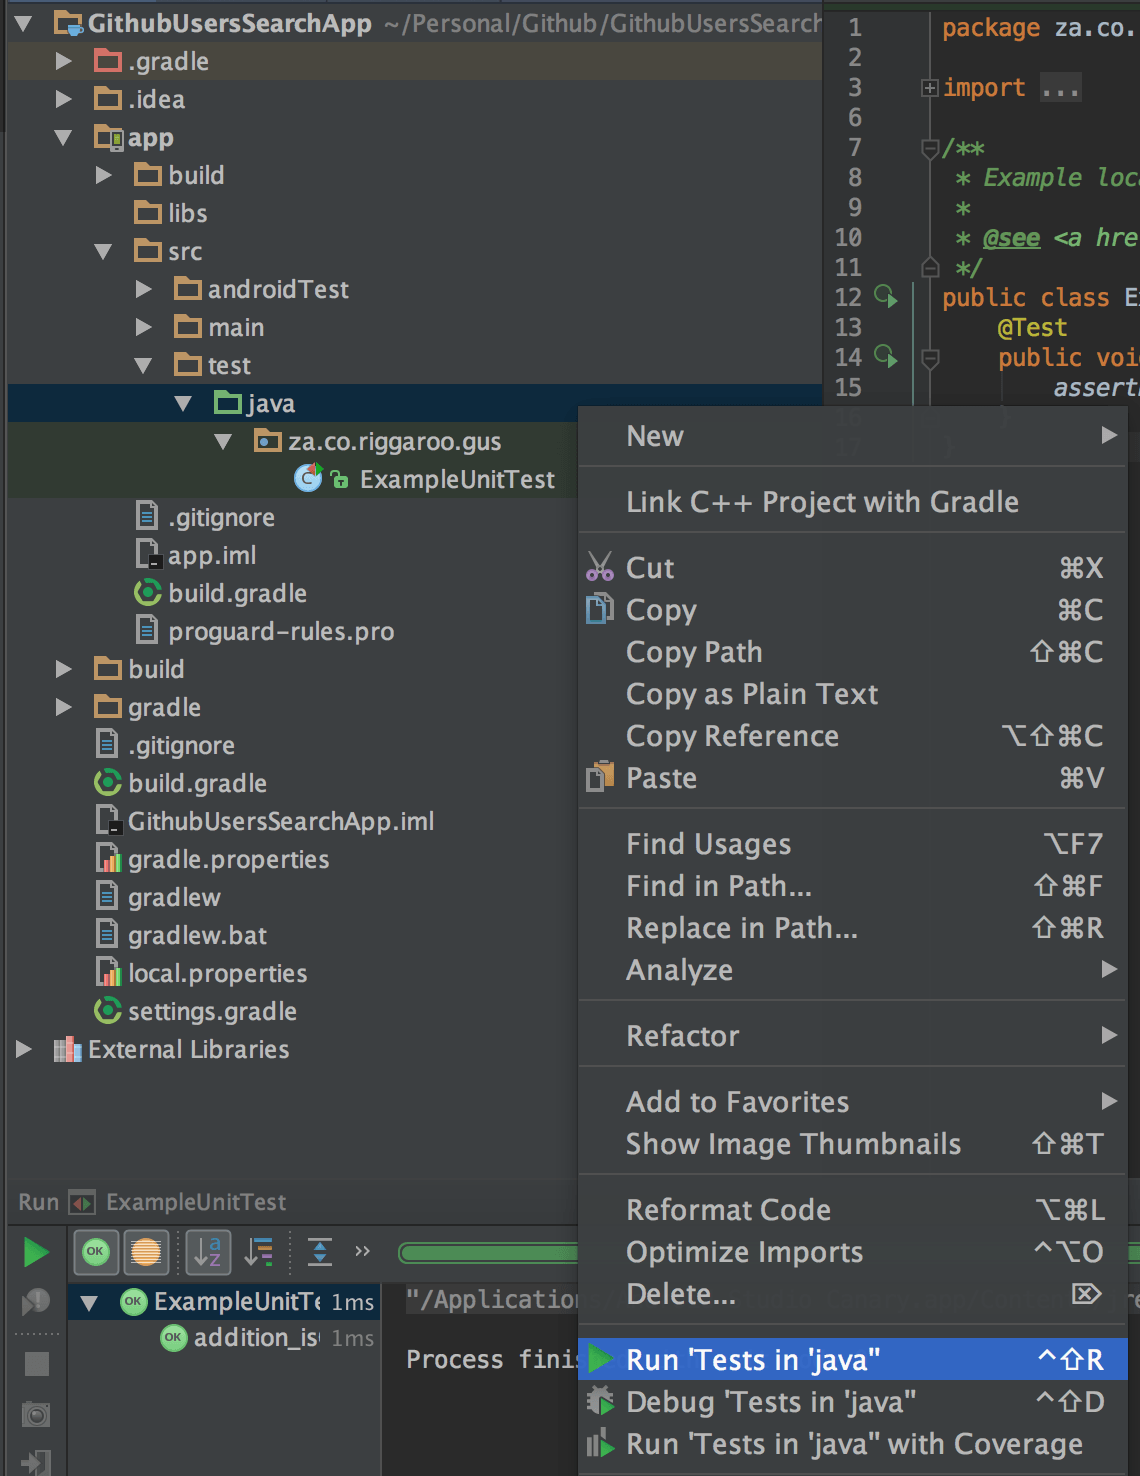 使用Gradle : 在terminal窗口運行 ./gradlew check
 譯者注:Windows下可能需要使用反斜槓`.\gradlew check’
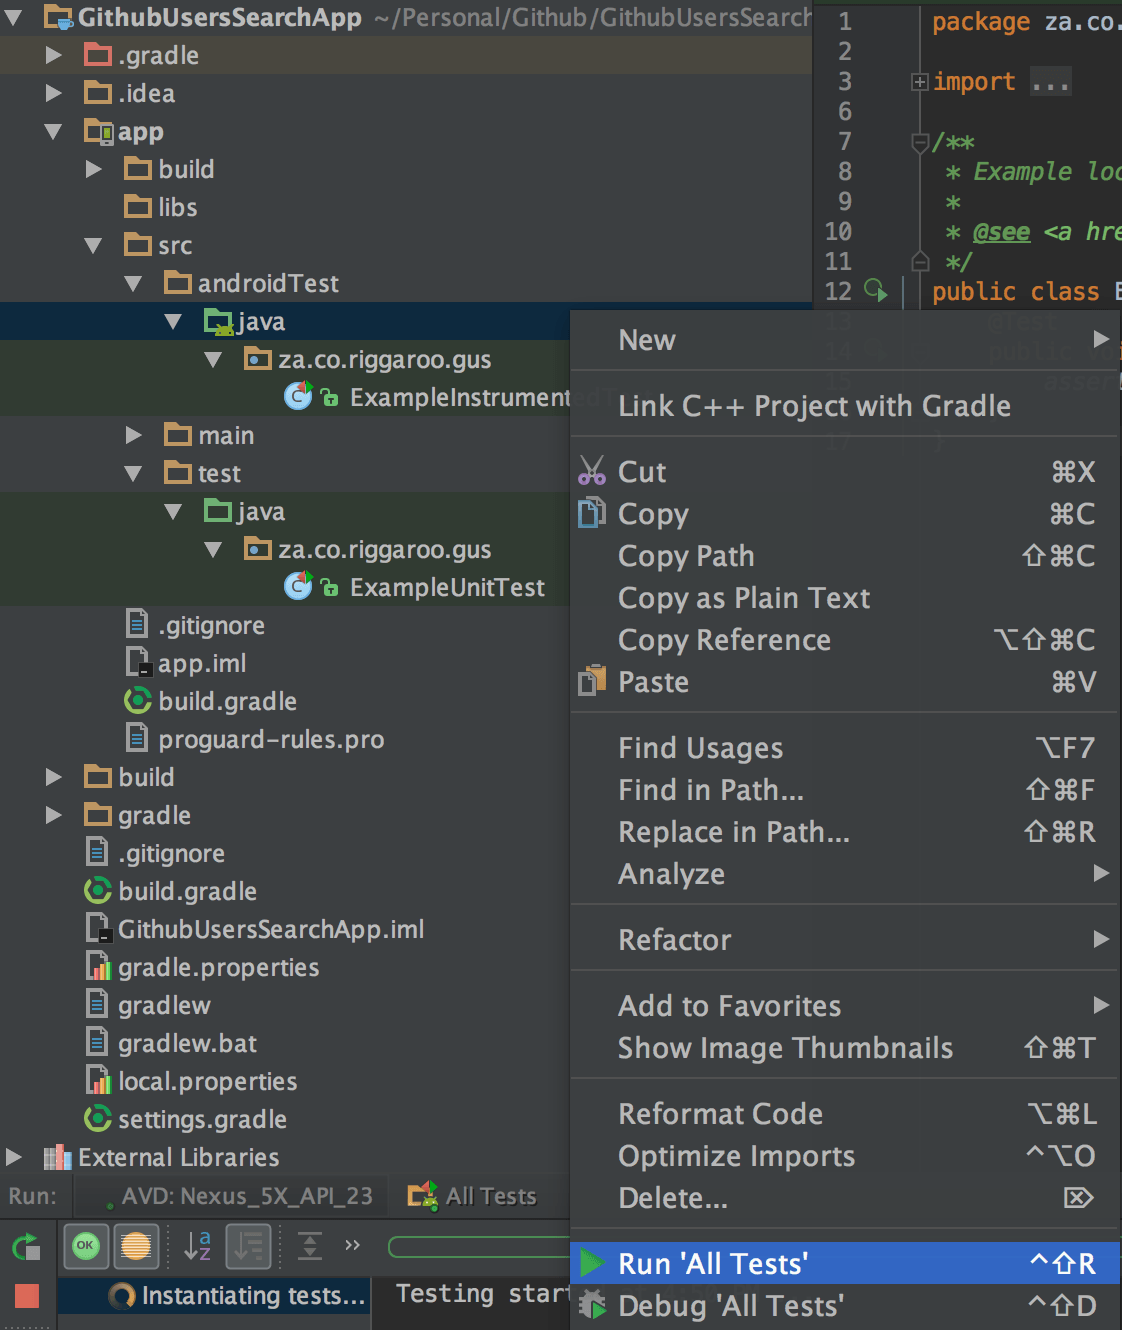 使用Gradle : 在terminal窗口運行 ./gradlew connectedAndroidTest
 譯者注:Windows下可能需要使用反斜槓`.\gradlew connectedAndroidTest’
我們已經了解了如何創建一個簡單APP的配置,如何運行不同類型的測試,我們將遵循什麼樣的架構。這樣我們已經朝著一個能輕松為自己的APP寫測試的道路前進了。如果你想看看本博客完成的樣例,請check out本博客對應的已完成的代碼。
下一篇博客將會對深入對實現特性及測試代碼的細節的了解。
 Android百度定位導航之基於百度地圖移動獲取位置和自動定位
一、問題描述使用百度地圖實現如圖所示應用,首先自動定位當前我起始位置(小圓點位置),並跟隨移動不斷自動定位我的當前位置百度Api不同版本使用會有些差異,本例中加入lib如
 Android UI設計——ViewPage中自定義標題欄(四)
我們在上一篇博客《Android UI設計——ViewPage中PagerTabStrip與PagerTitleStrip添加標題欄(三)》 中學
 ES文件浏覽器怎麼開啟保護跟打開網絡保護
ES文件浏覽器怎麼開啟保護跟打開網絡保護。ES文件浏覽器很強大的一個軟件。有時我們防止別人進入手機文件,偷看我們的文件的時候,我們設置對ES文件浏覽器開啟保
 Android : DevicePolicyManager
介紹Android 2.2(API 8)開始提供了一個可管理和操作設備的類DevicePolicyManager,通過這個類可以進行鎖屏、設置密碼、清除密碼、恢復出廠設置