編輯:關於Android編程


http://download.eclipse.org/egit/updates。
往下選擇默認的就ok了。安裝完成之後需要重啟eclipse。
需要在Window -> Preferences -> Team -> Git -> Configuration中配置GitHub的用戶信息。

3. 在eclipse中創建Java項目(本文以Java項目為例,其他項目與此類似)。在項目名字上右鍵選擇Team -> Share Project:

選擇Git,點擊下一步:

第一次時需要勾選Use or create repositZ喎?/kf/ware/vc/" target="_blank" class="keylink">vcnkgaW4gcGFyZW50IGZvbGRlciBvZiBwcm9qZWN0PGJyIC8+DQo8aW1nIGFsdD0="Configure Git Repository" src="/uploadfile/Collfiles/20160906/20160906092859209.png" title="\" />
選中項目,點擊Create Repository

完成後就在本機上創建了一個Git倉庫。此時項目中文件會顯示問號小圖標。

此時就可以把代碼提交到本地倉庫了,在項目上右鍵選擇Team -> Commit

可以選擇某個文件提交,也可以選擇全部提交。Commit message為必填項。

點擊Commit按鈕就可以把代碼提交到本地倉庫。當然也可以點擊Commit and Push按鈕提交代碼到本地倉庫並上傳至GitHub。
如果點擊的是Commit按鈕,接下來就要把代碼Push到GitHub上。右鍵項目選擇Team -> Remote -> Push

輸入之前在GitHub上創建的Repository的URI

Host和Repository path會自動生成,不需要輸入。User和Password需要輸入。
下一步選擇分支,此處選擇master而不是HEAD。

然後點擊Add Spec


點擊完成,上傳成功。此時在GitHub上查看代碼是否已經上傳。
如果沒有上傳成功,可能是上一步沒有勾選Force Update。建議每次上傳都勾選。

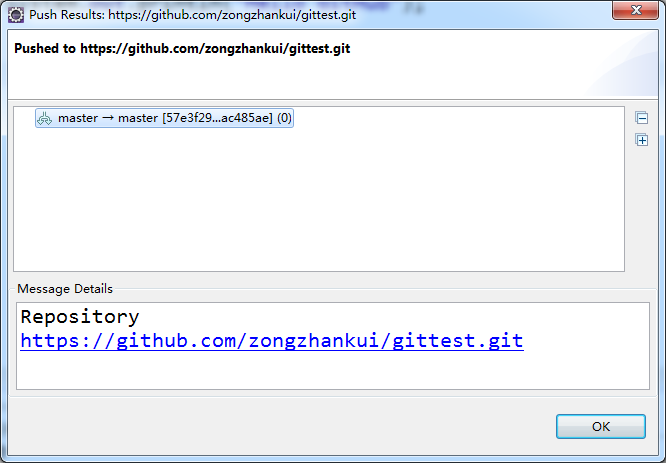
至此全部完成。
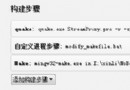 Qt for Android 編譯安卓原生可執行程序
作為 C/C++ 程序員,有時候我們希望在安卓上運行從 C/C++ 生成的可執行程序,而不是在 Java 中通過 jni 的方式來調用 C
 淺談android布局優化的三大標簽
1、布局重用 標簽能夠重用布局文件,簡單的使用如下: ... 1)標簽可以使用單獨的layout屬性,這個也是必須使用的。 2)可
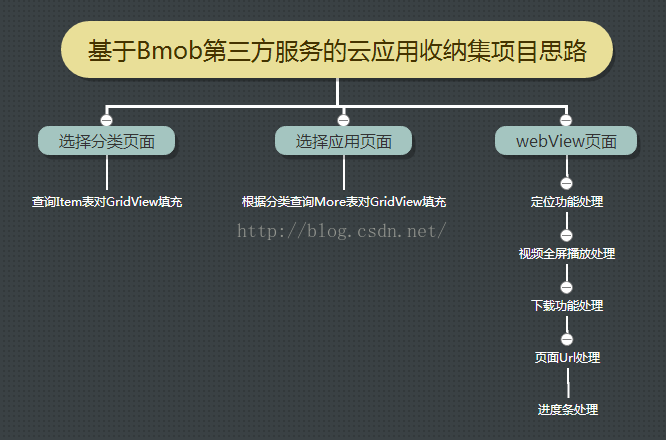 Android實戰——第三方服務之Bmob後端雲的雲應用收納集小項目(五)
項目意義:對於2016年Google I/O大會上提出的Instant Apps,即用戶不需下載app,就可以運行app的這個新鮮的理念聰明你的可能會聯想到H5App,w
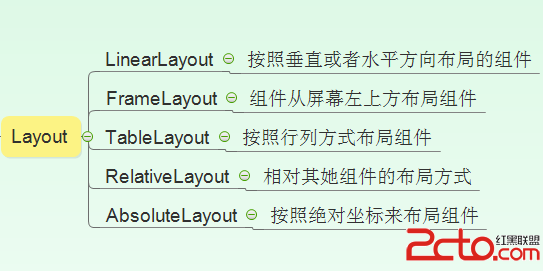 淺談Android布局
在前面的博客中,小編介紹了Android的極光推送以及如何實現登錄的一個小demo,對於xml布局頁面,擺控件這塊的內容,小編還不是很熟練,今天小編主要簡單總結一下在An