編輯:關於Android編程
今天晚上被弟弟告知他在子線程中更新了UI,問我是不是版本的問題,我果斷說是他的代碼寫錯了,不過分分鐘被打臉,經過我一番仔細的探查最終發現了原因,或許這件事的結果不是多麼的重要,但是我認為探查的過程還是有一定的參考價值的.
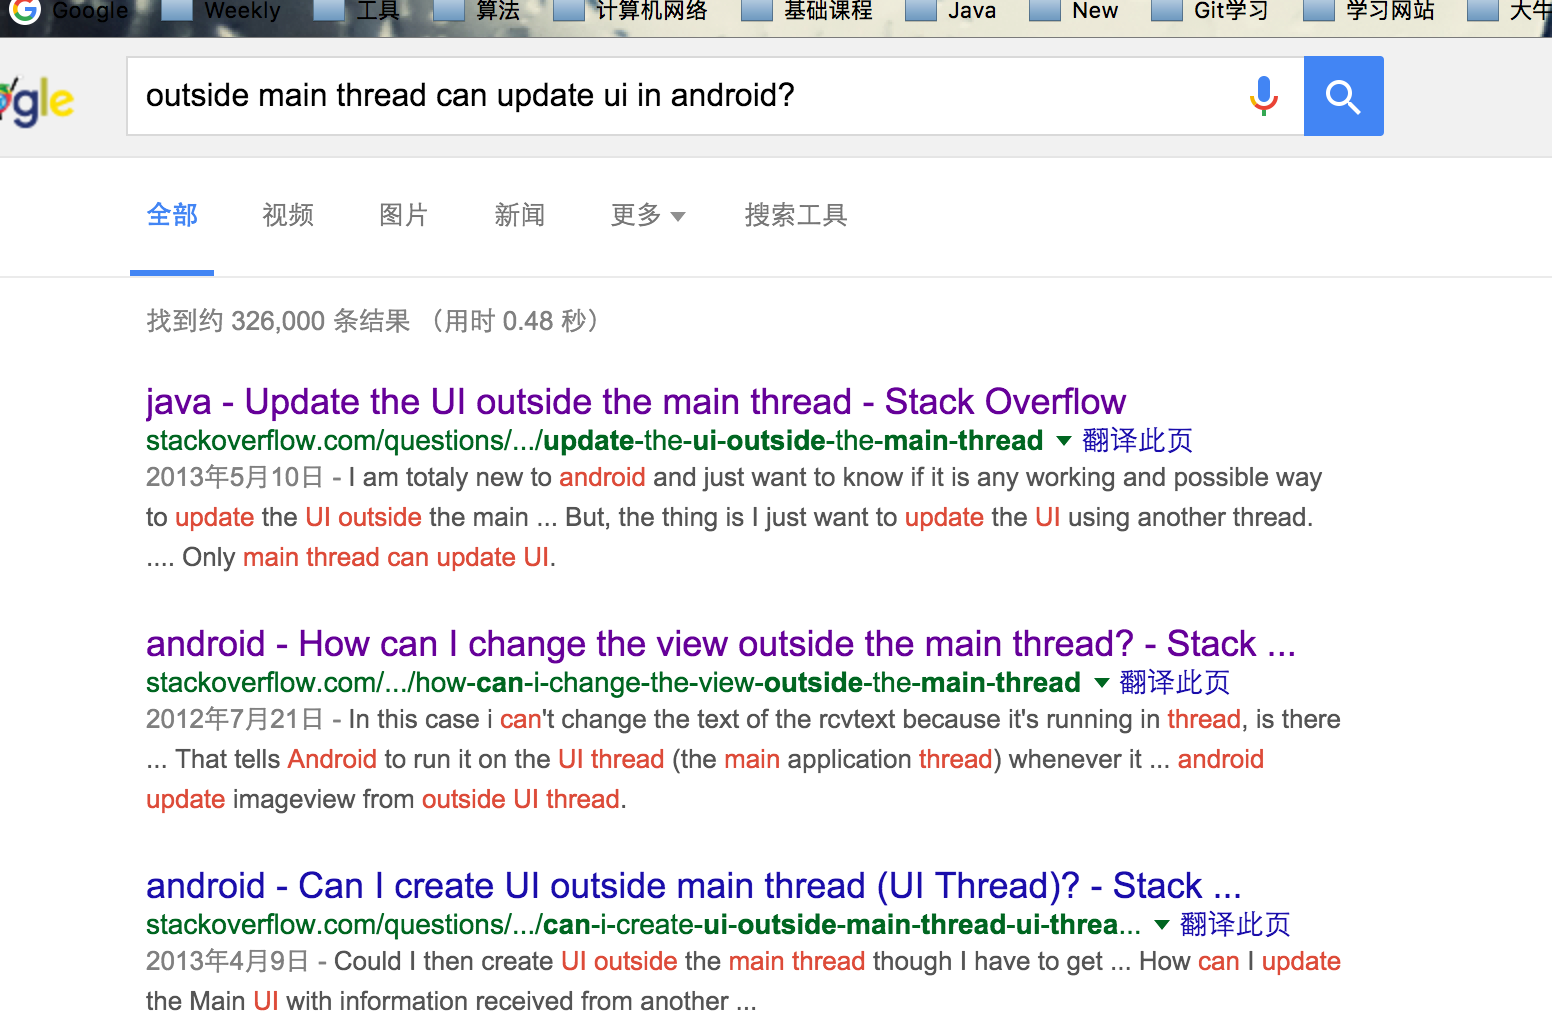
首先,遇見這種問題時下意識的是去google,所以我采取了下面的措施(請忽視我不堪入目的英語,相信google的強大….)

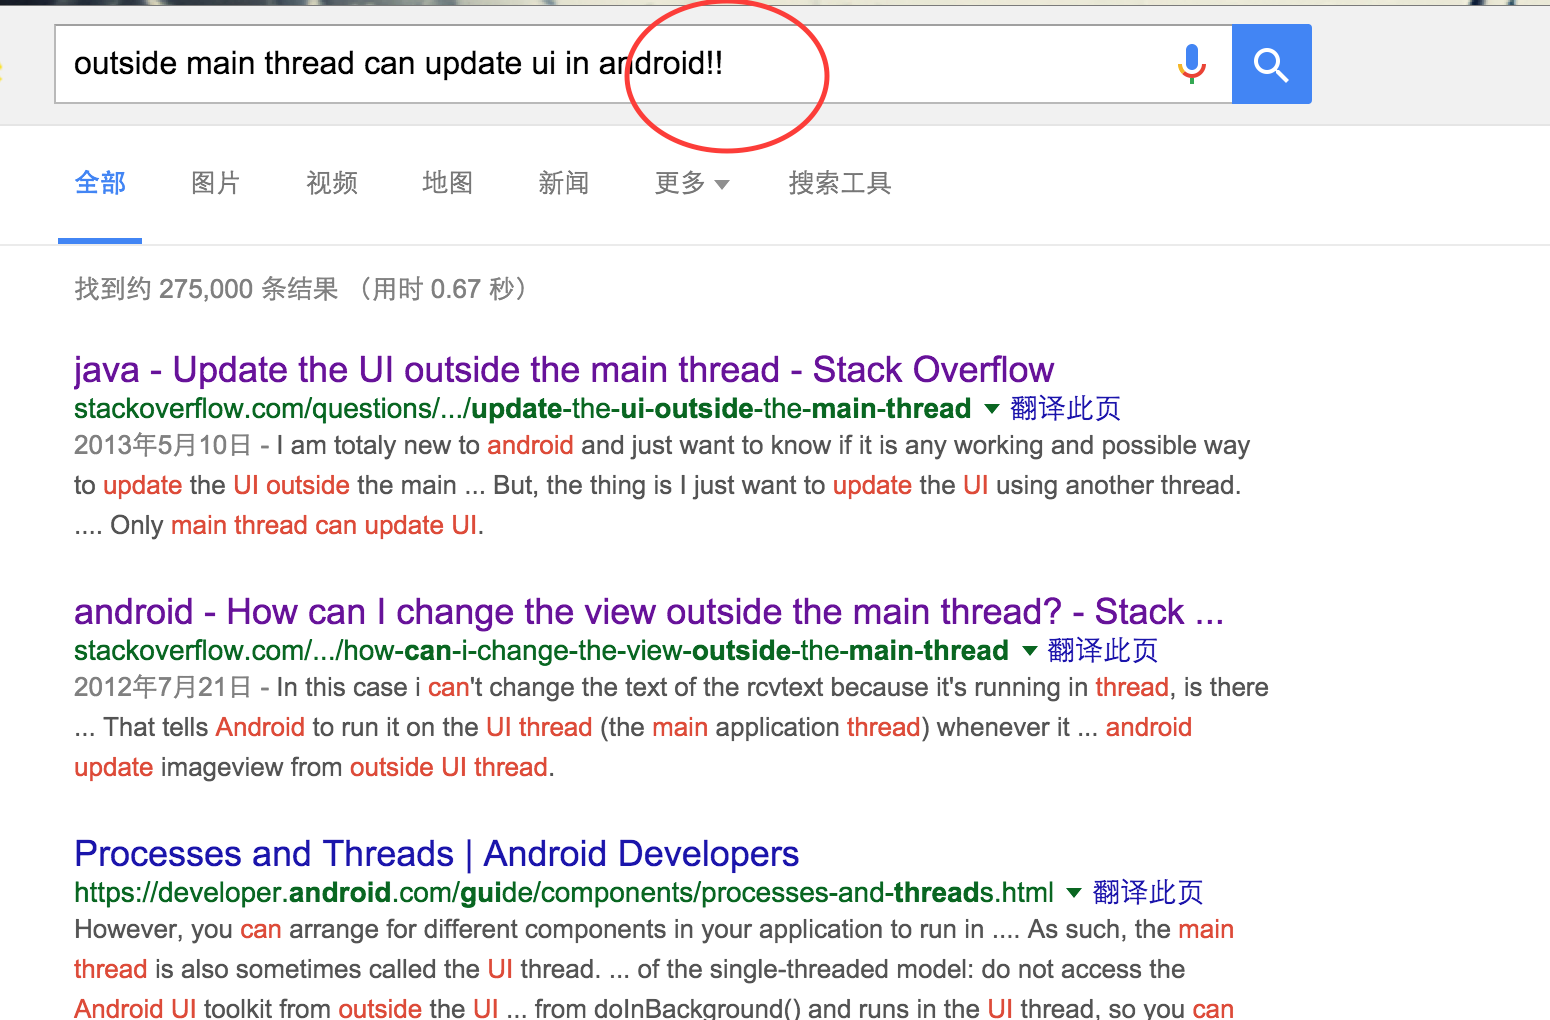
然而我發現我並沒有得到我想要的結果,大部分的答案是告訴我如何在子線程中轉到主線程中更新UI,好吧,難道是我不應該用?號,所以,我做了下面的事.

可悲的是google覺得我表達的是一個意思…(可能是我英語太差了,請不要告訴我這個事實),沒辦法了,只能自己上陣了,感謝google搜索不到,才讓自己有了這次探索的經歷!
首先,我們先看一下代碼,代碼的意思很簡單,出乎意料的時,它正確運行了,並且在手機界面上顯示的是Changed,這打破了我們在非主線程中不能更新UI的認識
public class MainActivity extends AppCompatActivity {

    @Override
    protected void onCreate(Bundle savedInstanceState) {
        super.onCreate(savedInstanceState);
        setContentView(R.layout.activity_main);

        final TextView tv = (TextView) findViewById(R.id.tv_test);
        new Thread(new Runnable() {
            @Override
            public void run() {
                tv.setText("Changed");
            }
        }).start();
    }
}
之後我就意識到,這個問題可能跟之前我碰到的一個在onCreate中直接獲取View的寬高無法得到正確的值一樣,受某些東西延遲加載的因素,為了驗證我的想法,我又運行了下面的代碼
public class MainActivity extends AppCompatActivity {

    @Override
    protected void onCreate(Bundle savedInstanceState) {
        super.onCreate(savedInstanceState);
        setContentView(R.layout.activity_main);

        final TextView tv = (TextView) findViewById(R.id.tv_test);
        new Thread(new Runnable() {
            @Override
            public void run() {
                try {
                    Thread.sleep(3000);
                } catch (InterruptedException e) {
                    e.printStackTrace();
                }
                tv.setText("Changed");
            }
        }).start();
    }
}
正確的錯誤終於出現了,請看一下令人高興的久違的錯誤

然後我們就探查tv.setText("Changed");內部做了什麼,不斷的跟進內部方法,我們會走到這個方法中,我們會注意到,最終都會調用invalidate()方法重新繪制,這也是非常符合自然邏輯的,所以我們就去探索invalidate()中做了什麼
/**
     * Check whether entirely new text requires a new view layout
     * or merely a new text layout.
     */
    private void checkForRelayout() {
        // If we have a fixed width, we can just swap in a new text layout
        // if the text height stays the same or if the view height is fixed.

        if ((mLayoutParams.width != LayoutParams.WRAP_CONTENT ||
                (mMaxWidthMode == mMinWidthMode && mMaxWidth == mMinWidth)) &&
                (mHint == null || mHintLayout != null) &&
                (mRight - mLeft - getCompoundPaddingLeft() - getCompoundPaddingRight() > 0)) {
            // Static width, so try making a new text layout.

            int oldht = mLayout.getHeight();
            int want = mLayout.getWidth();
            int hintWant = mHintLayout == null ? 0 : mHintLayout.getWidth();

            /*
             * No need to bring the text into view, since the size is not
             * changing (unless we do the requestLayout(), in which case it
             * will happen at measure).
             */
            makeNewLayout(want, hintWant, UNKNOWN_BORING, UNKNOWN_BORING,
                          mRight - mLeft - getCompoundPaddingLeft() - getCompoundPaddingRight(),
                          false);

            if (mEllipsize != TextUtils.TruncateAt.MARQUEE) {
                // In a fixed-height view, so use our new text layout.
                if (mLayoutParams.height != LayoutParams.WRAP_CONTENT &&
                    mLayoutParams.height != LayoutParams.MATCH_PARENT) {
                    invalidate();
                    return;
                }

                // Dynamic height, but height has stayed the same,
                // so use our new text layout.
                if (mLayout.getHeight() == oldht &&
                    (mHintLayout == null || mHintLayout.getHeight() == oldht)) {
                    invalidate();
                    return;
                }
            }

            // We lose: the height has changed and we have a dynamic height.
            // Request a new view layout using our new text layout.
            requestLayout();
            invalidate();
        } else {
            // Dynamic width, so we have no choice but to request a new
            // view layout with a new text layout.
            nullLayouts();
            requestLayout();
            invalidate();
        }
    }
同理,我一步一步跟進代碼會走到下面的方法中(在浏覽代碼時我們要注意我們的目的是什麼,我們是在找在哪裡去判斷是否在主線程中),請關注p.invalidateChild(this, damage);這句代碼,p是一個ViewParent,熟悉View繪制流程的小伙伴看到ViewParent就會恍然大悟,著名的ViewRootImpl就是ViewParent的子類,所以我們直接去ViewRootImpl中搜尋invalidateChild方法
 void invalidateInternal(int l, int t, int r, int b, boolean invalidateCache,
            boolean fullInvalidate) {
        if (mGhostView != null) {
            mGhostView.invalidate(true);
            return;
        }

        if (skipInvalidate()) {
            return;
        }

        if ((mPrivateFlags & (PFLAG_DRAWN | PFLAG_HAS_BOUNDS)) == (PFLAG_DRAWN | PFLAG_HAS_BOUNDS)
                || (invalidateCache && (mPrivateFlags & PFLAG_DRAWING_CACHE_VALID) == PFLAG_DRAWING_CACHE_VALID)
                || (mPrivateFlags & PFLAG_INVALIDATED) != PFLAG_INVALIDATED
                || (fullInvalidate && isOpaque() != mLastIsOpaque)) {
            if (fullInvalidate) {
                mLastIsOpaque = isOpaque();
                mPrivateFlags &= ~PFLAG_DRAWN;
            }

            mPrivateFlags |= PFLAG_DIRTY;

            if (invalidateCache) {
                mPrivateFlags |= PFLAG_INVALIDATED;
                mPrivateFlags &= ~PFLAG_DRAWING_CACHE_VALID;
            }

            // Propagate the damage rectangle to the parent view.
            final AttachInfo ai = mAttachInfo;
            final ViewParent p = mParent;
            if (p != null && ai != null && l < r && t < b) {
                final Rect damage = ai.mTmpInvalRect;
                damage.set(l, t, r, b);
                p.invalidateChild(this, damage);
            }

            // Damage the entire projection receiver, if necessary.
            if (mBackground != null && mBackground.isProjected()) {
                final View receiver = getProjectionReceiver();
                if (receiver != null) {
                    receiver.damageInParent();
                }
            }

            // Damage the entire IsolatedZVolume receiving this view's shadow.
            if (isHardwareAccelerated() && getZ() != 0) {
                damageShadowReceiver();
            }
        }
在ViewRootImpl中invalidateChild方法調用了以下這個方法,值得高興的是,我們終於找到了,請關注函數中第一句代碼checkThread(),點進去看這個函數的實現後發現他做的事是我們再熟悉不過的了,熟悉的代碼熟悉的報錯信息,到此一切都真相大白了,檢查當前線程是否是主線程的邏輯在ViewRootImpl方法中,熟悉View繪制流程的小伙伴肯定知道ViewRootImpl是在onResume方法中去創建的,所以說,只要在onResume方法調用之前,都是可以在子線程中更新UI的
   @Override
    public ViewParent invalidateChildInParent(int[] location, Rect dirty) {
        checkThread();
        if (DEBUG_DRAW) Log.v(TAG, "Invalidate child: " + dirty);

        if (dirty == null) {
            invalidate();
            return null;
        } else if (dirty.isEmpty() && !mIsAnimating) {
            return null;
        }

        if (mCurScrollY != 0 || mTranslator != null) {
            mTempRect.set(dirty);
            dirty = mTempRect;
            if (mCurScrollY != 0) {
                dirty.offset(0, -mCurScrollY);
            }
            if (mTranslator != null) {
                mTranslator.translateRectInAppWindowToScreen(dirty);
            }
            if (mAttachInfo.mScalingRequired) {
                dirty.inset(-1, -1);
            }
        }

        invalidateRectOnScreen(dirty);

        return null;
    }
    void checkThread() {
        if (mThread != Thread.currentThread()) {
            throw new CalledFromWrongThreadException(
                    "Only the original thread that created a view hierarchy can touch its views.");
        }
    }
這次的探查過程給了我很大的啟示,遇見問題時,在必要時首先要回憶之前遇到的相似問題,並合理利用網上搜索的信息去自己探索問題的真相,一個根據關鍵信息推導出來的合理假設將使我們事半功倍,並且注意不要盲目的相信網上的一些結論,紙上得來終覺淺,絕知此事要躬行!
 Android 百度地圖 SDK v3.0.0 (二) 定位與結合方向傳感器
在上一篇博客中,我們成功把地圖導入了我們的項目。本篇我們准備為地圖添加:第一,定位功能;第二,與方向傳感器結合,通過旋轉手機進行道路的方向確認。有了這兩個功能,地圖已經可
 Android開發之圖片詳解(4)
接上一篇。 主要研究下bitmap和drawable的使用,以及兩者的區別。 先看測試代碼: = Build.VERSION_CODES.HONEYCOMB_MR1
 Android Activity生命周期
今天給大家詳解一下Android中Activity的生命周期,我希望我的講解不像網上大多數文章一樣,基本都是翻譯Android API,過於籠統,相信大家看了,會有一點點
 Android源碼編譯的環境搭建
由於Google編譯Android源碼使用的操作系統是Ubuntu,所以此處本人也是安裝Ubuntu操作系統。五筆法安裝Ubuntu系統固然方便簡單,可缺陷是安裝的系統的