編輯:關於Android編程
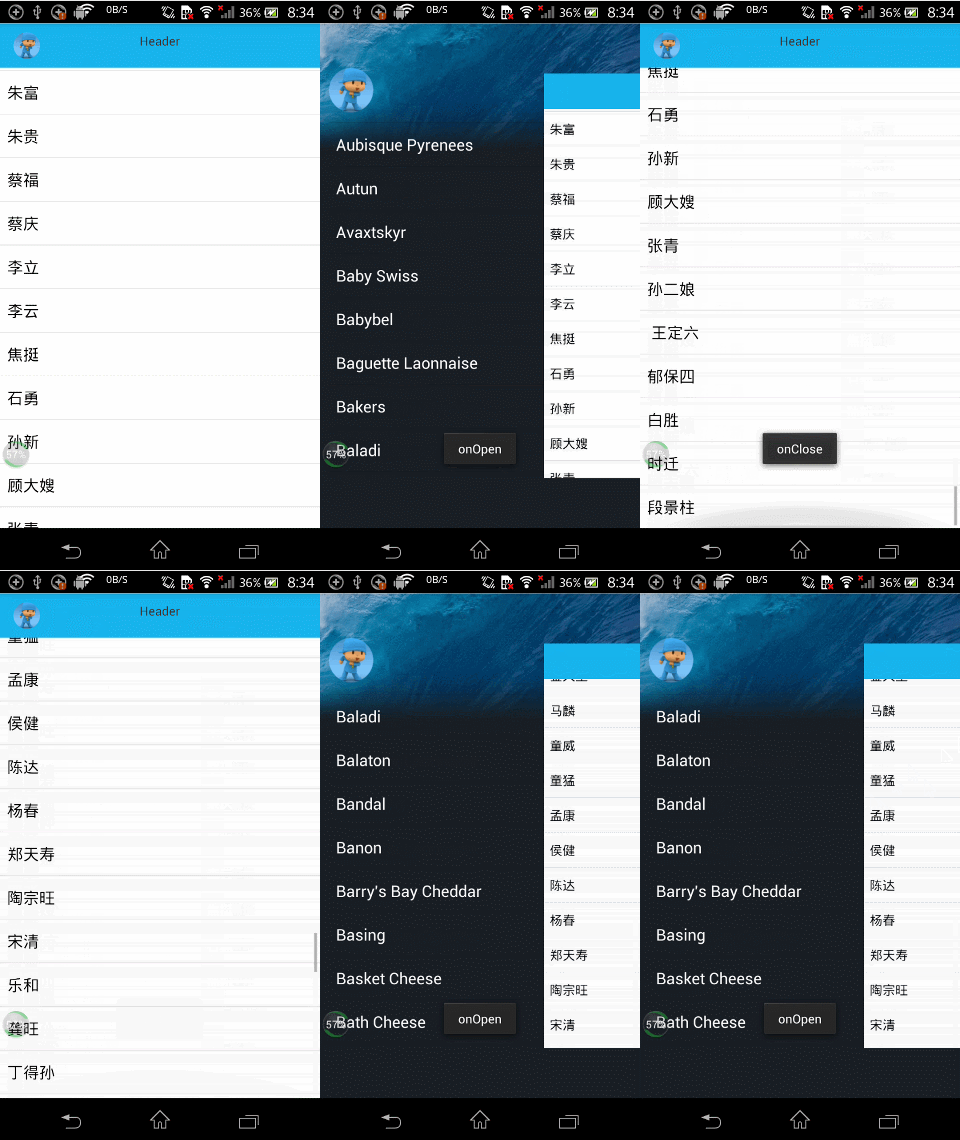
DrawLayout這個自定義的空間很常見,qq,網易新聞,知乎等等,都有這種效果,那這種效果是怎樣實現的呢?本篇博客將帶你來怎樣實現它。

其實只需要兩個 步驟,使用起來 非常方便
DragLayout至少要有兩個孩子,且都是 ViewGroup或者ViewGroup的實現類
分別可以監聽打開的 時候,關閉的時候,拖動的時候,可以在裡面做相應的處理,同時我還加入了 自定義屬性可以通過 app:range=”480”或者setRange()方法,即可設置打開抽屜的范圍。
 mDragLayout.setDragStatusListener(new OnDragStatusChangeListener() {

            @Override
            public void onOpen() {
                Utils.showToast(MainActivity.this, "onOpen");
                // 左面板ListView隨機設置一個條目
                Random random = new Random();
                Log.i(TAG, "onOpen:=" +mDragLayout.getRange());
                int nextInt = random.nextInt(50);
                mLeftList.smoothScrollToPosition(nextInt);

            }

            @Override
            public void onDraging(float percent) {
                Log.d(TAG, "onDraging: " + percent);// 0 -> 1
                // 更新圖標的透明度
                // 1.0 -> 0.0
                ViewHelper.setAlpha(mHeaderImage, 1 - percent);
            }

            @Override
            public void onClose() {
                Utils.showToast(MainActivity.this, "onClose");
                // 讓圖標晃動
                ObjectAnimator mAnim = ObjectAnimator.ofFloat(mHeaderImage, "translationX", 15.0f);
                mAnim.setInterpolator(new CycleInterpolator(4));
                mAnim.setDuration(500);
                mAnim.start();
            }
        });
DrawLayout在網上的 實現方式很多,千奇百怪,有一些是直接監聽 onTouchEvent事件,處理Activon_Move,Action_Down,Action_up等動作,這樣實現的話稍微有點復雜。本篇博客是使用ViewDragHelper來 處理觸摸事件和拖拽事件的的,ViewDragHelper是2013Google IO大會推出的,目的是為了給開發者提供一個處理觸摸事件,節省開發者的時間。
關於Google官方 關於ViewDragHelper的解釋,簡單來說就是處理ViewGroup的 觸摸事件和拖拽事件
ViewDragHelper is a utility class for writing custom ViewGroups. It offers a number of useful operations and state tracking for allowing a user to drag and reposition views within their parent ViewGroup.
1) 我是通過繼承FrameLayout來實現的,相比較於繼承ViewGroup來實現,這樣有一個好處就是省去了自己重寫 onMeasure (),onLayout ()方法
2)在構造方法裡面初始化mDragHelper,mSensitivity代表打開抽屜的 難易程度,是Float類型,至於mCallback是什麼,下面會詳細講,這裡先不著急。
public DragLayout(Context context, AttributeSet attrs, int defStyle) {
    super(context, attrs, defStyle);
    initAttars(context, attrs);
    // a.初始化 (通過靜態方法)
    mDragHelper = ViewDragHelper.create(this, mSensitivity, mCallback);
}
3)重寫 onInterceptTouchEvent和onTouchevent 方法 ,將事件交給
// b.傳遞觸摸事件
@Override
public boolean onInterceptTouchEvent(MotionEvent ev) {
    // 傳遞給mDragHelper
    return mDragHelper.shouldInterceptTouchEvent(ev);
}

/***
 * 將事件交給mDragHelper處理
 *
 * @param event
 * @return
 */
@Override
public boolean onTouchEvent(MotionEvent event) {
    try {
        mDragHelper.processTouchEvent(event);
    } catch (Exception e) {
        e.printStackTrace();
    }
    // 返回true, 持續接受事件
    return true;
}
4)重寫onFinishInflate方法,在裡面拿到 我們的側滑菜單mLeftContent和主菜單mMainContent
@Override
protected void onFinishInflate() {
    super.onFinishInflate();

    // 容錯性檢查 (至少有倆子View, 子View必須是ViewGroup的子類)
    if (getChildCount() < 2) {
        throw new IllegalStateException("布局至少有倆孩子. Your ViewGroup must have 2 children at " +
                "least.");
    }
    if (!(getChildAt(0) instanceof ViewGroup && getChildAt(1) instanceof ViewGroup)) {
        throw new IllegalArgumentException("子View必須是ViewGroup的子類. Your children must be an " +
                "instance of ViewGroup");
    }

    mLeftContent = (ViewGroup) getChildAt(0);
    mMainContent = (ViewGroup) getChildAt(1);
}
/**
 * 狀態枚舉
 */
public static enum Status {
    Close, Open, Draging;
}

/**
 * 抽屜開關的監聽器
 */
public interface OnDragStatusChangeListener {
    void onClose();

    void onOpen();

    void onDraging(float percent);
}
接下來我們來看ViewDragHelper.Callback幾個主要的方法
tryCaptureView(View child, int pointerId)
Called when the user’s input indicates that they want to capture the given child view with the pointer indicated by pointerId.
onViewCaptured(View capturedChild, int activePointerId)
Called when a child view is captured for dragging or settling.getViewHorizontalDragRange(View child)
Return the magnitude of a draggable child view’s horizontal range of motion in pixels.clampViewPositionHorizontal(View child, int left, int dx)
Restrict the motion of the dragged child view along the horizontal axis.onViewPositionChanged(View changedView, int left, int top, int dx, int dy)
Called when the captured view’s position changes as the result of a drag or settle.onViewReleased(View releasedChild, float xvel, float yvel)
Called when the child view is no longer being actively dragged.谷歌官方的連接;https://developer.android.com/reference/android/support/v4/widget/ViewDragHelper.Callback.html
下面的代碼有關於這幾個方法的中文解釋,這裡就不詳細講解了
ViewDragHelper.Callback mCallback = new ViewDragHelper.Callback() {
    // d. 重寫事件

    // 1. 根據返回結果決定當前child是否可以拖拽
    // child 當前被拖拽的View
    // pointerId 區分多點觸摸的id
    @Override
    public boolean tryCaptureView(View child, int pointerId) {
        Log.d(TAG, "tryCaptureView: " + child);
        return mToogle;
    }

    @Override
    public void onViewCaptured(View capturedChild, int activePointerId) {
        Log.d(TAG, "onViewCaptured: " + capturedChild);
        // 當capturedChild被捕獲時,調用.
        super.onViewCaptured(capturedChild, activePointerId);
    }

    @Override
    public int getViewHorizontalDragRange(View child) {
        // 返回拖拽的范圍, 不對拖拽進行真正的限制. 僅僅決定了動畫執行速度
        Log.i(TAG, "getViewHorizontalDragRange:mRange=" +mRange);
        return mRange;
    }

    // 2. 根據建議值 修正將要移動到的(橫向)位置   (重要)
    // 此時沒有發生真正的移動
    public int clampViewPositionHorizontal(View child, int left, int dx) {
        // child: 當前拖拽的View
        // left 新的位置的建議值, dx 位置變化量
        // left = oldLeft + dx;
        Log.d(TAG, "clampViewPositionHorizontal: "
                + "oldLeft: " + child.getLeft() + " dx: " + dx + " left: " + left);

        if (child == mMainContent) {
            left = fixLeft(left);
        }
        return left;
    }

    // 3. 當View位置改變的時候, 處理要做的事情 (更新狀態, 伴隨動畫, 重繪界面)
    // 此時,View已經發生了位置的改變
    @Override
    public void onViewPositionChanged(View changedView, int left, int top,
                                      int dx, int dy) {
        // changedView 改變位置的View
        // left 新的左邊值
        // dx 水平方向變化量
        super.onViewPositionChanged(changedView, left, top, dx, dy);
        Log.d(TAG, "onViewPositionChanged: " + "left: " + left + " dx: " + dx);

        int newLeft = left;
        if (changedView == mLeftContent) {
            // 把當前變化量傳遞給mMainContent
            newLeft = mMainContent.getLeft() + dx;
        }

        // 進行修正
        newLeft = fixLeft(newLeft);

        if (changedView == mLeftContent) {
            // 當左面板移動之後, 再強制放回去.
            mLeftContent.layout(0, 0, 0 + mWidth, 0 + mHeight);
            mMainContent.layout(newLeft, 0, newLeft + mWidth, 0 + mHeight);
        }
        // 更新狀態,執行動畫
        dispatchDragEvent(newLeft);

        // 為了兼容低版本, 每次修改值之後, 進行重繪
        invalidate();
    }

    // 4. 當View被釋放的時候, 處理的事情(執行動畫)
    @Override
    public void onViewReleased(View releasedChild, float xvel, float yvel) {
        // View releasedChild 被釋放的子View
        // float xvel 水平方向的速度, 向右為+
        // float yvel 豎直方向的速度, 向下為+
        Log.d(TAG, "onViewReleased: " + "xvel: " + xvel + " yvel: " + yvel);
        super.onViewReleased(releasedChild, xvel, yvel);

        // 判斷執行 關閉/開啟
        // 先考慮所有開啟的情況,剩下的就都是關閉的情況
        if (xvel == 0 && mMainContent.getLeft() > mRange / 2.0f) {
            open();
        } else if (xvel > 0) {
            open();
        } else {
            close();
        }

    }

    @Override
    public void onViewDragStateChanged(int state) {
        // TODO Auto-generated method stub
        super.onViewDragStateChanged(state);
    }

};
其實主要思路就是
1)在方法public boolean tryCaptureView(View child, int pointerId)處理那些child可以被捕捉,這裡我們返回true表示所有的都可以被捕捉2)在public int clampViewPositionHorizontal(View child, int left, int dx)方法中根據child返回將要移動的水平位置的偏移量
3)在 void onViewPositionChanged(View changedView, int left, int top, int dx, int dy)方法中處理要做的事情 包括更新狀態, 伴隨動畫, 重繪界面等
public void onViewPositionChanged(View changedView, int left, int top,  int dx, int dy) {

      // 進行修正
   newLeft = fixLeft(newLeft);

  if (changedView == mLeftContent) {
    // 當左面板移動之後, 再強制放回去.
    mLeftContent.layout(0, 0, 0 + mWidth, 0 + mHeight);
    mMainContent.layout(newLeft, 0, newLeft + mWidth, 0 +    mHeight);

    if (changedView == mLeftContent) {
    // 把當前變化量傳遞給mMainContent
    newLeft = mMainContent.getLeft() + dx;
   }

}


    // 更新狀態,執行動畫
    dispatchDragEvent(newLeft);

    // 為了兼容低版本, 每次修改值之後, 進行重繪
    invalidate();
}

protected void dispatchDragEvent(int newLeft) {
    float percent = newLeft * 1.0f / mRange;
    //0.0f -> 1.0f
    Log.d(TAG, "percent: " + percent);

    if (mListener != null) {
        mListener.onDraging(percent);
    }

    // 更新狀態, 執行回調
    Status preStatus = mStatus;
    mStatus = updateStatus(percent);
    if (mStatus != preStatus) {
        // 狀態發生變化
        if (mStatus == Status.Close) {
            // 當前變為關閉狀態
            if (mListener != null) {
                mListener.onClose();
            }
        } else if (mStatus == Status.Open) {
            if (mListener != null) {
                mListener.onOpen();
            }
        }
    }

    //    * 伴隨動畫:
    animViews(percent);

}
4)在void onViewReleased(View releasedChild, float xvel, float yvel)的時候處理要做的事情,包括更新狀態, 伴隨動畫, 重繪界面等,這裡就不列出代碼了,有興趣的話下載源碼看看
源碼下載地址: https://github.com/gdutxiaoxu/drawLayout.git
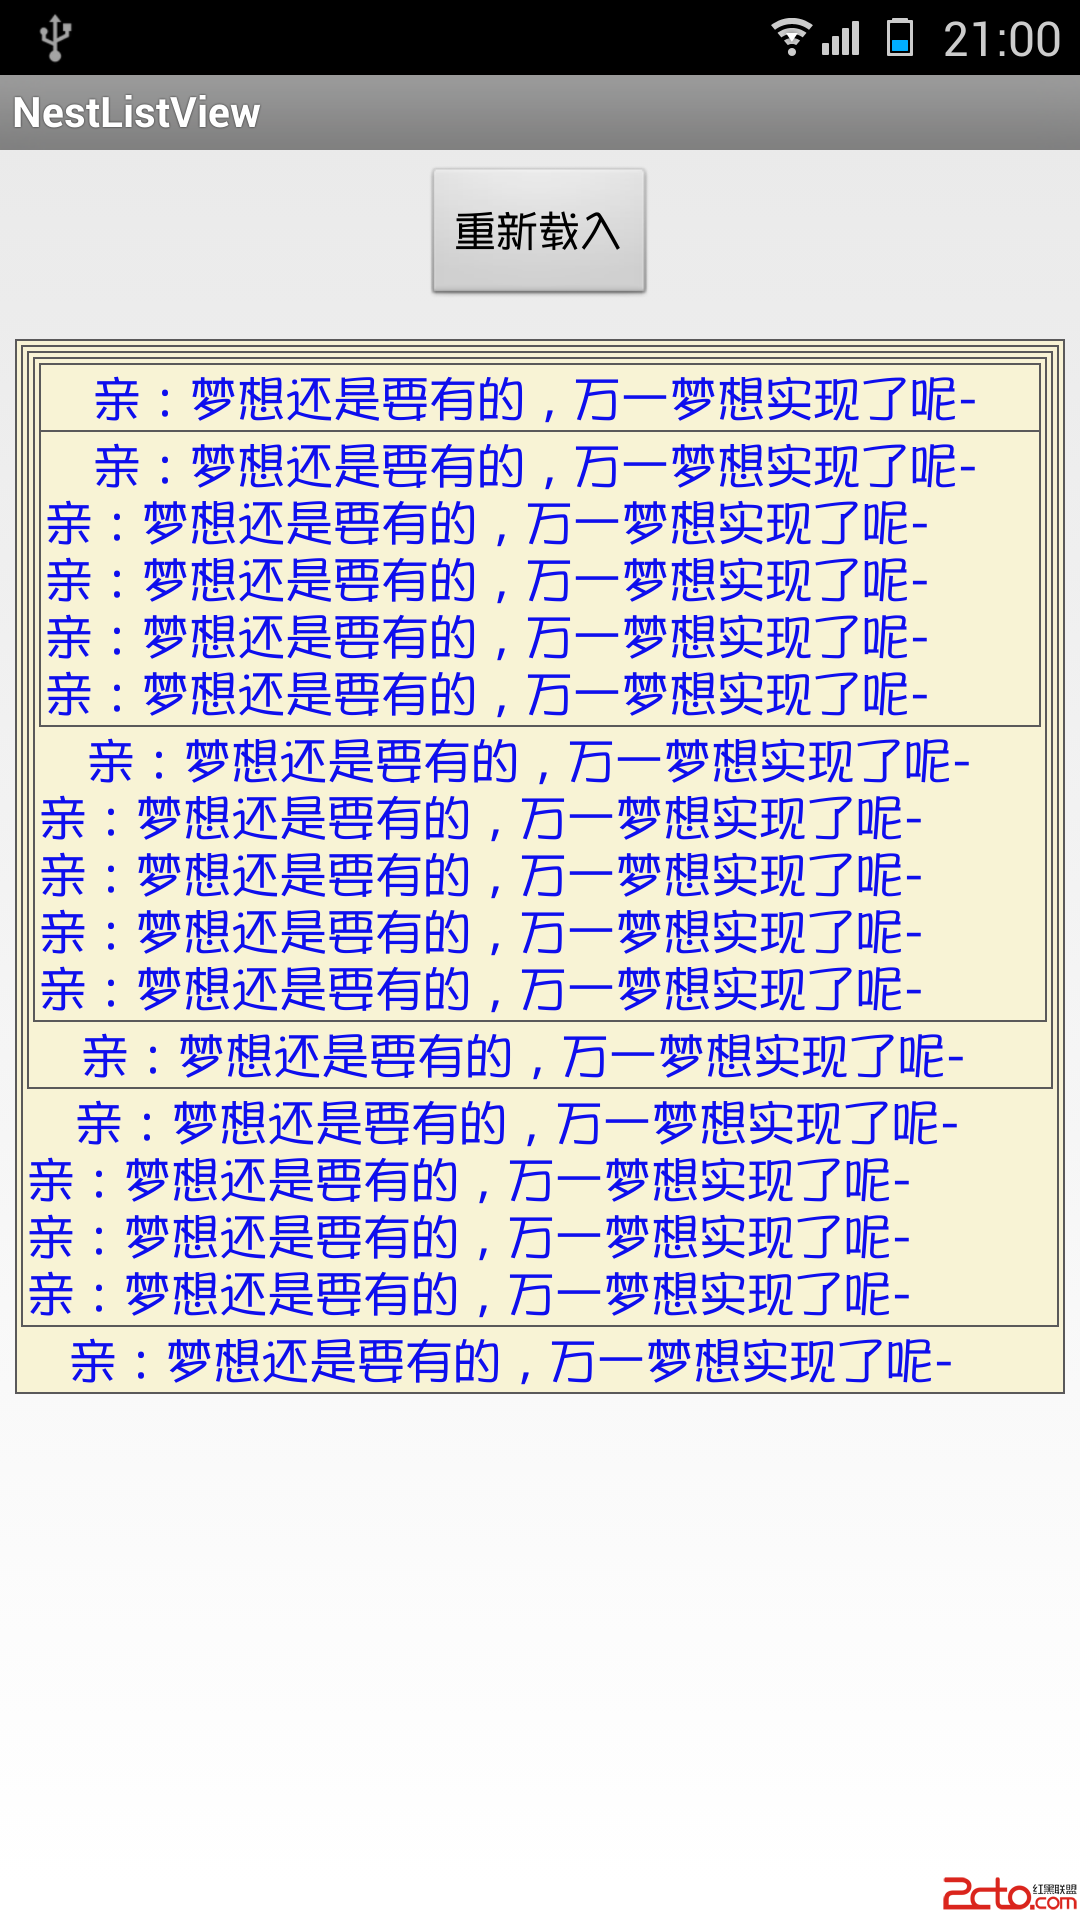
 Android 使用ListView實現網易評論蓋樓效果
效果如下:(點擊下載demo) 實現原理:頂部利用了ListView的HeadView來實現,然後其他每個item都用背景實現! 首先設置一些常量:package c
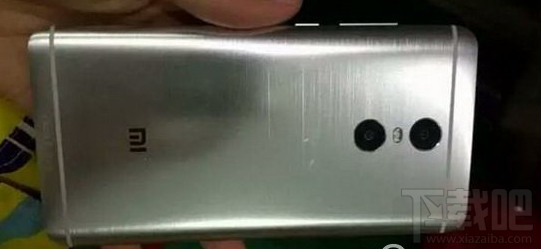
 紅米pro和紅米note3哪個好 紅米pro和紅米note3配置對比評測
紅米pro和紅米note3哪個好?下面小編帶來了兩部手機的對比評測,一起來看看吧!紅米pro和紅米note3對比評測: 紅米pro介紹: 紅米pro采用
 4AppBarLayout滑動原理
4AppBarLayout滑動原理在CoordinatorLayout的measure和layout裡,其實介紹過一點AppBarLayout,這篇將重點講解AppBar
 servlet讀書筆記
將Tomcat的common包下的lib下的jsp_api.jar,servlet_api.jar復制到JDK下的lib下,就可編譯servlet程序。將servlet編