編輯:關於Android編程
先看一看我的代碼運行結果。
代碼運行起來初始化狀態:
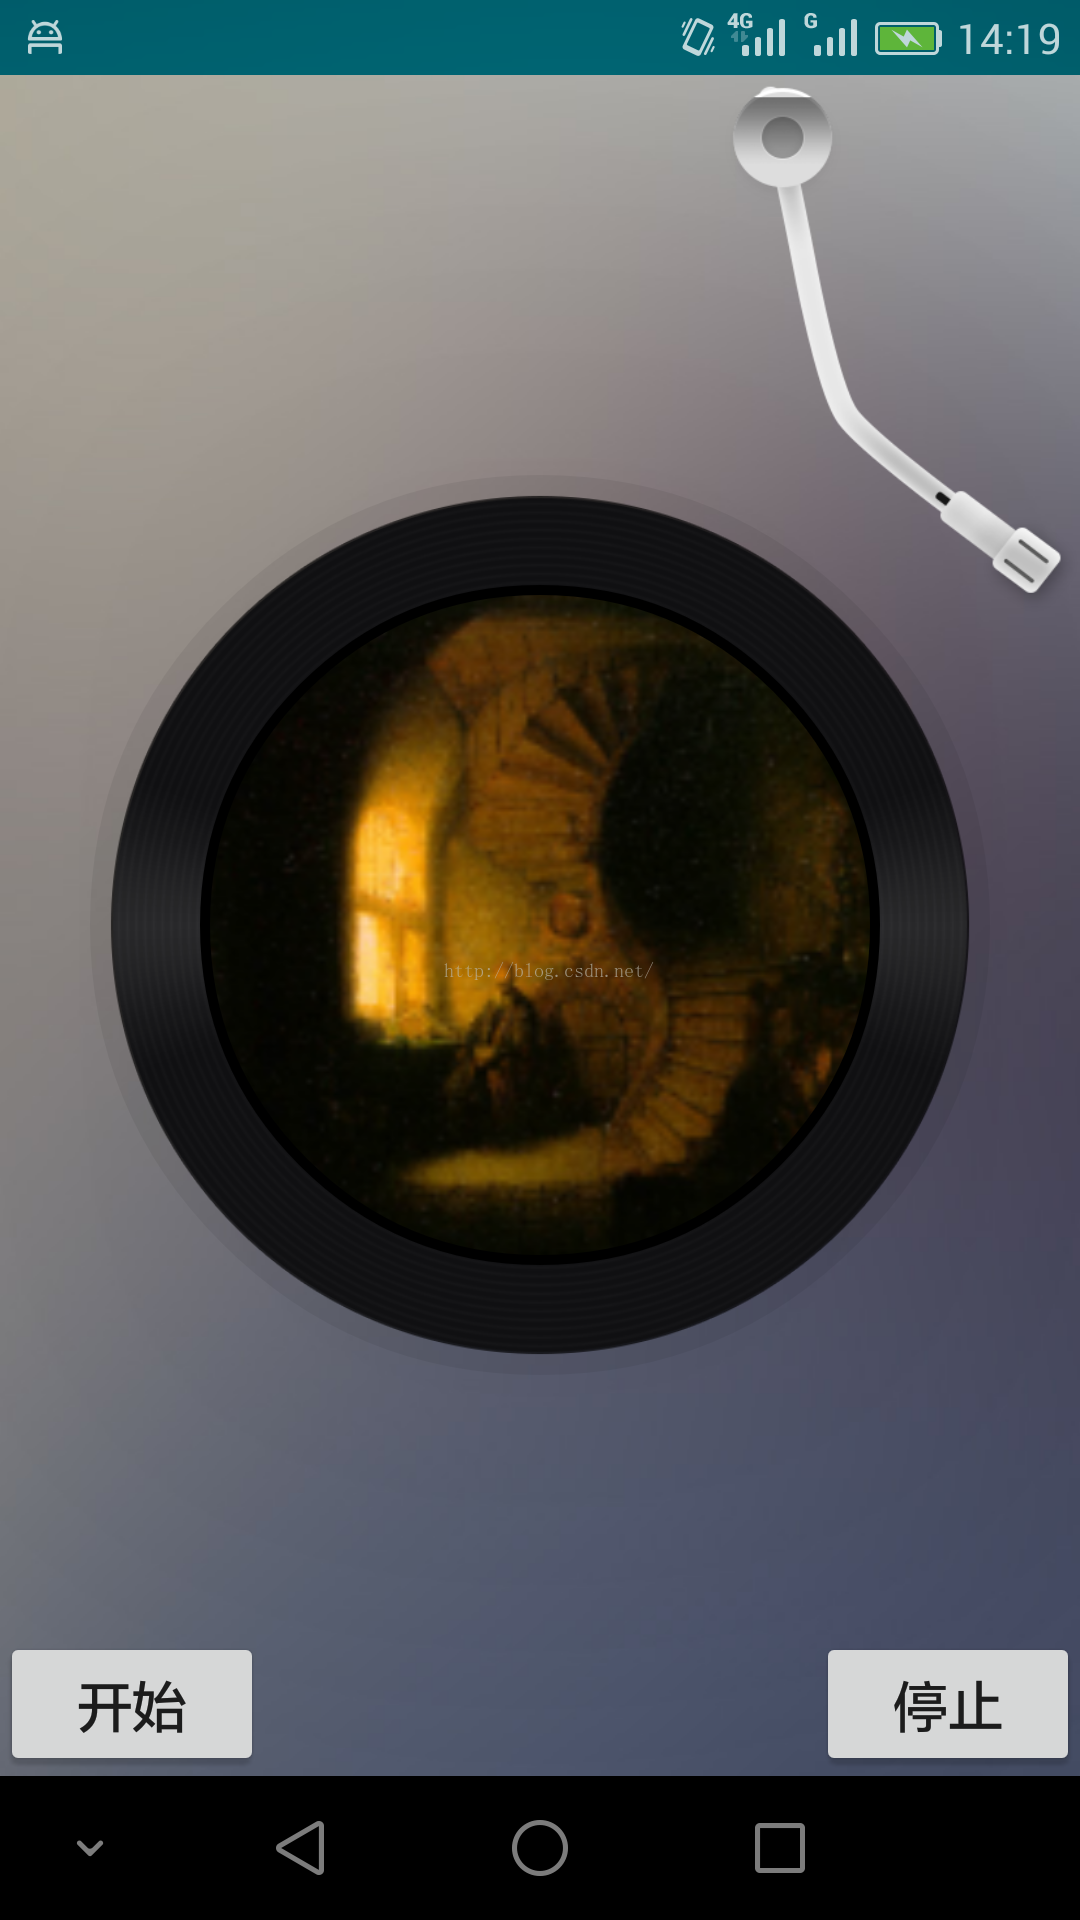
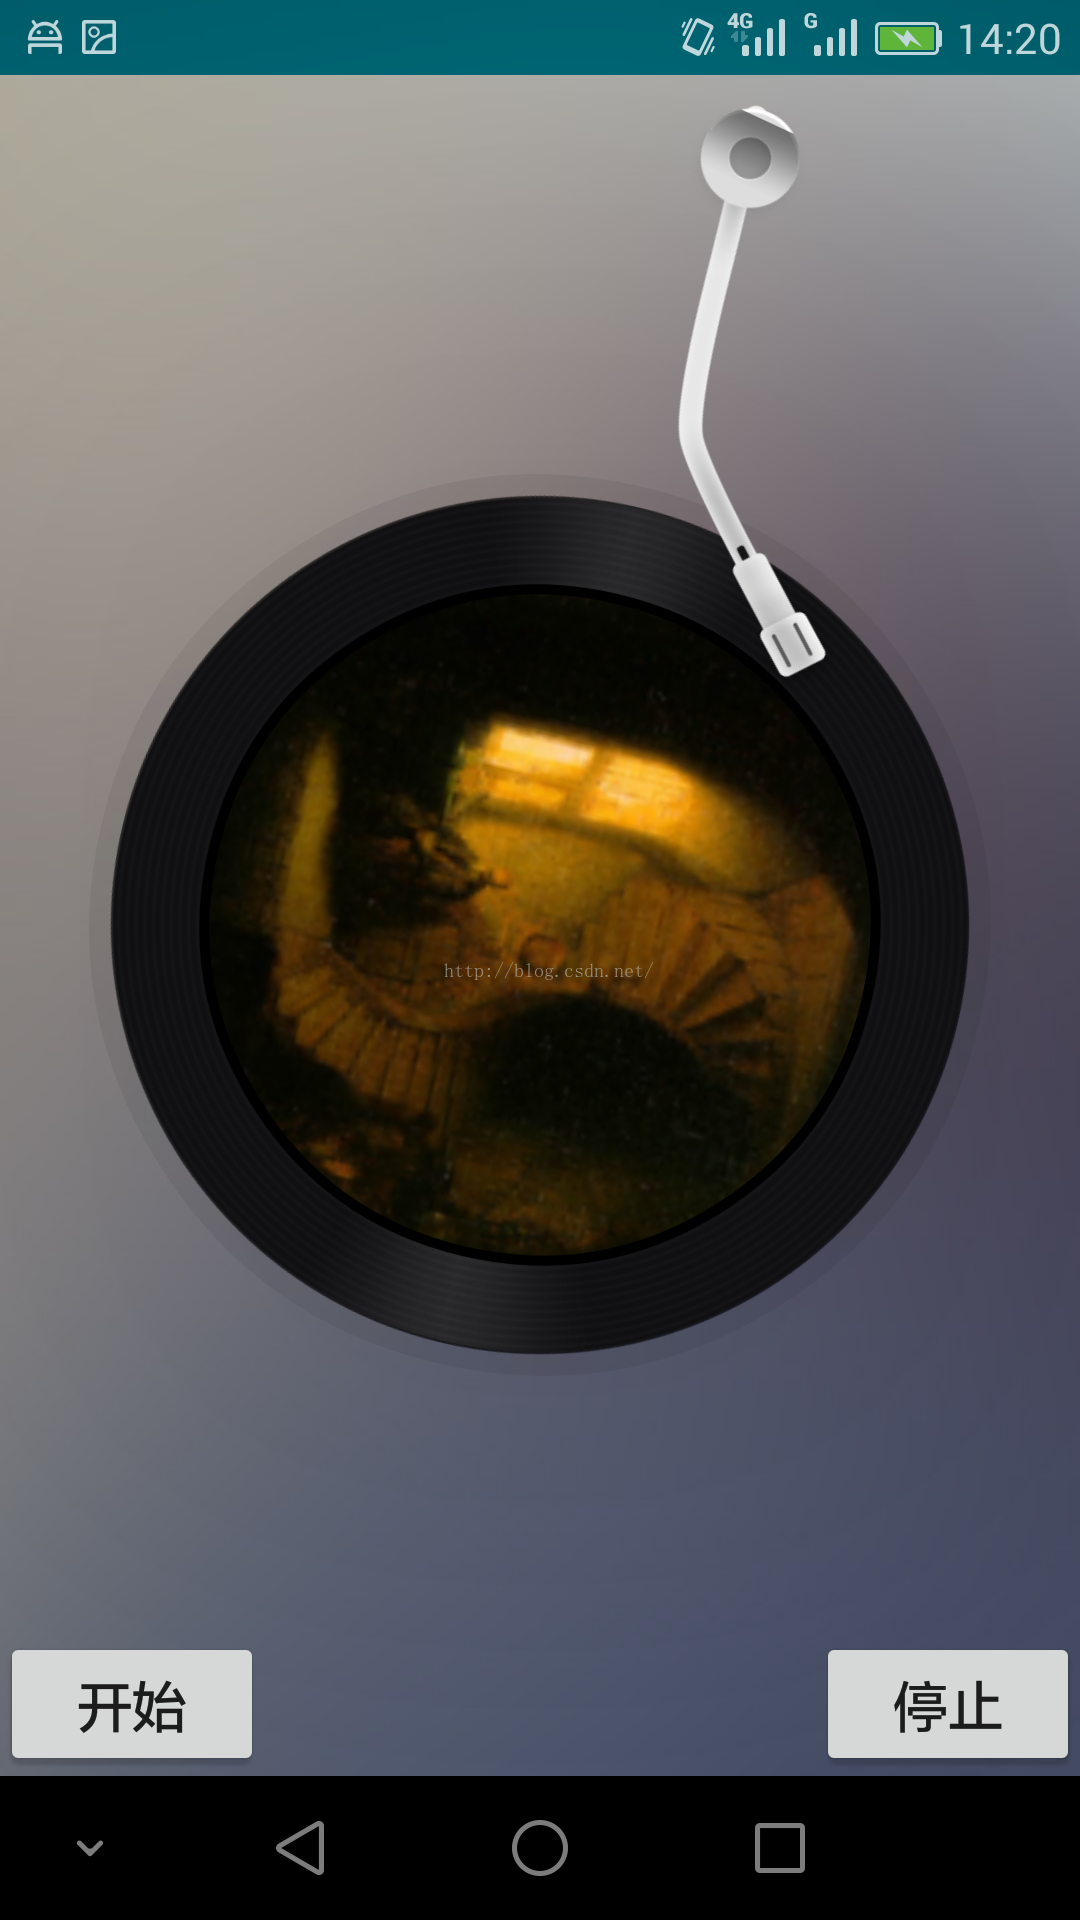
點擊開始按鈕,唱片機的機械臂勻速接近唱片磁盤,同時唱片磁盤也開始勻速順時針旋轉:
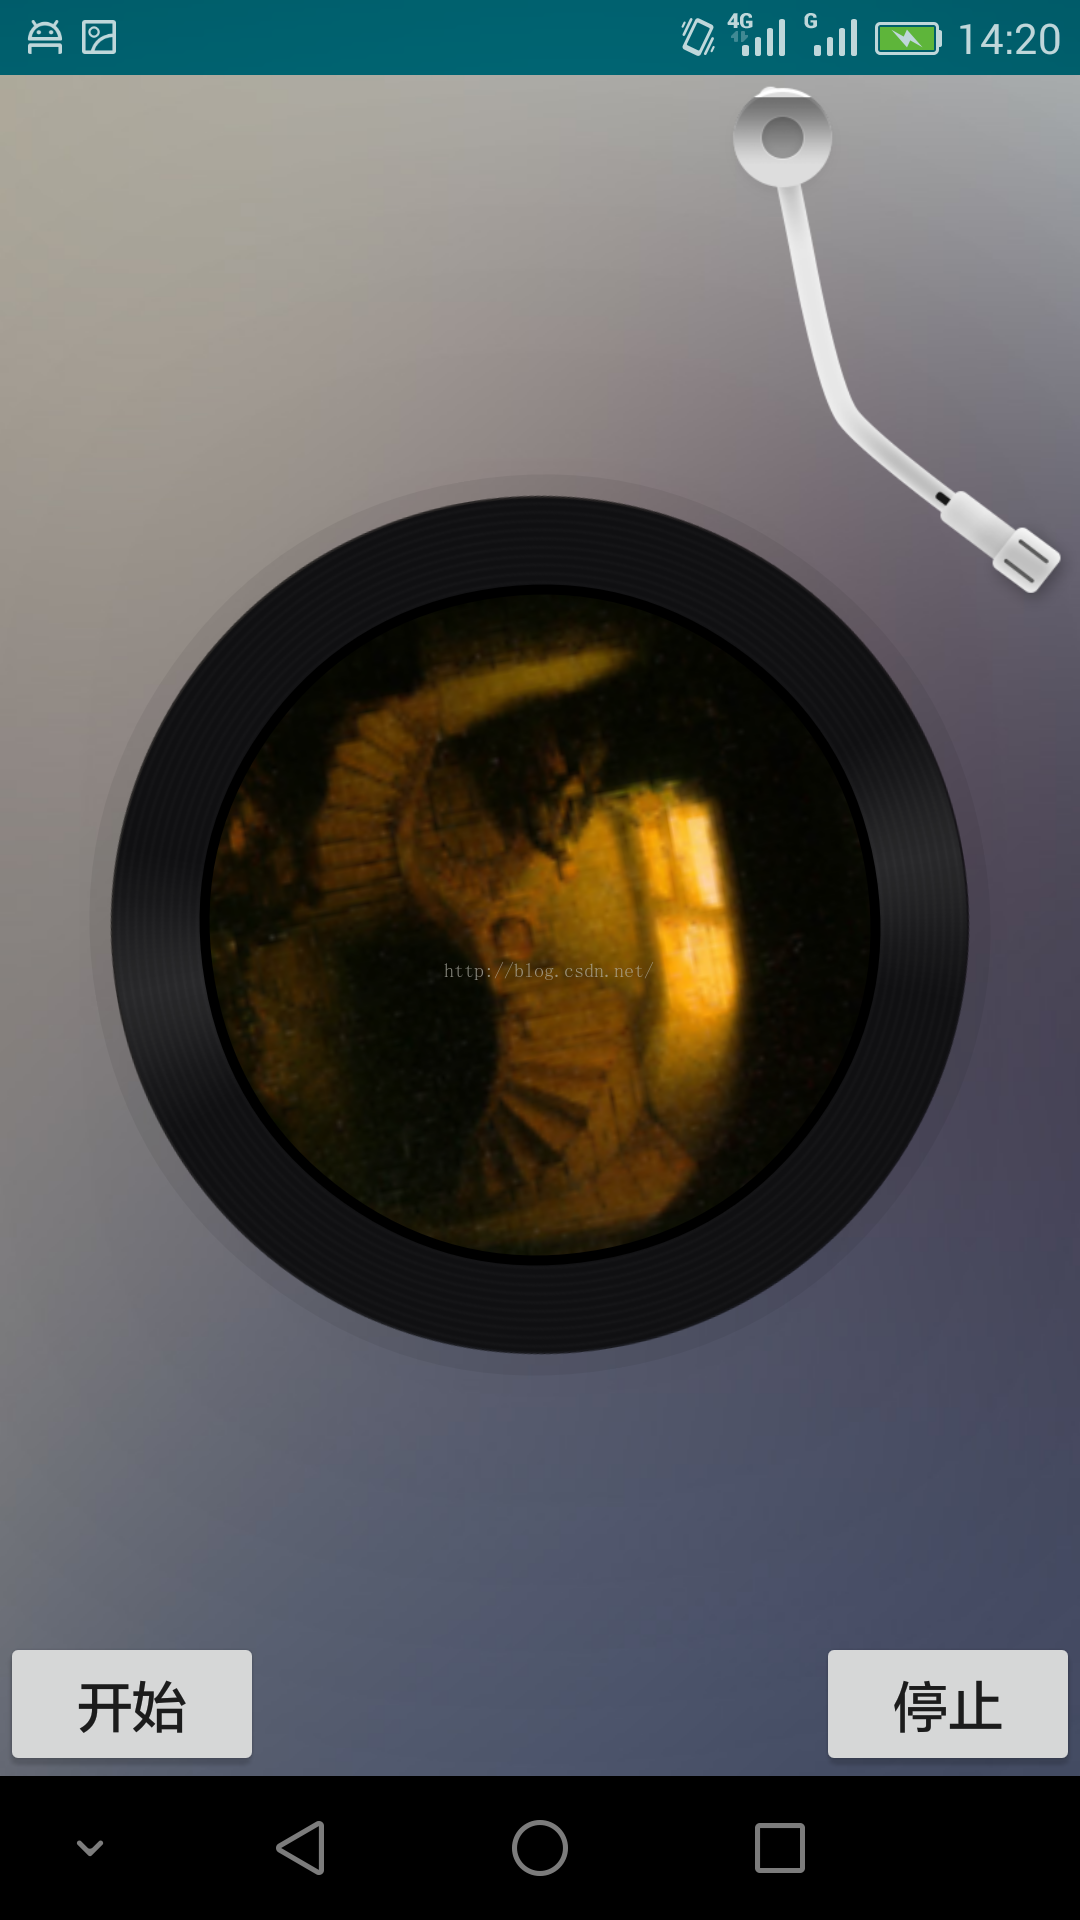
點擊停止按鈕,唱片機的機械臂勻速抬離唱片磁盤,同時唱片磁盤停止旋轉:
實現思路:
(一)旋轉唱片磁盤。在附錄文章12的基礎上,實現網易雲音樂風格的唱片磁盤。核心代碼:
 //最外部的半透明邊線
        OvalShape ovalShape0 = new OvalShape();
        ShapeDrawable drawable0 = new ShapeDrawable(ovalShape0);
        drawable0.getPaint().setColor(0x10000000);
        drawable0.getPaint().setStyle(Paint.Style.FILL);
        drawable0.getPaint().setAntiAlias(true);

        //黑色唱片邊框
        RoundedBitmapDrawable drawable1 = RoundedBitmapDrawableFactory.create(getResources(), BitmapFactory.decodeResource(getResources(), R.drawable.disc));
        drawable1.setCircular(true);
        drawable1.setAntiAlias(true);

        //內層黑色邊線
        OvalShape ovalShape2 = new OvalShape();
        ShapeDrawable drawable2 = new ShapeDrawable(ovalShape2);
        drawable2.getPaint().setColor(Color.BLACK);
        drawable2.getPaint().setStyle(Paint.Style.FILL);
        drawable2.getPaint().setAntiAlias(true);

        //最裡面的圖像
        RoundedBitmapDrawable drawable3 = RoundedBitmapDrawableFactory.create(getResources(), BitmapFactory.decodeResource(getResources(), R.drawable.zhangphil));
        drawable3.setCircular(true);
        drawable3.setAntiAlias(true);

        Drawable[] layers = new Drawable[4];
        layers[0] = drawable0;
        layers[1] = drawable1;
        layers[2] = drawable2;
        layers[3] = drawable3;

        LayerDrawable layerDrawable = new LayerDrawable(layers);

        int width = 10;
        //針對每一個圖層進行填充,使得各個圓環之間相互有間隔,否則就重合成一個了。
        //layerDrawable.setLayerInset(0, width, width, width, width);
        layerDrawable.setLayerInset(1, width , width, width, width );
        layerDrawable.setLayerInset(2, width * 11, width * 11, width * 11, width * 11);
        layerDrawable.setLayerInset(3, width * 12, width * 12, width * 12, width * 12);

        final View discView = findViewById(R.id.myView);
        discView.setBackgroundDrawable(layerDrawable);
唱片磁盤旋轉,則通過屬性動畫ObjectAnimator實現唱片磁盤的順時針旋轉:
 discObjectAnimator = ObjectAnimator.ofFloat(discView, "rotation", 0, 360);
        discObjectAnimator.setDuration(20000);
        //使ObjectAnimator動畫勻速平滑旋轉
        discObjectAnimator.setInterpolator(new LinearInterpolator());
        //無限循環旋轉
        discObjectAnimator.setRepeatCount(ValueAnimator.INFINITE);
        discObjectAnimator.setRepeatMode(ValueAnimator.INFINITE);
(二)唱片機的機械臂。在相對布局的頂部放置一個ImageView,這個ImageView就是機械臂的素材,當點擊開始按鈕時候,就使用Android屬性動畫操作該ImageView以左上角坐標位置(x=0,y=0)向下順時針勻速旋轉一定角度使得機械臂剛好落入到唱片磁盤內。當點擊停止按鈕時候,一方面控制唱片磁盤停止旋轉,另一方面要操縱機械臂勻速逆時針向上旋轉離開唱片磁盤。
我寫的這個例子需要布局文件:
上層全部完整Java代碼:
package zhangphil.app;

import android.animation.ObjectAnimator;
import android.animation.ValueAnimator;
import android.app.Activity;
import android.graphics.BitmapFactory;
import android.graphics.Color;
import android.graphics.Paint;
import android.graphics.drawable.Drawable;
import android.graphics.drawable.LayerDrawable;
import android.graphics.drawable.ShapeDrawable;
import android.graphics.drawable.shapes.OvalShape;
import android.support.v4.graphics.drawable.RoundedBitmapDrawable;
import android.support.v4.graphics.drawable.RoundedBitmapDrawableFactory;
import android.os.Bundle;
import android.view.View;
import android.view.animation.LinearInterpolator;
import android.widget.ImageView;


public class MainActivity extends Activity {
    private ObjectAnimator discObjectAnimator,neddleObjectAnimator;

    @Override
    protected void onCreate(Bundle savedInstanceState) {
        super.onCreate(savedInstanceState);
        setContentView(R.layout.activity_main);

        //最外部的半透明邊線
        OvalShape ovalShape0 = new OvalShape();
        ShapeDrawable drawable0 = new ShapeDrawable(ovalShape0);
        drawable0.getPaint().setColor(0x10000000);
        drawable0.getPaint().setStyle(Paint.Style.FILL);
        drawable0.getPaint().setAntiAlias(true);

        //黑色唱片邊框
        RoundedBitmapDrawable drawable1 = RoundedBitmapDrawableFactory.create(getResources(), BitmapFactory.decodeResource(getResources(), R.drawable.disc));
        drawable1.setCircular(true);
        drawable1.setAntiAlias(true);

        //內層黑色邊線
        OvalShape ovalShape2 = new OvalShape();
        ShapeDrawable drawable2 = new ShapeDrawable(ovalShape2);
        drawable2.getPaint().setColor(Color.BLACK);
        drawable2.getPaint().setStyle(Paint.Style.FILL);
        drawable2.getPaint().setAntiAlias(true);

        //最裡面的圖像
        RoundedBitmapDrawable drawable3 = RoundedBitmapDrawableFactory.create(getResources(), BitmapFactory.decodeResource(getResources(), R.drawable.zhangphil));
        drawable3.setCircular(true);
        drawable3.setAntiAlias(true);

        Drawable[] layers = new Drawable[4];
        layers[0] = drawable0;
        layers[1] = drawable1;
        layers[2] = drawable2;
        layers[3] = drawable3;

        LayerDrawable layerDrawable = new LayerDrawable(layers);

        int width = 10;
        //針對每一個圖層進行填充,使得各個圓環之間相互有間隔,否則就重合成一個了。
        //layerDrawable.setLayerInset(0, width, width, width, width);
        layerDrawable.setLayerInset(1, width , width, width, width );
        layerDrawable.setLayerInset(2, width * 11, width * 11, width * 11, width * 11);
        layerDrawable.setLayerInset(3, width * 12, width * 12, width * 12, width * 12);

        final View discView = findViewById(R.id.myView);
        discView.setBackgroundDrawable(layerDrawable);

        ImageView needleImage= (ImageView) findViewById(R.id.needle);

        findViewById(R.id.startButton).setOnClickListener(new View.OnClickListener() {
            @Override
            public void onClick(View v) {
                discObjectAnimator.start();
                neddleObjectAnimator.start();
            }
        });

        findViewById(R.id.stopButton).setOnClickListener(new View.OnClickListener() {
            @Override
            public void onClick(View v) {
                discObjectAnimator.cancel();
                neddleObjectAnimator.reverse();
            }
        });

        discObjectAnimator = ObjectAnimator.ofFloat(discView, "rotation", 0, 360);
        discObjectAnimator.setDuration(20000);
        //使ObjectAnimator動畫勻速平滑旋轉
        discObjectAnimator.setInterpolator(new LinearInterpolator());
        //無限循環旋轉
        discObjectAnimator.setRepeatCount(ValueAnimator.INFINITE);
        discObjectAnimator.setRepeatMode(ValueAnimator.INFINITE);


        neddleObjectAnimator = ObjectAnimator.ofFloat(needleImage, "rotation", 0, 25);
        needleImage.setPivotX(0);
        needleImage.setPivotY(0);
        neddleObjectAnimator.setDuration(800);
        neddleObjectAnimator.setInterpolator(new LinearInterpolator());
    }
}
遺留問題:
(1)實際上,右上角機械臂這個ImageView以(x=0,y=0)的坐標位置旋轉不是很恰當,因為這個機械臂作為圖像素材,它本身的左上角肯定有部分空間位置,使得旋轉時候不能夠剛好以圖中機械臂左上角那個螺絲銜接的位置旋轉,也許是把機械臂銜接螺絲那個位置遮擋起來就像網易雲音樂的做法,但是更完美的處理方法,我個人感覺勇應該分段設計這個機械臂:在素材設計上,把這個機械臂分為兩段設計,最上的那個銜接螺絲單獨抽出來,固定在布局上,然後螺絲下面把機械臂的尾部遮擋起來,旋轉只選擇機械臂,這樣旋轉就非常逼真。
(2)從代碼中可以看出裡面很多位置、角度、距離的值都是寫死的,比如機械臂旋轉的角度,機械臂的最大高度等等,作為demo說明解決方案沒問題,但是在涉及到千百種Android屏幕尺寸各異的設備時候,情況變得比較復雜,要精心計算這些空間位置距離。
(3)發現一個Android自身的問題。在本例中,如果把背景圖片background.jpg換成更高質量和分辨率的圖如1080 X 1920,則動畫執行非常之卡。但是如果把背景圖片質量換成低分辨率圖540 X 960則不影響動畫執行效率。
我寫的這個例子中用到的一些素材。
整個背景圖background.jpg:

唱片機的機械臂needle.png

唱片磁盤包括頭像的外部黑色外圈disc.png:
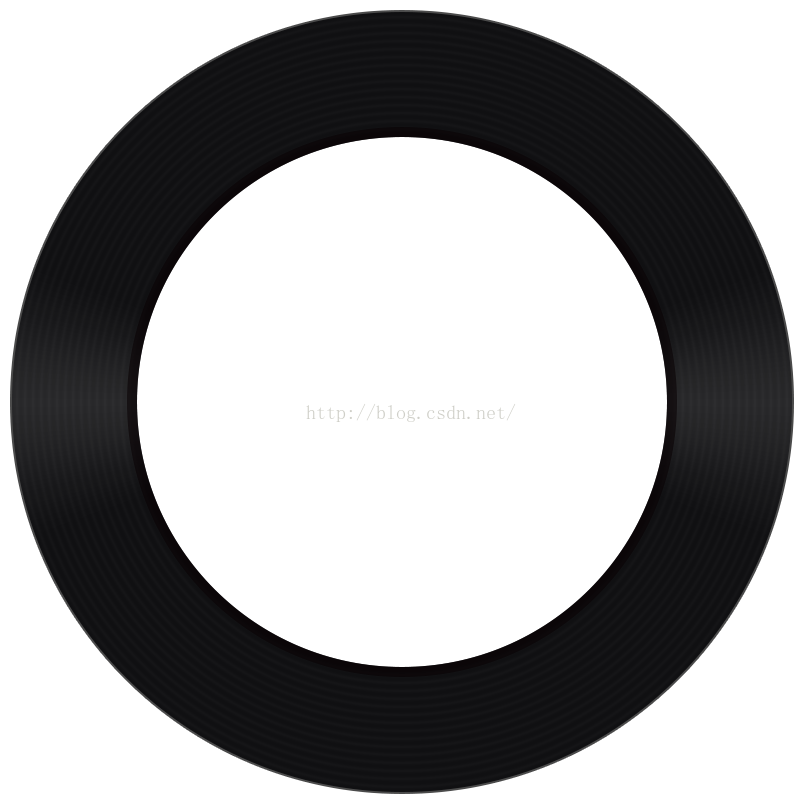
頭像是我csdn的博客頭像:
 華為榮耀8流量監控怎麼打開
華為榮耀8流量監控怎麼打開呢?華為在EMUI 3.0的華為手機管家新功能添加期待已久的了流量管理功能,方便大家監控自己的手機流量,避免超出。不過,
 Android中生成彩色位置探測點的二維碼
前段時間項目有需要要顯示彩色探測點的二維碼,網上搜了下,有基於java,c等的源碼。網上的java源碼直接照搬有些問題,自己改了改。不說廢話,先上結果圖。原理其實很簡單,
 第八章:Activity與Activity調用棧分析
知識點目錄 8.1 Activity 8.1.1 起源 8.1.2 Activity形態 8.1.3 生命周期 8.2 Activity任務棧簡介 8.3 Activit
 自定義Android手機的Activity標題欄
先來文字詳述的: 當我們想讓自己的手機全屏,立馬會想到requestWindowFeature(featrueId)函數吧。 一、枚舉常量 1.DEFAULT_FE