編輯:關於Android編程
在Android手機的桌面上,我們經常可以看到如下小控件
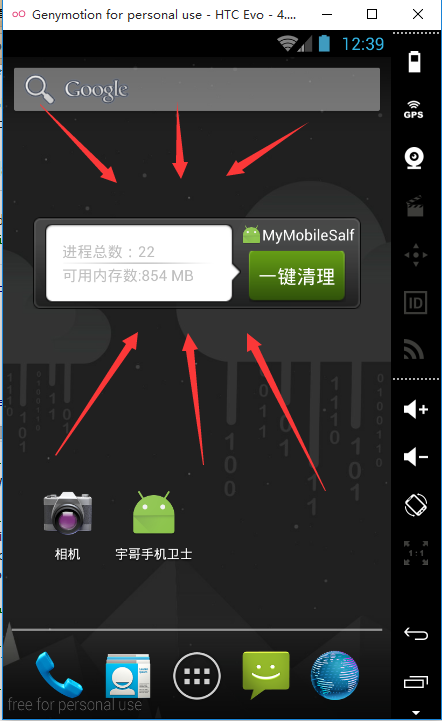
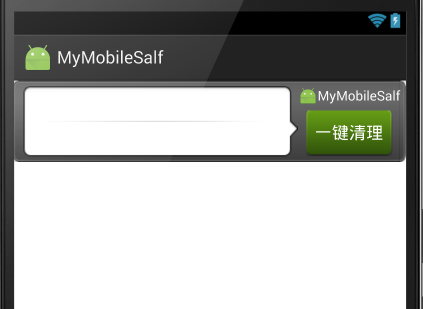
在這些控件上,可以顯示我們APP的一些重要的交互信息,以我最近開發的手機衛士為例,在widget上可以顯示進程總數,可用內存數,應用名稱Logo,以及一鍵清理快捷鍵。接下來這篇文章就簡單的記錄下如何在自己的應用中創建widget。
國內Android API鏡像
如下所示:
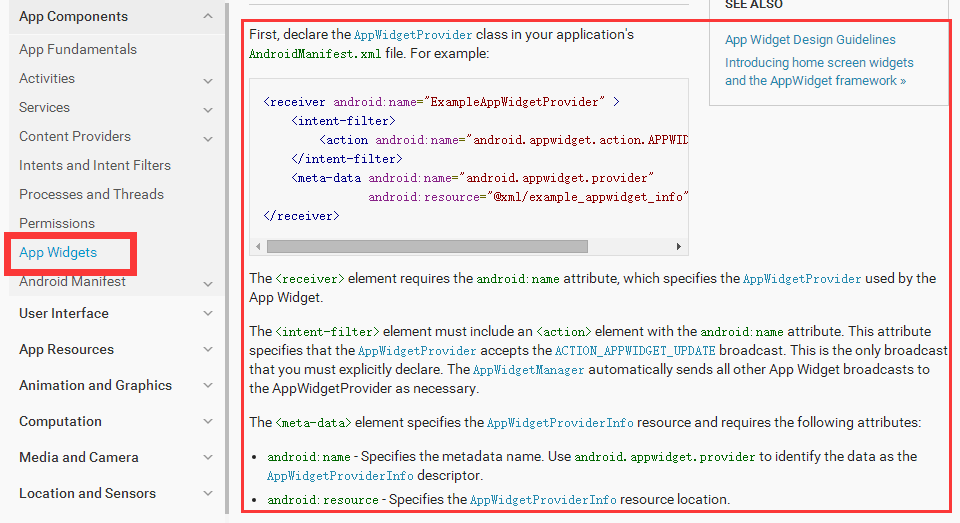
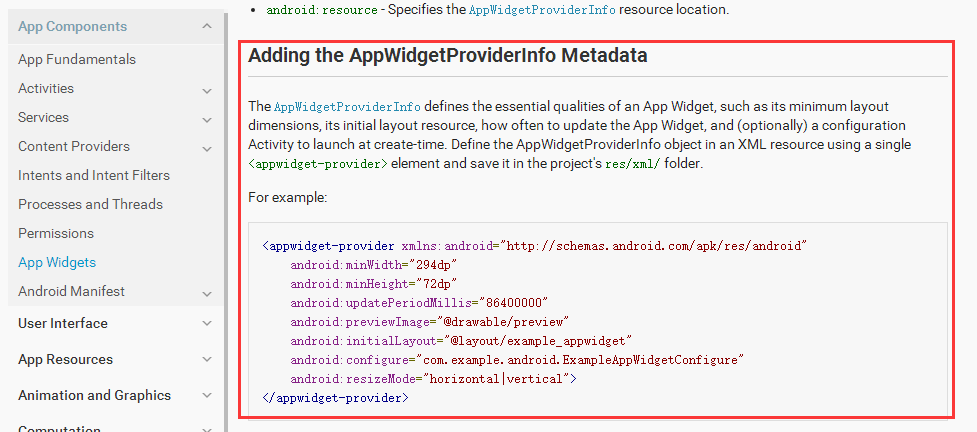
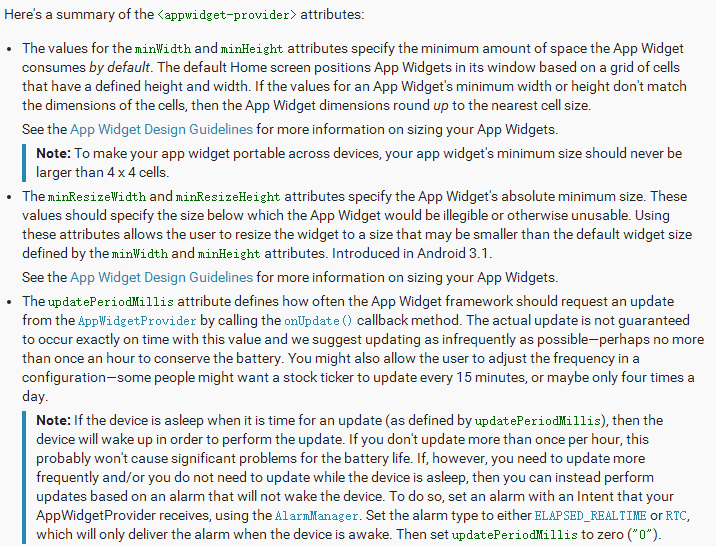
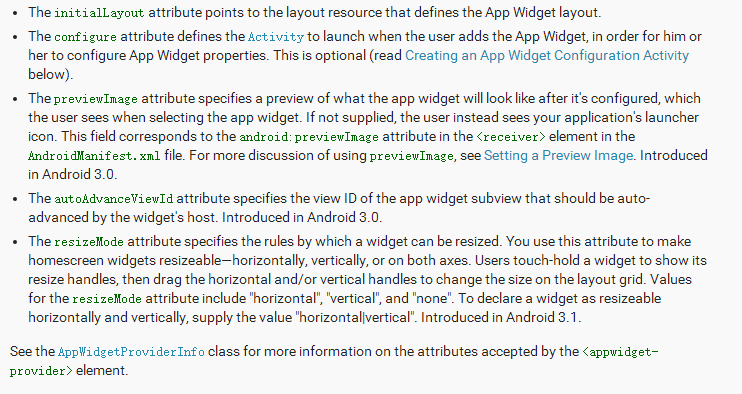
長篇大論一整面,我把最重要的幾點扣了出來,英語比較好的看了這篇文檔就應該知道怎麼給自己的APP創建widget了,下面結合我結合實例,翻譯並且記錄一下用法
1. 在AndroidManifest文件中配置如下節點
此處創建了一個XML文件(process_widget_provider),一個繼承了Broadcast的類的子類。下面詳細說一下這兩個。
2.官方文檔中給出的XML文件解釋如下
其中
android:initialLayout="@layout/example_appwidget"
這一條屬性設置的layout文件就是最終顯示在桌面上的widget的樣式布局
不是所有的屬性都需要配置,按需配置。下面貼出我應用中的widget的XML文件:
其中initialLayout文件process_widget如下:
這個layout文件決定了我應用的widget長下面這個樣子(使用到的圖片資源就不貼出來了):
3.myAppWidgetProvider
public class myAppWidgetProvider extends AppWidgetProvider {
    private static final String tag = "------>";

    @Override
    public void onReceive(Context context, Intent intent) {
        Log.i(tag, "onReceive............");
        super.onReceive(context, intent);
    }

    @Override
    public void onEnabled(Context context) {
        //創建第一個窗口小部件的方法
        Log.i(tag, "onEnabled 創建第一個窗體小部件調用方法");

        //開啟服務
        context.startService(new Intent(context, updateWidgetService.class));
        super.onEnabled(context);
    }

    @Override
    public void onUpdate(Context context, AppWidgetManager appWidgetManager, int[] appWidgetIds) {
        Log.i(tag, "onUpdate 創建多一個窗體小部件調用方法");
        context.startService(new Intent(context, updateWidgetService.class));
        super.onUpdate(context, appWidgetManager, appWidgetIds);
    }

    @Override
    public void onAppWidgetOptionsChanged(Context context, AppWidgetManager appWidgetManager, int appWidgetId, Bundle newOptions) {
        //當窗體小部件寬高發生改變的時候調用方法,創建小部件的時候,也調用此方法
        context.startService(new Intent(context,updateWidgetService.class));

        Log.i(tag, "onAppWidgetOptionsChanged 創建多一個窗體小部件調用方法");

        super.onAppWidgetOptionsChanged(context, appWidgetManager, appWidgetId, newOptions);
    }

    @Override
    public void onDeleted(Context context, int[] appWidgetIds) {
        Log.i(tag, "onDeleted 刪除一個窗體小部件調用方法");
        super.onDeleted(context, appWidgetIds);
    }

    @Override
    public void onDisabled(Context context) {
        Log.i(tag, "onDisabled 刪除最後一個窗體小部件調用方法");
        context.stopService(new Intent(context, updateWidgetService.class));
        super.onDisabled(context);
    }
}
這個類和widget的生命周期相關聯,重寫的每個方法的回調情景已經在代碼注釋中給出,寫到這裡我們就可以在手機中調出這個widget了,但是這個widget還沒有具體的功能,只是可以起到一個展示的作用。
widget的功能業務邏輯要結合具體的應用。下面我記錄下我自己最近的應用中widget的業務邏輯。
 @Override
    public void onEnabled(Context context) {
        //創建第一個窗口小部件的方法
        Log.i(tag, "onEnabled 創建第一個窗體小部件調用方法");

        //開啟服務
        context.startService(new Intent(context, updateWidgetService.class));
        super.onEnabled(context);
    }
在widget被拖拽到桌面上時候,上述方法會被調用,我們在該方法中開啟一個Service,因為widget的使用脫離了Activity,所以在服務中書寫業務邏輯可以讓widget脫離activity也可以完成某些功能。
public class updateWidgetService extends Service {

    private Timer mTimer;
    private InnerReceiver mInnerReceiver;

    @Override
    public void onCreate() {
        //管理進程總數和可用內存數更新(定時器)
        startTimer();

        //注冊開鎖解鎖廣播接收者
        IntentFilter intentFilter = new IntentFilter();
        intentFilter.addAction(Intent.ACTION_SCREEN_OFF);
        intentFilter.addAction(Intent.ACTION_SCREEN_ON);

        mInnerReceiver = new InnerReceiver();
        registerReceiver(mInnerReceiver, intentFilter);

        super.onCreate();
    }


    private class InnerReceiver extends BroadcastReceiver {
        @Override
        public void onReceive(Context context, Intent intent) {
            if (intent.getAction().equals(Intent.ACTION_SCREEN_ON)) {
                //開啟定時更新任務
                startTimer();

            } else {
                //關閉定時更新任務
                cancelTimerTask();
            }

        }
    }

    private void startTimer() {
        //1.創建Timer對象
        mTimer = new Timer();
        mTimer.scheduleAtFixedRate(new TimerTask() {
            @Override
            public void run() {
                //UI定時刷新
                updateAppWidget();
                Log.i("------>", "5秒一次的定時任務正在運行");
            }
        }, 0, 5000);
    }

    private void updateAppWidget() {
        //1.獲取APPWidget對象  單例模式
        AppWidgetManager appWidgetManager = AppWidgetManager.getInstance(this);
        //2.獲取窗體小部件對應的布局轉換成的對象(定位應用的包名,當前應用中的那個布局文件)
        RemoteViews remoteViews = new RemoteViews(getPackageName(), R.layout.process_widget);
        //3.給窗體小部件對應的View對象remoteViews 內部的控件賦值
        remoteViews.setTextViewText(R.id.tv_process_count, "進程總數:" + processInfoProvider.getProcessCount(this));
        //顯示可使用內存大小
        String strAvailRAM = Formatter.formatFileSize(this, processInfoProvider.getAvailRAM(this));
        remoteViews.setTextViewText(R.id.tv_process_memory, "可用內存數:" + strAvailRAM);

        //點擊窗口小部件進入應用  (1.在哪個控件上響應點擊事件  2.延遲意圖)
        Intent intent = new Intent("android.intent.action.HOME");
        intent.addCategory("android.intent.category.DEFAULT");
        PendingIntent pi = PendingIntent.getActivity(this, 0, intent, PendingIntent.FLAG_CANCEL_CURRENT);
        remoteViews.setOnClickPendingIntent(R.id.ll_root, pi);


        //通過延遲意圖發送廣播,在廣播接收者中殺死進程
        Intent broadcastIntent = new Intent("android.intent.action.KILL_BACKGROUND_PROCESS");
        PendingIntent broadcast = PendingIntent.getBroadcast(this, 0, broadcastIntent, PendingIntent.FLAG_CANCEL_CURRENT);

        remoteViews.setOnClickPendingIntent(R.id.btn_clear, broadcast);


        //4.通知Manager更新
        //上下文環境  窗體小部件對應廣播接收者的字節碼文件
        ComponentName componentName = new ComponentName(this, myAppWidgetProvider.class);
        appWidgetManager.updateAppWidget(componentName, remoteViews);
    }


    @Nullable
    @Override
    public IBinder onBind(Intent intent) {
        return null;
    }


    private void cancelTimerTask() {

        if (mTimer != null) {
            mTimer.cancel();
            mTimer = null;
        }
    }

    @Override
    public void onDestroy() {

        if (mInnerReceiver != null) {
            unregisterReceiver(mInnerReceiver);
        }
        //onDestroy()方法被調用時,服務關閉,最後一個窗體小部件被移除,所以定時任務也關閉
        cancelTimerTask();
        super.onDestroy();
    }
}
updateWidgetService這個類完成的功能如下:
將進程總數和剩余內存顯示在widget上。 通過定時器對顯示的數據進行刷新,5秒刷新一次。 點擊widget進入應用的HomeAcitvity界面。 鎖屏時停止對widget的刷新操作。 點擊一鍵清除按鈕,清楚後台運行的程序。接收到指定的廣播"android.intent.action.KILL_BACKGROUND_PROCESS" 之後,下面拿到類中的onReceive()方法會被調用:
public class killProcessReceiver extends BroadcastReceiver {
    @Override
    public void onReceive(Context context, Intent intent) {
        //殺死進程
        processInfoProvider.killAll(context);

    }
}
其中殺死空閒進程的方法如下:
  public static void killAll(Context context){
        //1.拿刀
        ActivityManager activityManager =
                (ActivityManager) context.getSystemService(Context.ACTIVITY_SERVICE);
        //2.通過拿ActivityManager拿到正在運行的進程的信息列表
        List runningAppProcesses =
                activityManager.getRunningAppProcesses();
        //3.循環遍歷所有進程,然後殺!!
        for (ActivityManager.RunningAppProcessInfo info:runningAppProcesses){
            //4除了手機衛士以外,其他的都殺!
            if (info.processName.equals(context.getPackageName())){
                continue;
            }
            activityManager.killBackgroundProcesses(info.processName);
        }

    }
感覺現在做的這個項目,都不能稱之為項目,准確的來說應該大型的Demo,它將Android中四大組件:Activity,Service,Content Provider,Broascast Receiver以及資源文件,Animation,等等都結合起來了,算是對Android基礎的一個很好的復習。最主要的是提高了自己對知識點的索引能力(好吧,不吹牛逼了。。說通俗點就是怎麼使用百度來解決問題)。
 Android app系統設置界面 數據的保存與讀取 SharedPreferences 的正確使用
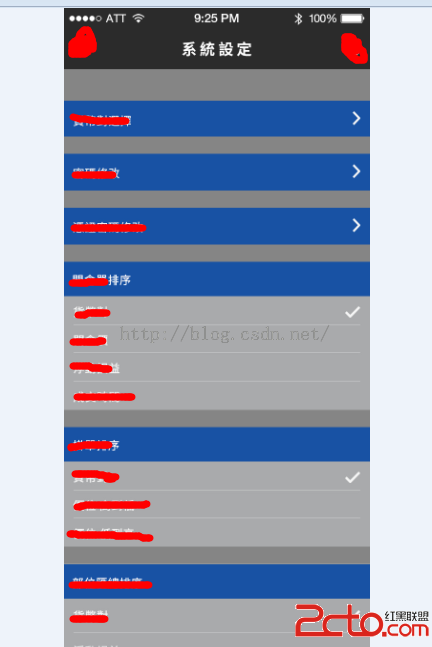
很開心的是經歷過兩個多月的努力,項目在11月份即將要交付使用,基礎功能已經完成,剩下的是系統設定界面沒有開發完畢,如下圖:很顯然要實現的功能是幾個界面要顯示很多數據,要依
 Android中的數據存取和IO (第一篇)
應用程序都會涉及到數據的輸入、輸出,android應用也不例外。Android中應用程序存儲數據通常有兩種模式:1,數據量少,格式簡單(例如,字符串、標量)
 Android圓形旋轉菜單
【點擊下載】
 四大組件之ContentProvider(一)-使用系統提供的ContentProvider
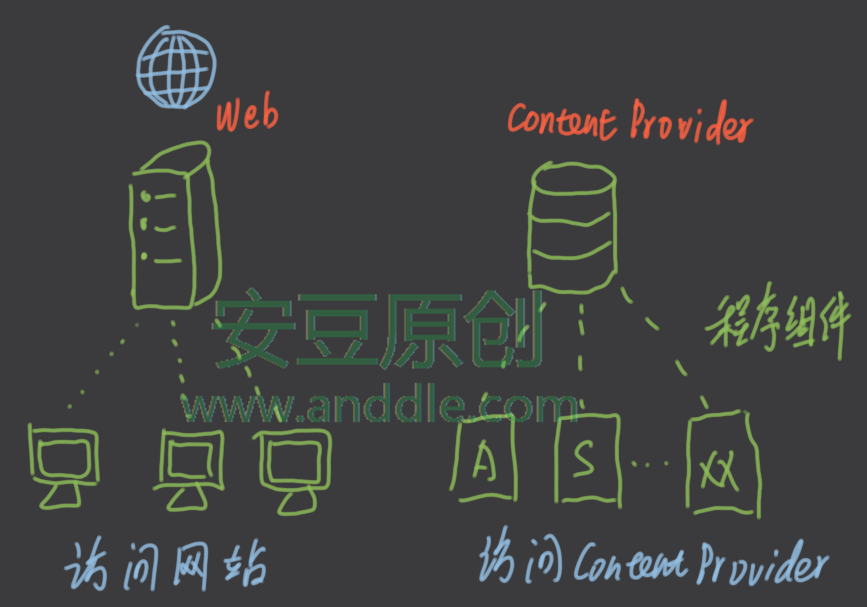
第1節 ContentProvider介紹ContentProvider是安卓系統的四大組件之一,可以向其他組件提供數據訪問的能力。它就像是一個網站,其他組件(或者其他應