編輯:關於Android編程
先上圖:

這裡要實現的是,點擊上面的按鈕後,將TextView隨機移動到底部按鈕的位置 首先,將底部按鈕放入list中,方便後面隨機取值 list = new ArrayList<Button>(); list.add(btn1); list.add(btn2); list.add(btn3); list.add(btn4); 然後就是點擊按鈕後的拋物線動畫了 點擊按鈕後,先寫一個數組用來存儲點擊按鈕的X、Y坐標,然後new一個用來展示拋物線的控件,樓主這裡用的TextView,也可以換成其他任何控件 int[] start_location = new int[2];// 一個整型數組,用來存儲按鈕的在屏幕的X、Y坐標 v.getLocationInWindow(start_location);// 這是獲取當前點擊的按鈕在屏幕的X、Y坐標(這也是動畫開始的坐標) TextView te = new TextView(this); te.setText("啊"); 接下來,將要移動的控件放入一個動畫層中 ViewGroup rootView = (ViewGroup) this.getWindow().getDecorView(); LinearLayout animLayout = new LinearLayout(this); LinearLayout.LayoutParams lp = new LinearLayout.LayoutParams( LinearLayout.LayoutParams.MATCH_PARENT, LinearLayout.LayoutParams.MATCH_PARENT); animLayout.setLayoutParams(lp); animLayout.setId(Integer.MAX_VALUE); animLayout.setBackgroundResource(Android.R.color.transparent); rootView.addView(animLayout); int x = location[0]; int y = location[1]; LinearLayout.LayoutParams lp = new LinearLayout.LayoutParams( LinearLayout.LayoutParams.WRAP_CONTENT, LinearLayout.LayoutParams.WRAP_CONTENT); lp.leftMargin = x; lp.topMargin = y; view.setLayoutParams(lp); 緊接著,就是寫拋物線的動畫了。 拋物線其實就是兩個位移動畫,一個橫向移動,一個豎向移動,兩個動畫同時執行,就有了拋物線的效果 int endX = 0 - start_location[0] + list.get(ra.nextInt(list.size())).getLeft();// 動畫位移的X坐標 int endY = end_location[1] - start_location[1];// 動畫位移的y坐標 TranslateAnimation translateAnimationX = new TranslateAnimation(0,endX, 0, 0); translateAnimationX.setInterpolator(new LinearInterpolator()); translateAnimationX.setRepeatCount(0);// 動畫重復執行的次數 translateAnimationX.setFillAfter(true); TranslateAnimation translateAnimationY = new TranslateAnimation(0,0, 0, endY); translateAnimationY.setInterpolator(new AccelerateInterpolator()); translateAnimationY.setRepeatCount(0);// 動畫重復執行的次數 translateAnimationX.setFillAfter(true); AnimationSet set = new AnimationSet(false); set.setFillAfter(false); set.addAnimation(translateAnimationY); set.addAnimation(translateAnimationX); set.setDuration(800);// 動畫的執行時間 view.startAnimation(set); 最後,監聽動畫,在動畫執行的時候將要移動的控件顯示出來,動畫結束了將之隱藏 完整代碼如下: package com.example.movetest; import Java.util.ArrayList; import java.util.List; import java.util.Random; import android.app.Activity; import android.os.Bundle; import android.view.View; import android.view.View.OnClickListener; import android.view.ViewGroup; import android.view.animation.AccelerateInterpolator; import android.view.animation.Animation; import android.view.animation.Animation.AnimationListener; import android.view.animation.AnimationSet; import android.view.animation.LinearInterpolator; import android.view.animation.TranslateAnimation; import android.widget.Button; import android.widget.LinearLayout; import android.widget.TextView; /*** * * @author 帽檐遮不住陽光 * * @date 2016/5/9 * */ public class MainActivity extends Activity implements OnClickListener { private List<Button> list = null; private ViewGroup viewGroup;// 動畫層 private Button btn1, btn2, btn3, btn4; @Override protected void onCreate(Bundle savedInstanceState) { super.onCreate(savedInstanceState); setContentView(R.layout.activity_main); findViewById(R.id.btn).setOnClickListener(this); btn1 = (Button) findViewById(R.id.btn1); btn2 = (Button) findViewById(R.id.btn2); btn3 = (Button) findViewById(R.id.btn3); btn4 = (Button) findViewById(R.id.btn4); list = new ArrayList<Button>(); list.add(btn1); list.add(btn2); list.add(btn3); list.add(btn4); } @Override public void onClick(View v) { // TODO Auto-generated method stub switch (v.getId()) { case R.id.btn: int[] start_location = new int[2];// 一個整型數組,用來存儲按鈕的在屏幕的X、Y坐標 v.getLocationInWindow(start_location);// 這是獲取當前點擊的按鈕在屏幕的X、Y坐標(這也是動畫開始的坐標) TextView te = new TextView(this); te.setText("啊"); move(te, start_location); break; } } private void move(final View v, int[] start_location) { viewGroup = null; viewGroup = createAnimLayout(); viewGroup.addView(v);// 把要移動的控件添加到動畫層 final View view = addViewToAnimLayout(viewGroup, v, start_location); int[] end_location = new int[2];// 這是用來存儲動畫結束位置的X、Y坐標 Random ra = new Random(); for (int i = 0; i < list.size(); i++) { list.get(ra.nextInt(list.size())).getLocationInWindow(end_location); // 計算位移 int endX = 0 - start_location[0] + list.get(ra.nextInt(list.size())).getLeft();// 動畫位移的X坐標 int endY = end_location[1] - start_location[1];// 動畫位移的y坐標 TranslateAnimation translateAnimationX = new TranslateAnimation(0, endX, 0, 0); translateAnimationX.setInterpolator(new LinearInterpolator()); translateAnimationX.setRepeatCount(0);// 動畫重復執行的次數 translateAnimationX.setFillAfter(true); TranslateAnimation translateAnimationY = new TranslateAnimation(0, 0, 0, endY); translateAnimationY.setInterpolator(new AccelerateInterpolator()); translateAnimationY.setRepeatCount(0);// 動畫重復執行的次數 translateAnimationX.setFillAfter(true); AnimationSet set = new AnimationSet(false); set.setFillAfter(false); set.addAnimation(translateAnimationY); set.addAnimation(translateAnimationX); set.setDuration(800);// 動畫的執行時間 view.startAnimation(set); // 動畫監聽事件 set.setAnimationListener(new AnimationListener() { // 動畫的開始 @Override public void onAnimationStart(Animation animation) { v.setVisibility(View.VISIBLE); } @Override public void onAnimationRepeat(Animation animation) { // TODO Auto-generated method stub } // 動畫的結束 @Override public void onAnimationEnd(Animation animation) { v.setVisibility(View.GONE); } }); break; } } /** * 創建動畫層 * * @return */ private ViewGroup createAnimLayout() { ViewGroup rootView = (ViewGroup) this.getWindow().getDecorView(); LinearLayout animLayout = new LinearLayout(this); LinearLayout.LayoutParams lp = new LinearLayout.LayoutParams( LinearLayout.LayoutParams.MATCH_PARENT, LinearLayout.LayoutParams.MATCH_PARENT); animLayout.setLayoutParams(lp); animLayout.setId(Integer.MAX_VALUE); animLayout.setBackgroundResource(android.R.color.transparent); rootView.addView(animLayout); return animLayout; } private View addViewToAnimLayout(final ViewGroup vg, final View view, int[] location) { int x = location[0]; int y = location[1]; LinearLayout.LayoutParams lp = new LinearLayout.LayoutParams( LinearLayout.LayoutParams.WRAP_CONTENT, LinearLayout.LayoutParams.WRAP_CONTENT); lp.leftMargin = x; lp.topMargin = y; view.setLayoutParams(lp); return view; } }
 Android開發之Path類使用詳解,自繪各種各樣的圖形!
玩過自定義View的小伙伴都知道,在View的繪制過程中,有一個類叫做Path,Path可以幫助我們實現很多自定義形狀的View,特別是配合xfermode屬性來使用的時
 Android 拖拽功能的使用實例
圖片的拖拉功能是處理圖片進一個有用且常用的功能,由於手機屏幕尺寸的限制,往往無法在手機上一次性的顯示一張比較大的圖片,也就是 說,我們在手機上一次性只能看到圖片的一部分,
 Android APK XML解析與反編譯方法
APK中的XML為何不能直接打開,是否只是簡單的二進制文件,難道被加密了?為什麼AXMLPrinter2反編譯的時候竟然報錯了,如何解決?&nbs
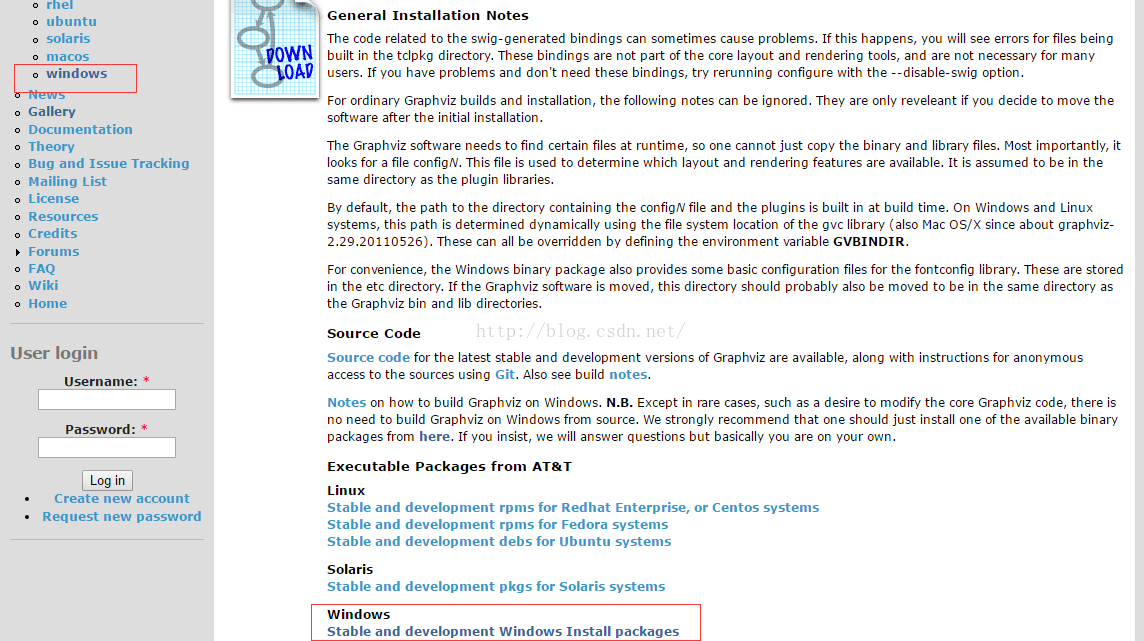
 圖解程序員畫流程圖、數據結構圖及各種復雜圖形的Graphviz工具入門
我們畫常規圖形時一般用word上面自帶的插件或visio畫圖。但是我在畫linux內核文件系統結構圖、內存分配以及學習數據結構樹、圖時,發現使用Graphviz非常的方便