編輯:關於Android編程
Retrofit提供了5種內置的注解:GET、POST、PUT、DELETE和HEAD,在注解中指定的資源的相對URL
@GET("users/list")
也可以在URL中指定查詢參數
@GET("users/list?sort=desc")
請求的URL可以在函數中使用替換塊和參數進行動態更新,替換塊是{ and }包圍的字母數字組成的字符串,相應的參數必須使用相同的字符串被@Path進行注釋
@GET("group/{id}/users")
Call> groupList(@Path("id") int groupId);
Retrofit初始化
    public static ZoneApiInterface getClient(){
        Retrofit retrofit2 = new Retrofit.Builder()
                .baseUrl(Constant.ADDRESS_RetrofitClient)
                .addConverterFactory(GsonConverterFactory.create())
//                .client(ok.getClient())
                .build();
        return retrofit2.create(ZoneApiInterface.class);
    }
API接口
public interface ZoneApiInterface {...}
callback回調
    static Callback callback =new Callback() {
        @Override
        public void onResponse(Call call, Response response) {
            System.out.println("url:"+  call.request().url()+"\t --->"+new Gson().toJson(response.body())+"\n\n");
        }
        @Override
        public void onFailure(Call call, Throwable t) {
            t.printStackTrace();
        }
    };
@Query
查詢參數既 url?後邊的
@GET("{user}")
 Call getZone(@Path("user") String user, @Query("name") String str);
getClient().getZone("log","Zone").enqueue(callback);
@QueryMap
 @GET("{user}")
Call getZone(@Path("user") String user, @QueryMap Map map);
retrofit2.Call call2 =  getClient().getZone("log", map);//返回的時候call 可以靈活運用
@Url
在Retrofit 2.0添加了一個新的注解:@Url,它允許我們直接傳入一個請求的URL。這樣以來我們可以將上一個請求的獲得的url直接傳入進來。方便了我們的操作。
@GET
Call getZoneUrl(@Url String str);
getClient().getZoneUrl("http://101.40.6.224:8089/Test/log"+"?a=1").enqueue(callback);
這個會無視 
@Body
可以通過@Body注解指定一個對象作為Http請求的請求體
@POST("users/new")
Call createUser(@Body User user);
@Body map的時候
@POST(“{user}”)
 Call postZone(@Path("user") String user, @Body Map map);
  getClient().postZone("log", map).enqueue(callback);
1.最標准的
@POST(“log”)
 Call postZoneFile( @Body MultipartBody mb);//upload最為標准的

File file = new File("D:\\psb.jpg");
File file2 = new File("D:\\mei.jpg");
        //多個文件上傳(已此為標准)  文件的時候item.isFormField()=false
        MultipartBody.Builder form = new MultipartBody.Builder();
        form.setType(MultipartBody.FORM);
        form.addFormDataPart("keyName","Zone");
        form.addFormDataPart("file","gaga.jpg", RequestBody.create(MediaType.parse("image/*"), file1));
        form.addFormDataPart("file2","meinv.jpg", RequestBody.create(MediaType.parse("image/*"), file));
        getClient().postZoneFile(form.build()).enqueue(callback);
2.Multipart官方的不太靠譜的 和上邊僅僅是服務器的標志 不一樣 item.isFormField()=true
       @Multipart
        @POST("log")
        Call sendFile(@Part(value = "myFile",encoding = "utf-8") RequestBody file);//upload
        @Multipart
        @POST ("log")
        Call sendFiles (@PartMap Map params);
      //另一種方式 不太靠譜的 和上邊僅僅是服務器的標志 不一樣 item.isFormField()=true
        HashMap mapFile = new HashMap<>();
        mapFile.put("keyName", RequestBody.create(MediaType.parse("text/x-markdown; charset=utf-8"),"Zone"));
        mapFile.put("file1",RequestBody.create(MediaType.parse("image/*"), file));
        getClient().sendFiles(mapFile).enqueue(callback);
//        _-------------單文件上傳 和第二一樣不標准-------------------
        getClient().sendFile(RequestBody.create(MediaType.parse("image/*"), file)).enqueue(callback);
 @GET
@Streaming
public Call down(@Url String url);//downLoad
static String downUrl = "http://down.360safe.com/360/inst.exe";
        //好使
        getClient().down(downUrl).enqueue(new Callback() {
            @Override
            public void onResponse(Call call, Response response) {
                File file = new File("D:\\");
                if (file.exists()) {
                    System.out.println("you ");
                } else {
                    System.out.println("沒有");
                }
                try {
                    System.out.println(response.body().string());
                } catch (IOException e) {
                    e.printStackTrace();
                }
            }
            @Override
            public void onFailure(Call call, Throwable t) {
            }
        });
我們可以使用@FormUrlEncoded注解來發送表單數據。使用 @Field注解和參數來指定每個表單項的Key,value為參數的值。
當我們有很多個表單參數時可以通過@FieldMap注解和Map對象參數來指定每個表單項的Key,value的值。
//@Field 這個應該和@body一樣什麼也能上傳文件吧沒嘗試
        @FormUrlEncoded
        @POST("log")
        Call formUrlEncoded(@Field("name") String name, @Field("password") String password);
        @FormUrlEncoded
        @POST("log")
        Call formUrlEncodedFile(@FieldMap Map map);
   private static void formUrlEncoded(Map map) {
        getClient().formUrlEncoded("ZoneForm", "123456").enqueue(callback);
        getClient().formUrlEncodedFile(map).enqueue(callback);
    }
 安卓學習筆記之Drawable
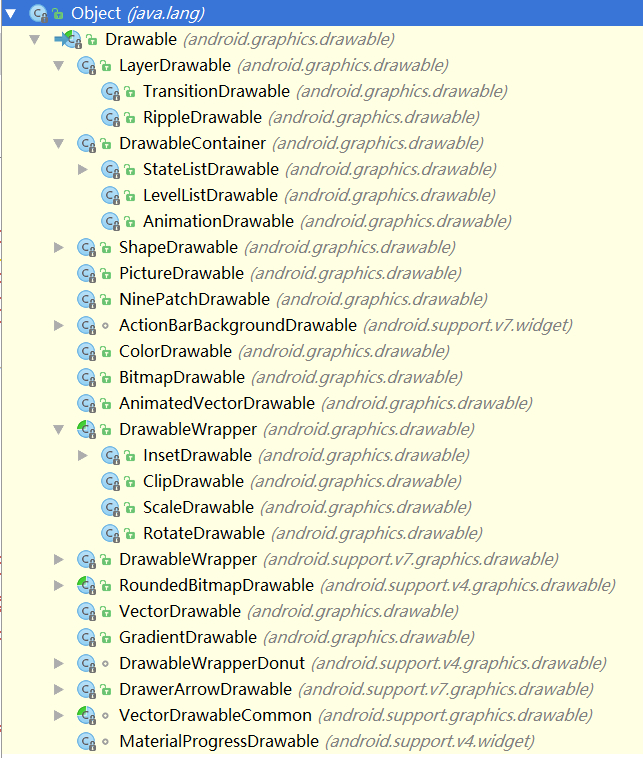
Drawable基礎什麼是Drawable首先Drawable是一個抽象類,表示的是可以在Canvas中繪制的圖像,常被用作一個view的背景,有多種實現類完成不同的功能
 Android開發者上手寶典(二)
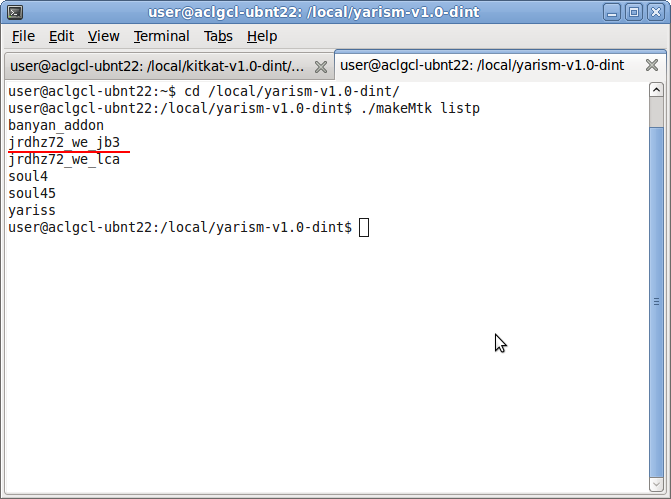
13.如何全編譯代碼?由於上面介紹了如何連接真機進行調試,因此必須趕緊補充上全編譯的方法。因為要進行聯機調試,之前首先得將對應的代碼進行全編譯。很多新人在進行聯機調試的時
 Android實現定制返回按鈕動畫效果的方法
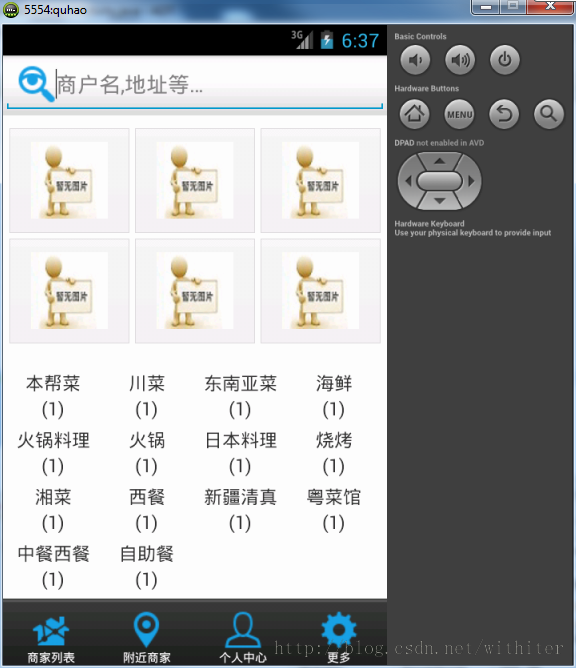
今天我們來講一講Andorid中如何定制返回按鈕的動畫效果。我將結合實際應用來闡述如何使用。首先來看一個效果截圖,有一個搜索按鈕在一個頁面的頂部:我之前實現的方式是和百度
 Android高級控件(六)——自定義ListView高仿一個QQ可拖拽列表的實現
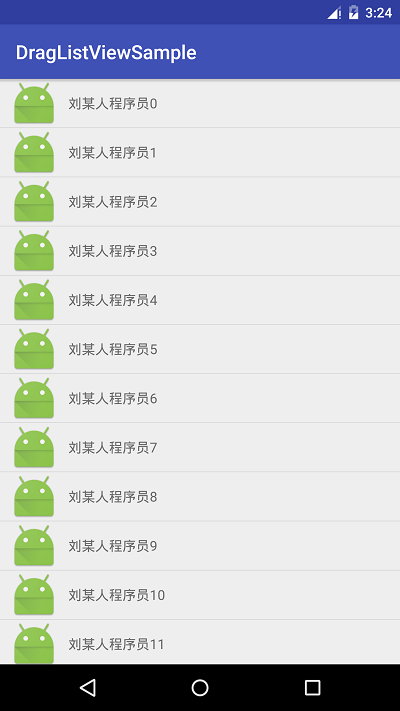
我們做一些好友列表或者商品列表的時候,居多的需求可能就是需要列表拖拽了,而我們選擇了ListView,也是因為使用ListView太久遠了,導致對他已經有濃厚的感情了