第一步,打開android studio
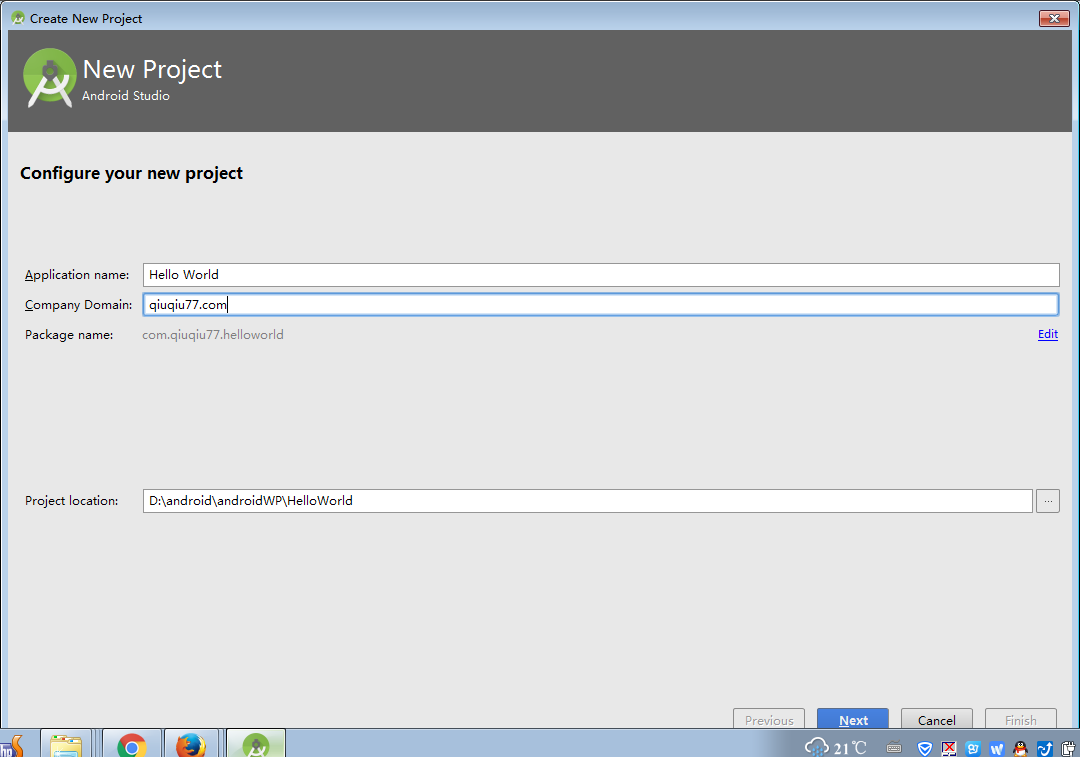
輸入你的項目名稱“Hello World”.
“Company Domian”:暫時你就隨便填一個吧!
“Project Location”:你應該新建一個目錄,專名用來放android 項目的。就把這個project Location指向你的目錄。
第二步,“Target Android Devices”,默認就是了。
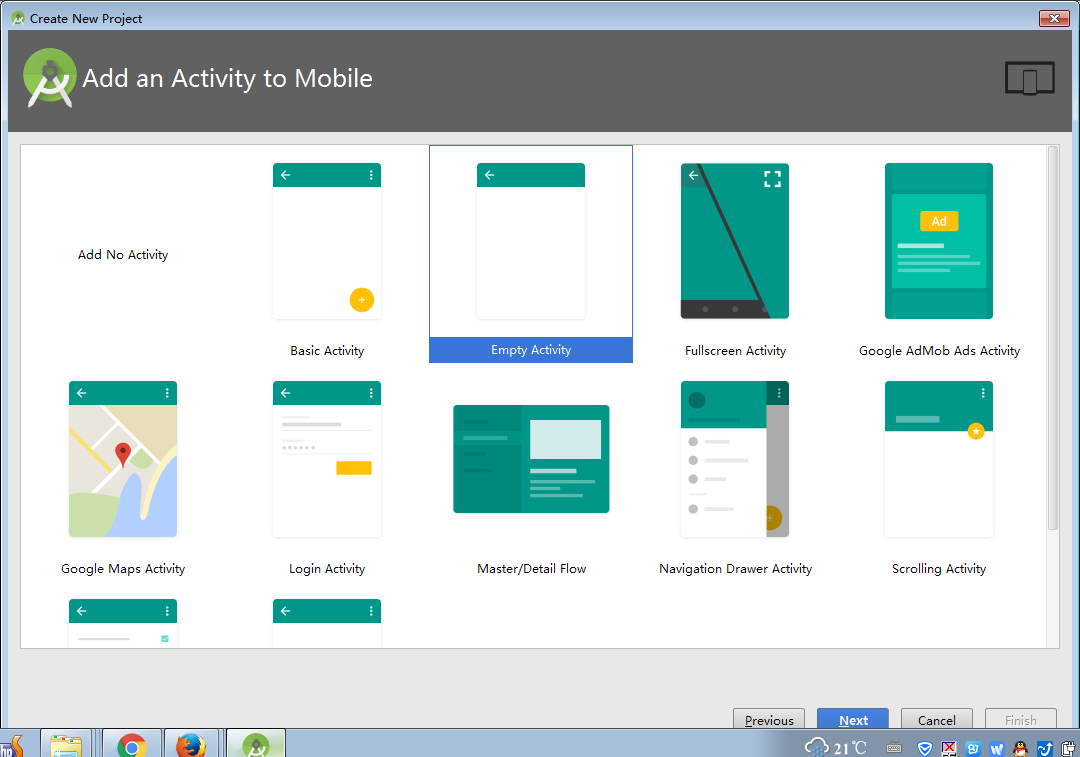
第三步,我們就選擇一個空的activity吧!
第四步,“Custom The Activity”,默認就是了。點擊“Finsh”。
點擊完“Finsh”之後,不要著急,稍等幾秒,android studio對項目進行配置。會彈出這個。

加載到項目後,還需初始化一些東西。在android studio底部可以看到。

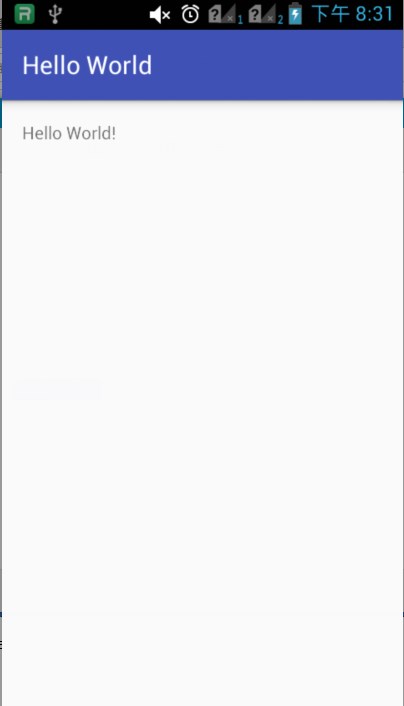
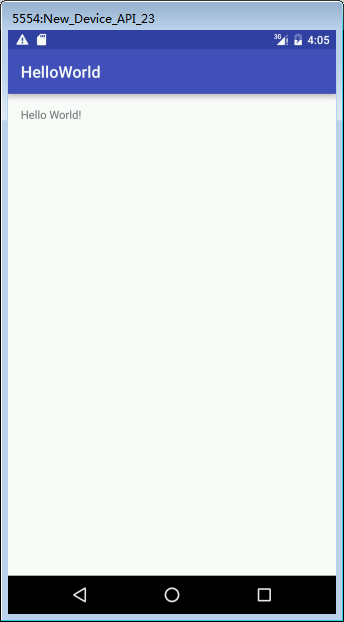
最後,頁面是這樣的。
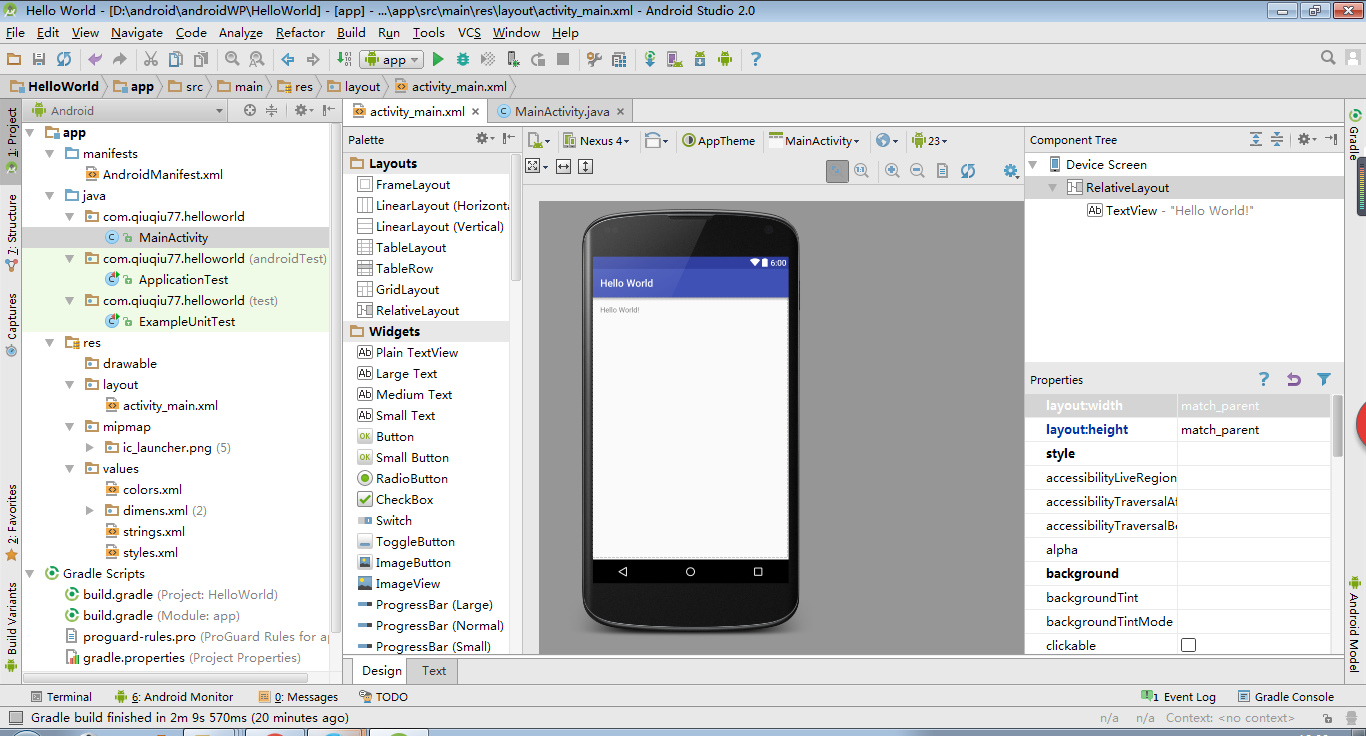
hello world!Hello to you,the first app runing.
創建項目成功了,如果你覺得界面看起來不是很舒服。那麼你可以調整一下目錄,和字體。
調整目錄顯示
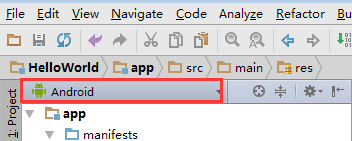
在這裡可以切換下面的目錄顯示,我比較喜歡默認的android顯示目錄。你也可以切換為project顯示方式等。
調整字體樣式
(1)點擊File->settings進入到android studio的設置界面。
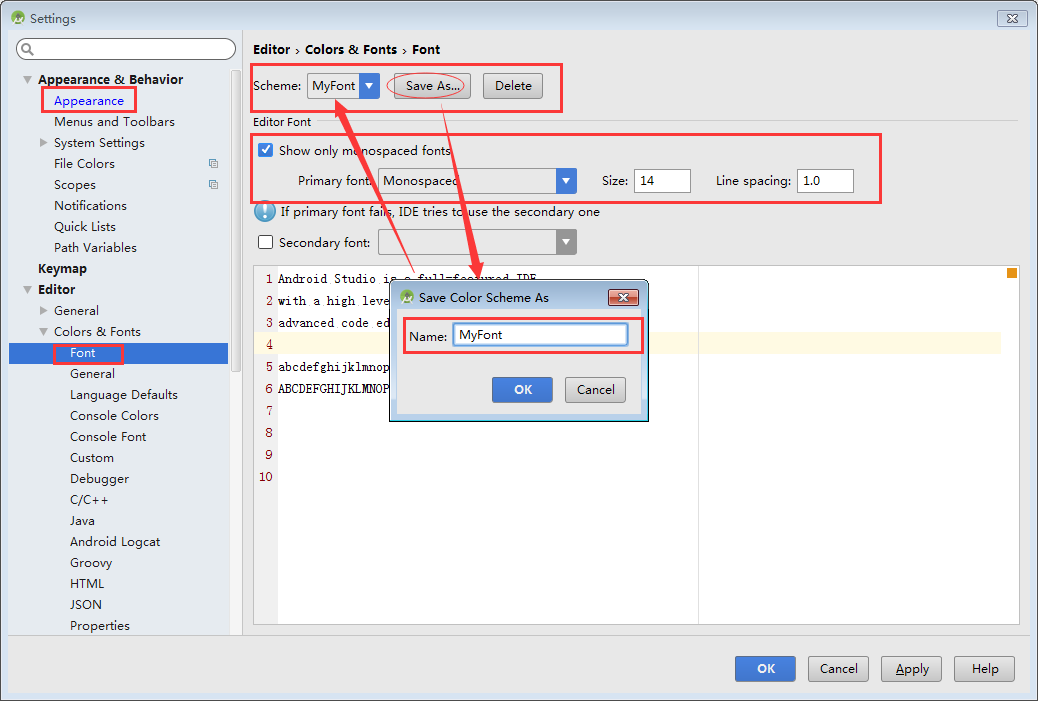
(2)點擊Editor->Colors & Font來設置字體樣式,你會發現怎麼不可以修改。你需要先點擊“Save As…”保存字體,輸入你的字體樣式名字(MyFont是我設置的字體樣式名字,這個可以隨便你的喜歡),然後在Scheme選擇你剛剛保存的字體樣式的名字,就可以去選擇你的字體樣式和字體大小了,點擊“Apply”。
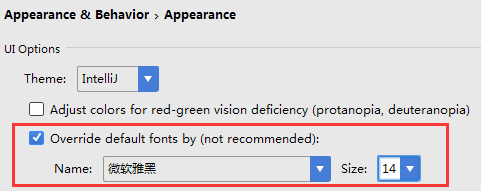
(3)上面一步我們調整的是代碼的樣式,你的android studio窗口的這些字體並沒有變。如果你想窗口的字體也變化的話,就在剛才settings的窗口,點擊Appearance & Behavior >Appearance。然後在UI Options勾選“Override default fonts by(not recommended)”,選擇自己喜歡的字體和大小。
運行項目
運行項目會用到圖01-01的幾個建。
 選擇運行/調試的配置
 運行項目
運行項目
 Gradle同步在你項目運行或者更改Gradle配置的時候都要點擊下這個按鈕,會下載相應的依賴
 AVD Manager模擬器管理
 SDK Manager就是管理你的SDK版本
 DDMS即 Dalvik Debug Monitor Service,Dalvik調試監控服務。
運行項目有兩種方式:
用自己的android手機運行(推薦)
用android emulator(安卓手機模擬器),這個用起來有點卡,當然電腦配置非常牛逼的可以無視。
點擊 app>Edit Configuartions ,出現“Run/Debug Configurations”窗口,來選擇你的運行項目方式。

圖01-01
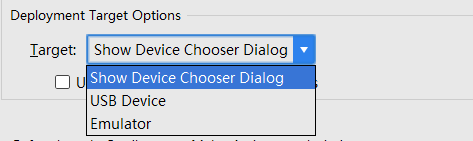
在“Run/Debug Configurations”窗口,在”Deployment Target Options>Target”選擇
“USB Device”就是USB連接安卓的手機或者平板等設備來調試
“Emulator”模擬器
“Show Device Chooser Dialog” 每次運行的時候再選擇調試方式。
手機運行項目
(1)將手機用USB連接電腦
(2)勾選“連接後啟動調試模式”,注意不是打開USB存儲設備。如果是第一次的話,電腦會彈出一個對話框,需要安裝一些東西。
(3)點擊運行
,彈出Device Dialog選擇框,選擇連接的設備,點擊OK。

耐心等待片刻,就可以看到在手機的hello world的界面。
模擬器運行項目
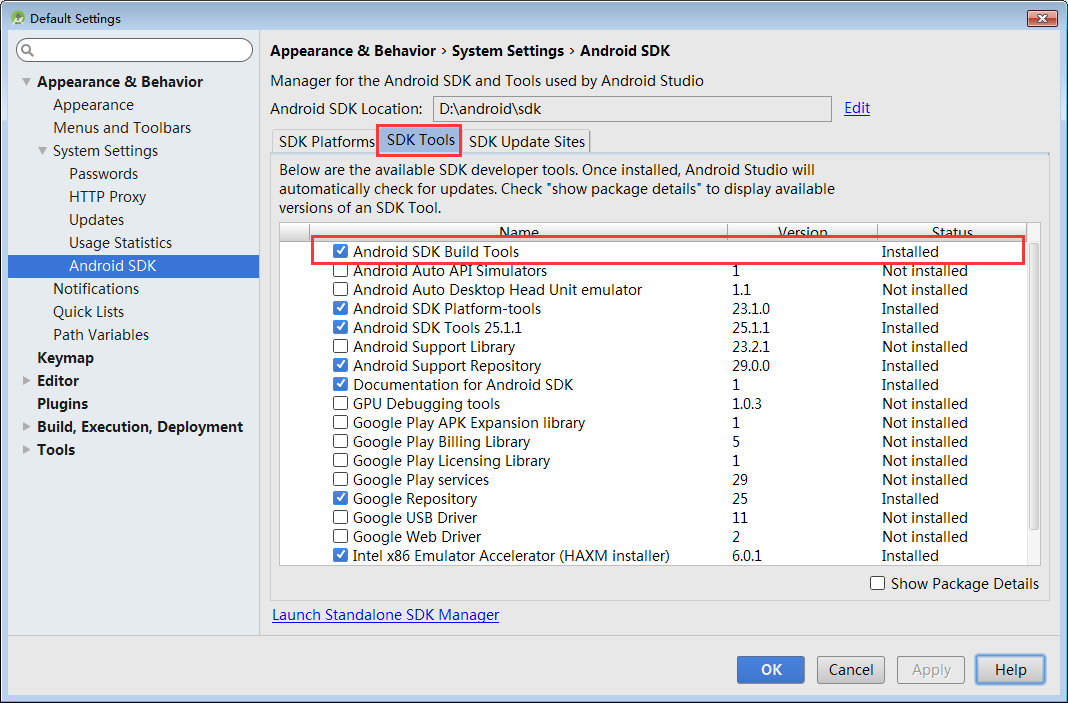
創建模擬器之前點擊“SDK Manager, 把SDK該更新的都更新一下,特別是“Android SDK Build Tools”,我就是因為這個沒更新,結果報了一個超時300m的錯誤。
(1)創建模擬器
a.點擊”AVD Manager”按鈕,出現“Android Virtual Device Manger”窗口,點擊

創建虛擬設備模擬器。
b.選擇設備,我就選擇默認的Phone Nexus 5X。
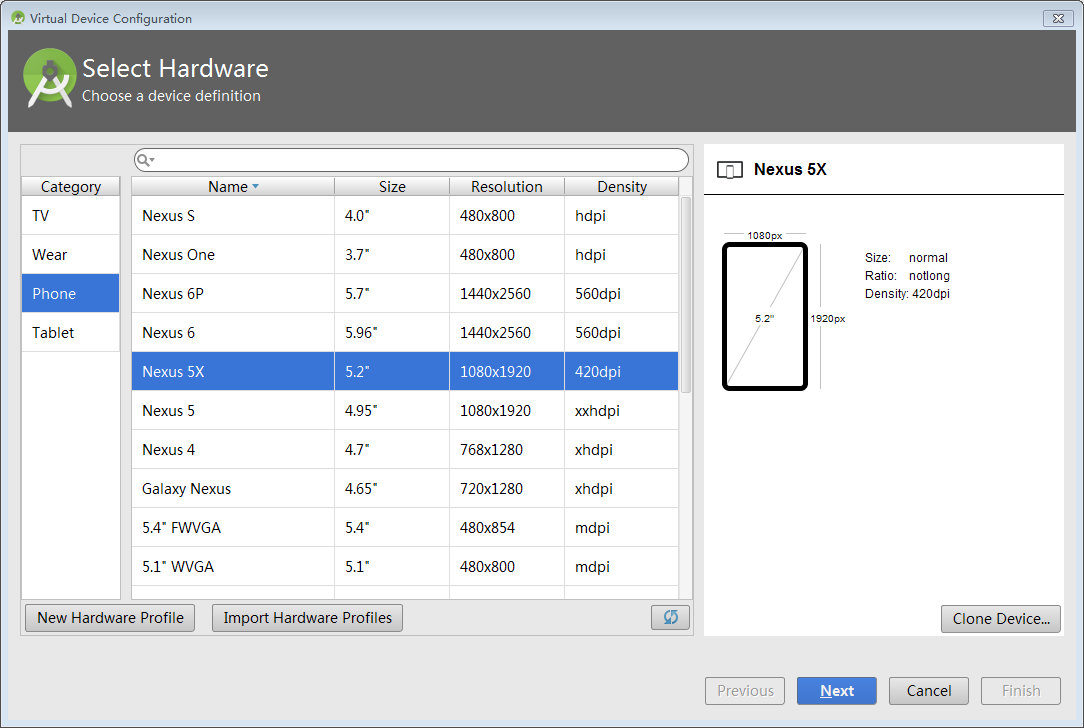
c.點擊“Next,進入“Select Image”窗口界面,選擇系統版本,一般默認選擇最高版本的。(現在最高的是Android 6.0)
d.點擊”Next”, 進入“AVD verify configuration”窗口界面,一般不修改的話,就是默認。注意手機尺寸Scale 一般是設置Auto,自動配置大小。點擊“Finsh”。
e.稍等片刻,我們就看到模擬器創建出來了。

(2)模擬器創建好了,我們就用模擬器運行項目吧!點擊“Run App”彈出選擇運行設備的窗口,我們看到了我們剛剛創建的模擬器“Nexus 5X API23”。
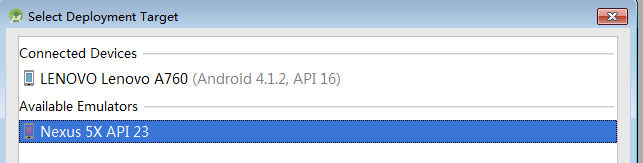
(3)點擊“OK”運行,可以看到android studio底部顯示的運行狀態。之後就耐心的等待模擬器出現吧!你可以趁著這個時間喝杯水了。

(4)成功了,就是這樣子了。
現在有android studio創建了第一個項目
 Android學習筆記(23):24.列表項的容器—AdapterView的子類們
 截取BlueStacks安卓模擬器屏幕圖片
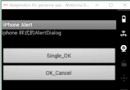 android-仿iOS彈出框
 cordova開發自定義插件