編輯:關於Android編程
對於Android的學習,需要掌握的東西有點多,需要我們認真,小心,不斷的進取。前天突然有個想法,覺得Mp3播放器是一個可以練習的項目,於是在網上搜了下,發現有人已經寫了博客,看了他們的博客後,我覺得他們說的一點很對,Mp3播放器基本用到了Android裡面的許多知識點,做完這個過後,可能對於Android整個架構有了一定了解,我於是也想嘗試下,於是准備邊做,編寫博客,來記錄自己開發的過程,這個也許叫作項目開發日志吧。
第一個我的想法是先做:本地音樂播放器。
於是我用了個粗淺的方法來加載mp3文件,用Listview控件來顯示所有的本地音樂。
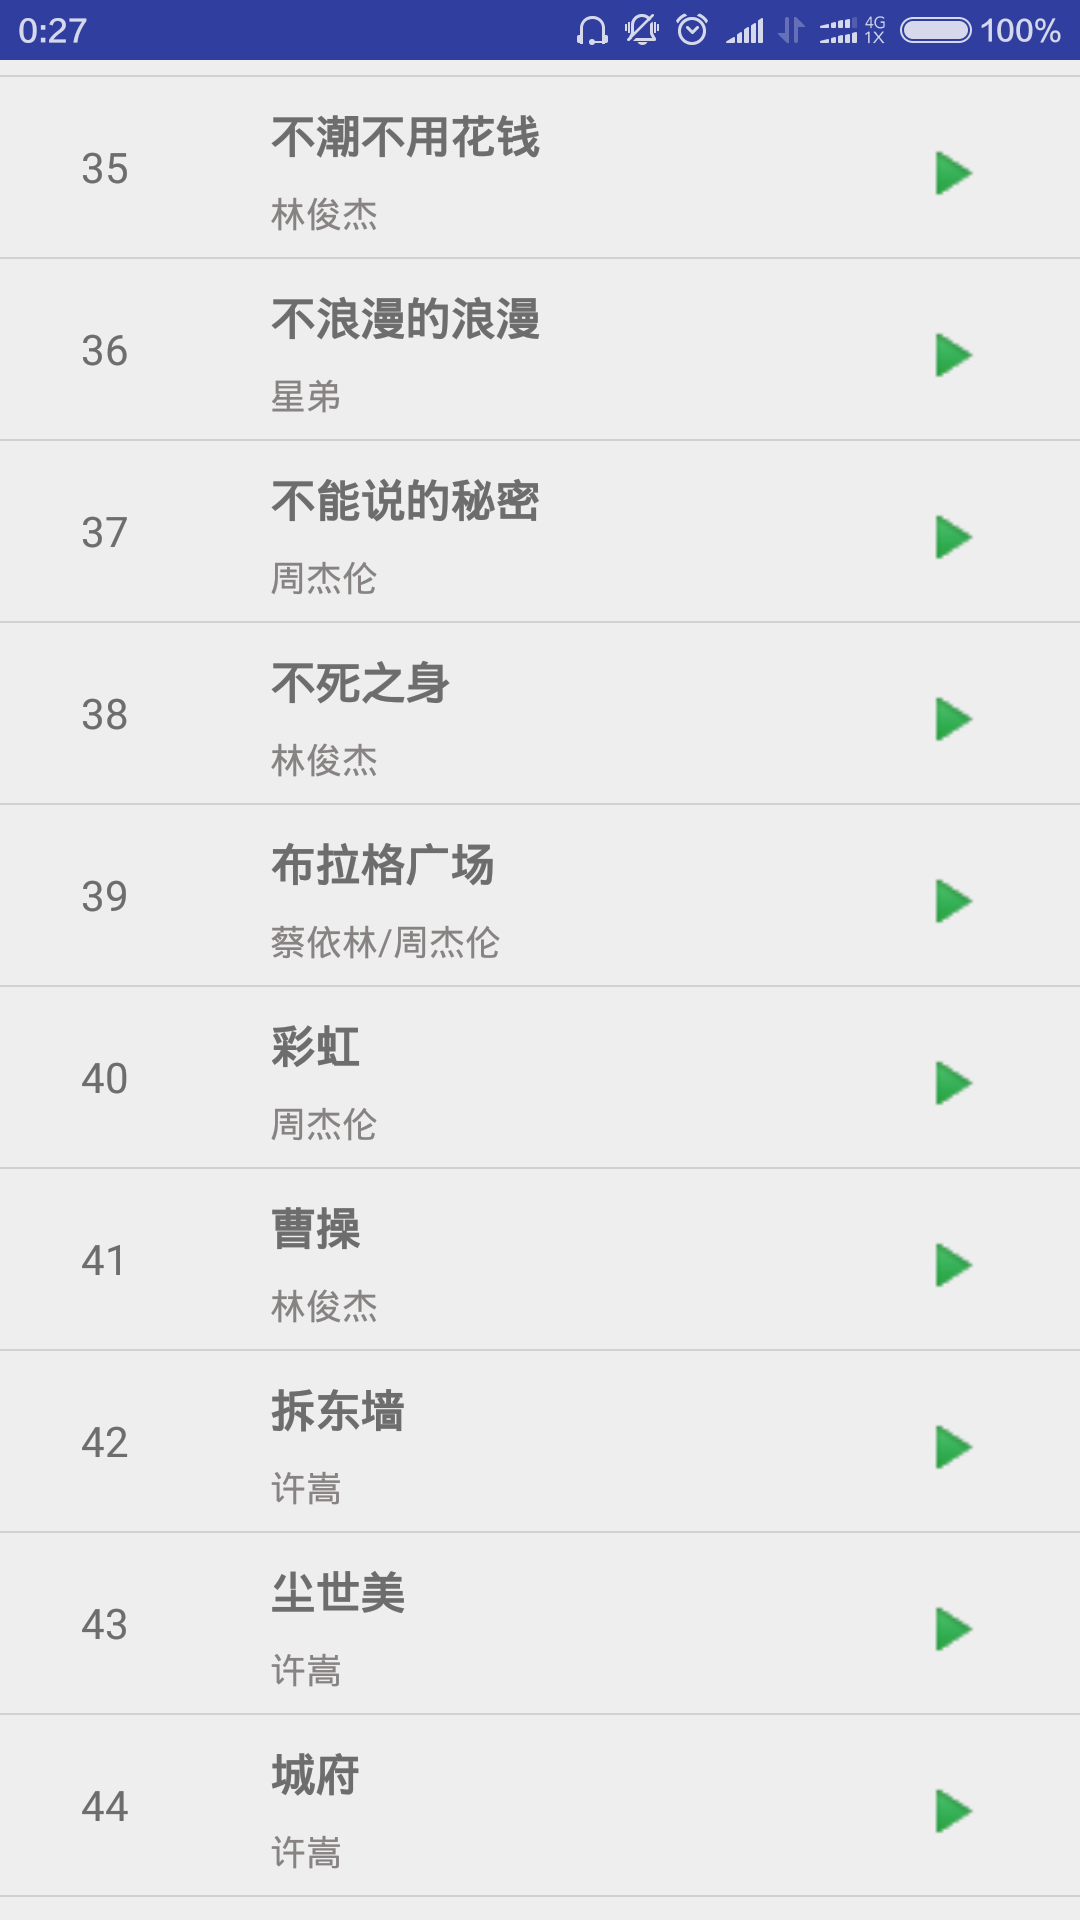
實現的效果如下:
主界面:

左邊顯示的是音樂的ID,上面是文件名,下面是歌手,右邊是個點擊按鈕,但是這個按鈕的功能現在還沒做。
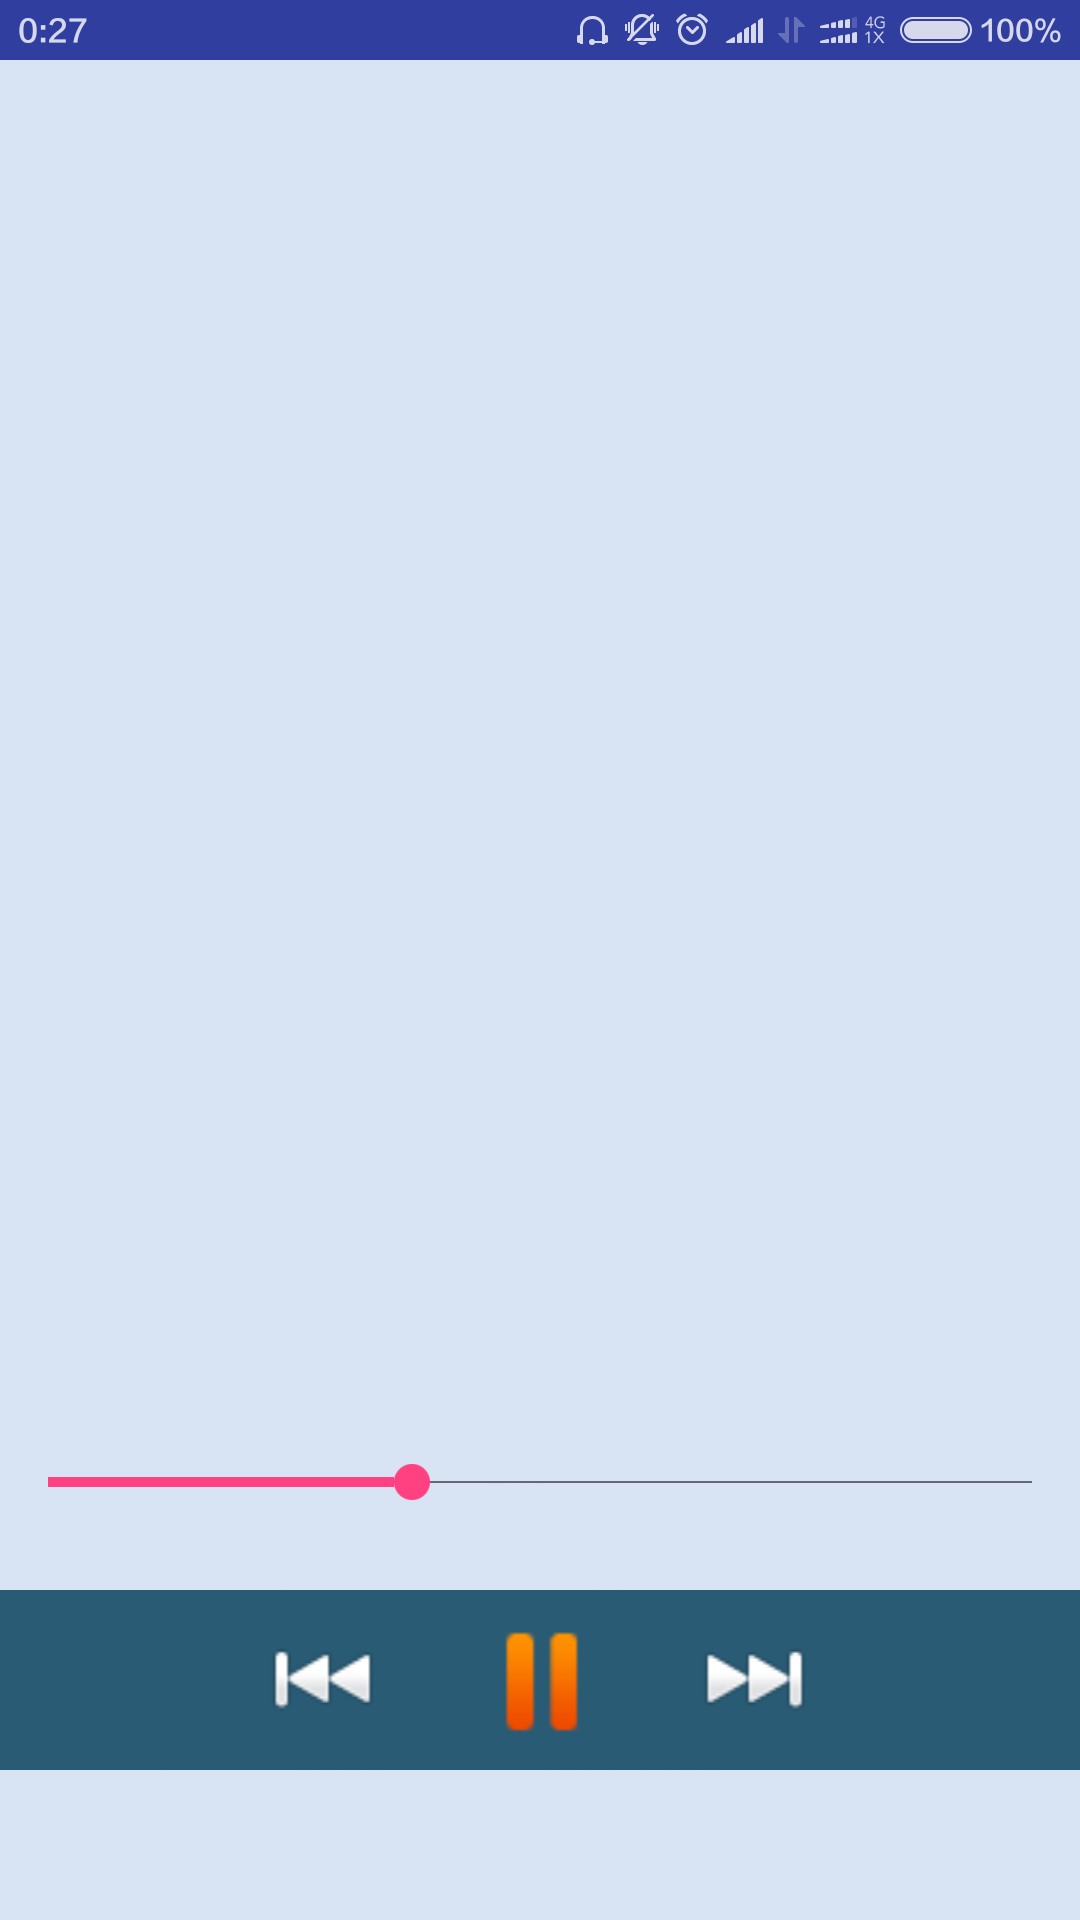
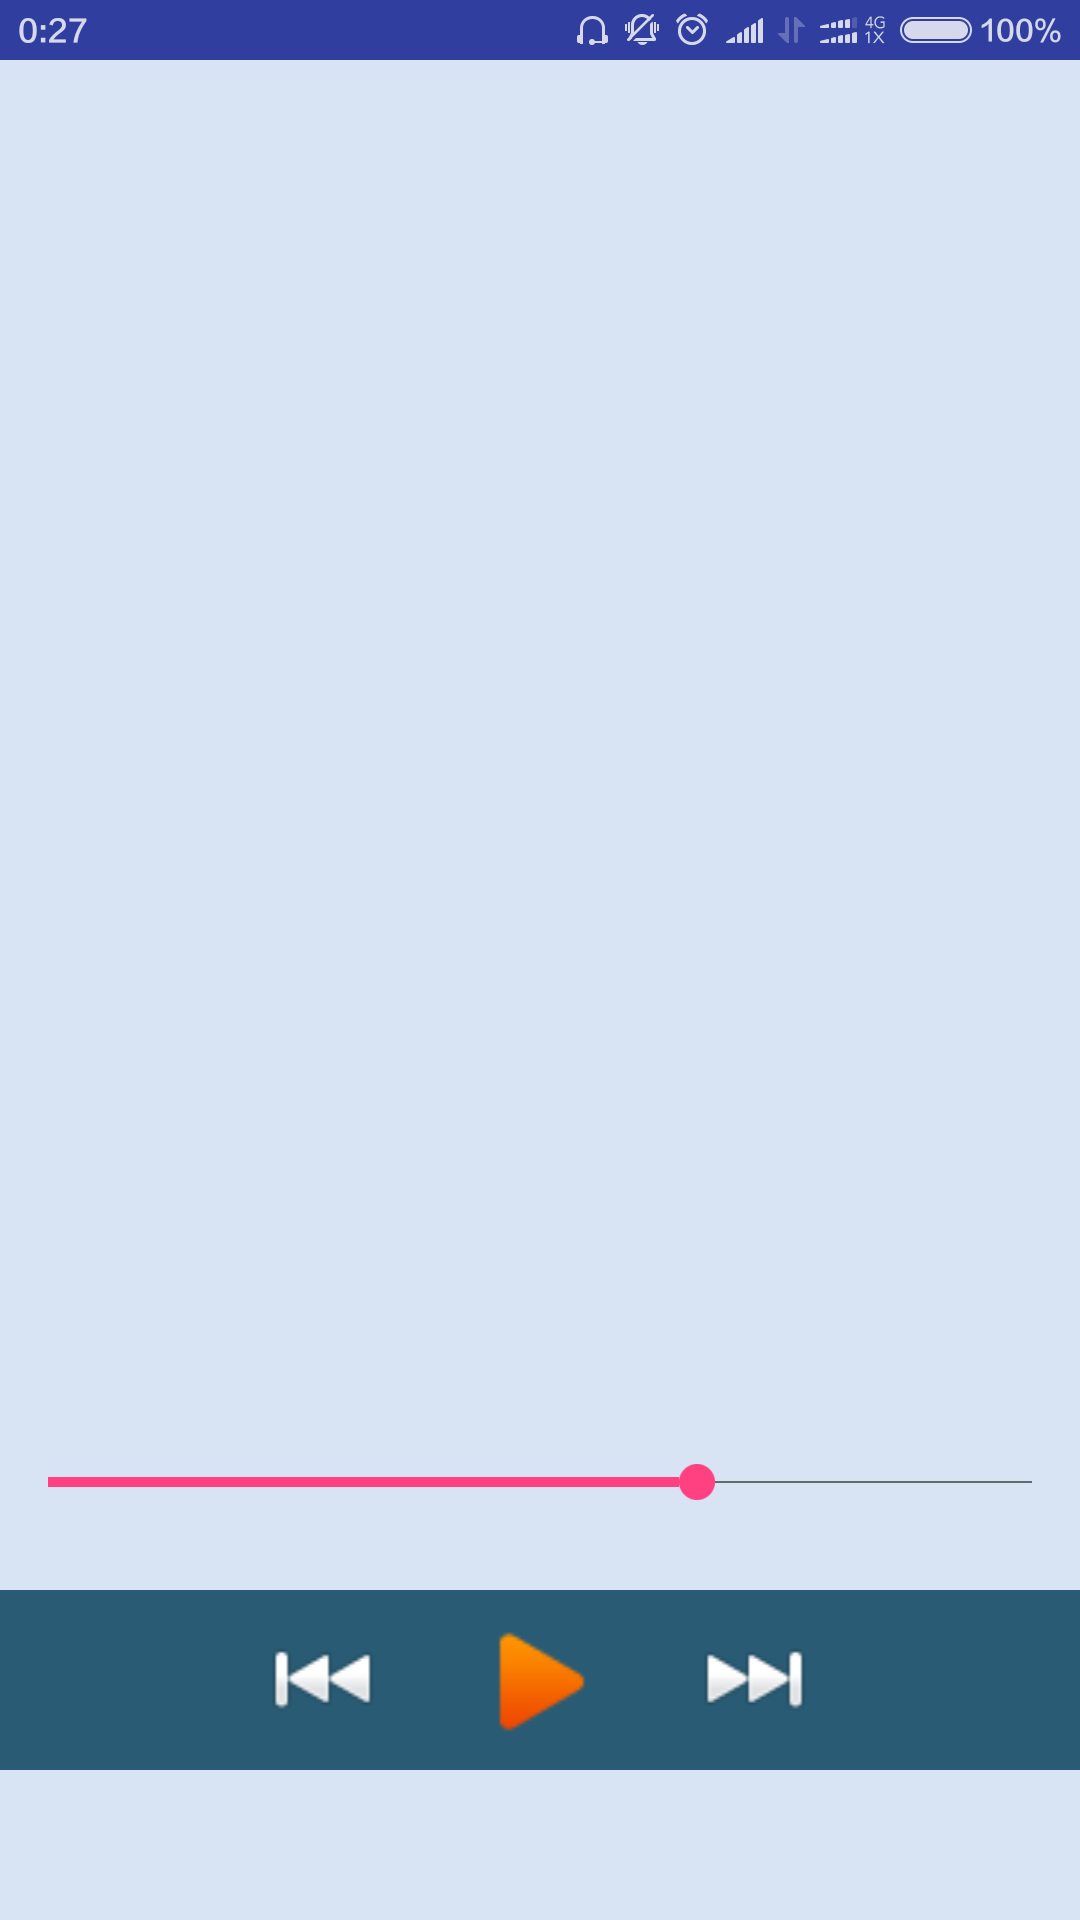
播放界面如下:

 vc+07KOstcjP67W90MK3vbeoo6zU2sC0v7zCx9XiuPa5psTcoaM8L3A+DQo8cD7G5Mq11+7OqtbY0qq1xMrHo7q78bXDbXAztcTQxc+ius2ypbfFc2VydmljZbXEyrXP1qOs1eK49tfuzqrW2NKqoaM8L3A+DQo8cD5tcDPQxc+iwOCjujwvcD4NCjxwcmUgY2xhc3M9"brush:java;">
public class Mp3Info {
        private String  name;
        private long ID;
        private String title;//音樂標題
        private  String artist;//藝術家
        private long duration;//時長
        private long size;  //文件大小
        private String url; //文件路徑

        public String getName()
        {
                return this.name;
        }

        public void setName(String name)
        {
                this.name =name;
        }

        public String getTitle()
        {
                return this.title;
        }

        public void setTitle(String title)
        {
                this.title =title;
        }

        public void setArtist(String artist)
        {
                this.artist     =artist;
        }
        public String getArtist(){
                return this.artist;
        }

        public String getUrl(){
                return this.url;
        }
        public void setUrl(String url)
        {
                this.url =url;
        }

        public void setID(long id)
        {
                this.ID =id;
        }
        public long getID(){
                return this.ID;
        }

        public long getDuration(){
                return this.duration;
        }

        public long getSize()
        {
                return this.size;
        }
        public  void setDuration(long duration){
                this.duration   =duration;
        }
        public void setSize(long size){
                this.size       = size;
        }
}
獲得mp3的信息函數
     public List getMp3Infos() {
                Cursor cursor = getContentResolver().query(
                        MediaStore.Audio.Media.EXTERNAL_CONTENT_URI, null, null, null,
                        MediaStore.Audio.Media.DEFAULT_SORT_ORDER);
                List mp3Infos = new ArrayList();
                for (int i = 0; i < cursor.getCount(); i++) {
                        Mp3Info mp3Info = new Mp3Info();
                        cursor.moveToNext();
                        long id = cursor.getLong(cursor
                                .getColumnIndex(MediaStore.Audio.Media._ID));   //音樂id
                        String title = cursor.getString((cursor
                                .getColumnIndex(MediaStore.Audio.Media.TITLE)));//音樂標題
                        String artist = cursor.getString(cursor
                                .getColumnIndex(MediaStore.Audio.Media.ARTIST));//藝術家
                        long duration = cursor.getLong(cursor
                                .getColumnIndex(MediaStore.Audio.Media.DURATION));//時長
                        long size = cursor.getLong(cursor
                                .getColumnIndex(MediaStore.Audio.Media.SIZE));  //文件大小
                        String url = cursor.getString(cursor
                                .getColumnIndex(MediaStore.Audio.Media.DATA));              //文件路徑
                        int isMusic = cursor.getInt(cursor.getColumnIndex(MediaStore.Audio.Media.IS_MUSIC));//是否為音樂
                        if (isMusic != 0) {     //只把音樂添加到集合當中
                                mp3Info.setID(id);
                                mp3Info.setTitle(title);
                                mp3Info.setArtist(artist);
                                mp3Info.setDuration(duration);
                                mp3Info.setSize(size);
                                mp3Info.setUrl(url);
                                mp3Infos.add(mp3Info);
                        }
                }
                return mp3Infos;
        }
這是調用文件數據庫查找音頻,並將文件信息保存在結構體裡面。
接下來介紹建立MusicService.java
       public class MusicService extends Service {
        // mp3的絕對路徑。
        String path;
        //一個Binder用來和Activity來交互
        class MyBinder extends Binder {
                public Service getService(){
                        return MusicService.this;
                }
        }


        @Override
        //每次程序執行的時候需要調用的函數
        public int onStartCommand(Intent intent, int flags, int startId) {

                path    =intent.getStringExtra("url");
                init();
                if(mediaPlayer.isPlaying()) {
                        pause();
                }
                return super.onStartCommand(intent, flags, startId);
        }

        IBinder musicBinder  = new MyBinder();


        //播放音樂的媒體類
        MediaPlayer mediaPlayer;

        private String TAG = "MyService";
        //第一次創建執行,或者service結束在開啟的時候執行
        @Override
        public void onCreate() {
                super.onCreate();
                Log.d(TAG, "onCreate() executed");
        }
        //必須重載的方法
        @Override
        public IBinder onBind(Intent arg0)
        {
                // TODO Auto-generated method stub
                //當綁定後,返回一個musicBinder
                return musicBinder;
        }

        //初始化音樂播放
        void init(){
                //進入Idle
                mediaPlayer = new MediaPlayer();
                try {
                        //初始化
                        mediaPlayer.setDataSource(path);

                        mediaPlayer.setAudioStreamType(AudioManager.STREAM_MUSIC);

                        // prepare 通過異步的方式裝載媒體資源
                        mediaPlayer.prepareAsync();

                } catch (Exception e) {
                        // TODO Auto-generated catch block
                        e.printStackTrace();
                }
        }

        //返回當前的播放進度,是double類型,即播放的百分比
        public double getProgress(){
                int position = mediaPlayer.getCurrentPosition();

                int time = mediaPlayer.getDuration();

                double progress = (double)position / (double)time;

                return progress;
        }


        //通過activity調節播放進度
        public void setProgress(int max , int dest){
                int time = mediaPlayer.getDuration();
                mediaPlayer.seekTo(time*dest/max);
        }

        //測試播放音樂
        public void play(){
                if(mediaPlayer != null){
                        mediaPlayer.start();
                }

        }
        //暫停音樂
        public void pause() {
                if (mediaPlayer != null && mediaPlayer.isPlaying()) {
                        mediaPlayer.pause();
                }
        }

        //service 銷毀時,停止播放音樂,釋放資源
        @Override
        public void onDestroy() {
                // 在activity結束的時候回收資源
                if (mediaPlayer != null && mediaPlayer.isPlaying()) {
                        mediaPlayer.stop();
                        mediaPlayer.release();
                        mediaPlayer = null;
                }
                super.onDestroy();
        }
}
接下來就是如何和activity交互,通過bindService函數來在activity裡面綁定個服務。需要用到ServiceConnection函數。
如何通過處理來獲得音樂播放的進度,並將數據從service返回到activity裡面呢?android裡面通過Handler來處理,通過重寫handleMessage方法來得到service裡面返回來的信息。在主線程裡面,我們的等待時間不能超過5秒,否則就會出現UI無法刷新問題,我們這裡用到了SeekBar這個進度條,所以這個UI更新的問題需要放在另外一個線程裡面,這個時候需要重寫Runnable接口。
具體看代碼:MusicActivity.java
public class MusicActivity extends Activity {

        private ImageView MusicPlay;
        private ImageView MusicNext;
        private ImageView MusicPrevious;

        Boolean mBound = false;

        //記錄鼠標點擊了幾次
        boolean flag =false;

        MusicService mService;

        SeekBar seekBar;

        //多線程,後台更新UI
        Thread myThread;

        //控制後台線程退出
        boolean playStatus = true;

        //處理進度條更新
        Handler mHandler = new Handler() {
                @Override
                public void handleMessage(Message msg) {
                        switch (msg.what) {
                                case 0:
                                        //從bundle中獲取進度,是double類型,播放的百分比
                                        double progress = msg.getData().getDouble("progress");

                                        //根據播放百分比,計算seekbar的實際位置
                                        int max = seekBar.getMax();
                                        int position = (int) (max * progress);
                                        //設置seekbar的實際位置
                                        seekBar.setProgress(position);
                                        break;
                                default:
                                        break;
                        }

                }
        };


        @Override
        public void onCreate(Bundle savedInstanceState) {
                super.onCreate(savedInstanceState);
                setContentView(R.layout.musicplay);

                MusicPlay = (ImageView) findViewById(R.id.Musicplay);
                MusicNext = (ImageView) findViewById(R.id.musicnext);
                MusicPrevious = (ImageView) findViewById(R.id.musicprevious);
                //定義一個新線程,用來發送消息,通知更新UI
                myThread = new Thread(new UpdateProgress());
                //綁定service;
                Intent serviceIntent = new Intent(MusicActivity.this, MusicService.class);

                //如果未綁定,則進行綁定,第三個參數是一個標志,它表明綁定中的操作.它一般應是BIND_AUTO_CREATE,這樣就會在service不存在時創建一個
                if (!mBound) {
                        bindService(serviceIntent, mConnection, Context.BIND_AUTO_CREATE);
                }

                seekBar = (SeekBar) findViewById(R.id.MusicProgress);
                seekBar.setOnSeekBarChangeListener(new SeekBar.OnSeekBarChangeListener() {

                        @Override
                        public void onStopTrackingTouch(SeekBar seekBar) {
                                //手動調節進度
                                // TODO Auto-generated method stub
                                //seekbar的拖動位置
                                int dest = seekBar.getProgress();
                                //seekbar的最大值
                                int max = seekBar.getMax();
                                //調用service調節播放進度
                                mService.setProgress(max, dest);
                        }

                        @Override
                        public void onProgressChanged(SeekBar arg0, int arg1, boolean arg2) {
                                // TODO Auto-generated method stub

                        }

                        @Override
                        public void onStartTrackingTouch(SeekBar arg0) {
                                // TODO Auto-generated method stub

                        }

                });


                MusicPlay.setOnClickListener(new View.OnClickListener() {

                        @Override
                        public void onClick(View arg0) {
                                if (mBound&&flag) {
                                        MusicPlay.setImageDrawable(getResources().getDrawable(R.drawable.musicpause));
                                        mService.pause();
                                        flag =false;
                                }else{
                                        MusicPlay.setImageDrawable(getResources().getDrawable(R.drawable.musicplay));
                                        mService.play();
                                        flag =true;
                                }
                        }
                });
        }

        //實現runnable接口,多線程實時更新進度條
        public class UpdateProgress implements Runnable {
                //通知UI更新的消息
                //用來向UI線程傳遞進度的值
                Bundle data = new Bundle();
                //更新UI間隔時間
                int milliseconds = 100;
                double progress;
                @Override
                public void run() {
                        // TODO Auto-generated method stub
                        //用來標識是否還在播放狀態,用來控制線程退出
                        while (playStatus) {
                                try {
                                        //綁定成功才能開始更新UI
                                        if (mBound) {
                                                //發送消息,要求更新UI
                                                Message msg = new Message();
                                                data.clear();
                                                progress = mService.getProgress();
                                                msg.what = 0;
                                                data.putDouble("progress", progress);
                                                msg.setData(data);
                                                mHandler.sendMessage(msg);
                                        }
                                        Thread.sleep(milliseconds);
                                        //Thread.currentThread().sleep(milliseconds);
                                        //每隔100ms更新一次UI
                                } catch (InterruptedException e) {
                                        // TODO Auto-generated catch block
                                        e.printStackTrace();
                                }
                        }
                }
        }
        /**
         * Defines callbacks for service binding, passed to bindService()
         */
        private ServiceConnection mConnection = new ServiceConnection() {
                @Override
                public void onServiceConnected(ComponentName className, IBinder binder) {
                         // We've bound to LocalService, cast the IBinder and get LocalService instance
                        MusicService.MyBinder myBinder = (MusicService.MyBinder) binder;
                        //獲取service
                        mService = (MusicService) myBinder.getService();
                        //綁定成功
                        mBound = true;
                        //開啟線程,更新UI
                        myThread.start();
                        MusicPlay.setImageDrawable(getResources().getDrawable(R.drawable.musicplay));
                        mService.play();
                        flag =true;
                }
                @Override
                public void onServiceDisconnected(ComponentName arg0) {
                        mBound = false;
                }
        };
        public boolean onCreateOptionsMenu(Menu menu){
                // Inflate the menu; this adds items to the action bar if it is present.
                //      getMenuInflater().inflate(R.menu.main, menu);
                return true;
        }
        public void onDestroy() {
                //銷毀activity時,要記得銷毀線程
                playStatus = false;
                super.onDestroy();
        }
}
基本難點都介紹完了,現在看下MainActivity.java代碼:
public class MainActivity extends Activity implements AdapterView.OnItemClickListener {

        //Music的listview控件
        private ListView MusicList;

        // 存儲數據的數組列表
        ArrayList> MusiclistData = new ArrayList>();

        // 適配器
        private SimpleAdapter MusicListAdapter;


        List mp3Infos;
        @Override
        public void onCreate(Bundle savedInstanceState) {
                super.onCreate(savedInstanceState);
                setContentView(R.layout.activity_main);

                MusicList = (ListView) findViewById(R.id.listviewmusic);

                mp3Infos = getMp3Infos();
                GetData(mp3Infos);

                MusicListAdapter = new SimpleAdapter(
                        this,
                        MusiclistData,
                        R.layout.listmusic,
                        new String[]{"ID", "Title", "Artist", "Icon"},
                        new int[]{R.id.MusicID, R.id.Musictitle, R.id.MusicArtist, R.id.MusicIcon}
                );
                //賦予數據
                MusicList.setAdapter(MusicListAdapter);

                MusicList.setOnItemClickListener(MusiclistListen);
        }

        AdapterView.OnItemClickListener MusiclistListen = new AdapterView.OnItemClickListener() {
                @Override
                public void onItemClick(AdapterView adapterView, View view, int i, long l) {
                         //Toast.makeText(MainActivity.this, String.valueOf(l), Toast.LENGTH_SHORT).show();

                        //判斷當前服務是否已經開啟
                        if(isServiceRunning(getBaseContext(),"com.flashmusic.MusicService")){
                                stopService(new Intent(MainActivity.this, MusicService.class));
                        }
                        Intent intent   = new Intent();
                        intent.putExtra("url", mp3Infos.get(i).getUrl());
                        intent.setClass(MainActivity.this, MusicService.class);
                        //啟動服務
                        startService(intent);
                        //啟動音樂播放界面
                        startActivity(new Intent(MainActivity.this,MusicActivity.class));
                }
        };

        public static boolean isServiceRunning(Context mContext,String className) {
                boolean isRunning = false;
                ActivityManager activityManager = (ActivityManager)
                        mContext.getSystemService(Context.ACTIVITY_SERVICE);
                List serviceList= activityManager.getRunningServices(50);
                if (!(serviceList.size()>0)) {
                        return false;
                }
                for (int i=0; i mp3Infos) {
                for (int i = 0; i < mp3Infos.size(); i++) {
                        HashMap map = new HashMap();
                        map.put("ID", i + 1);
                        map.put("Title", mp3Infos.get(i).getTitle());
                        map.put("Artist", mp3Infos.get(i).getArtist());
                        map.put("Icon", R.drawable.musicicon);
                        MusiclistData.add(map);
                }
        }

        public List getMp3Infos() {
                Cursor cursor = getContentResolver().query(
                        MediaStore.Audio.Media.EXTERNAL_CONTENT_URI, null, null, null,
                        MediaStore.Audio.Media.DEFAULT_SORT_ORDER);
                List mp3Infos = new ArrayList();
                for (int i = 0; i < cursor.getCount(); i++) {
                        Mp3Info mp3Info = new Mp3Info();
                        cursor.moveToNext();
                        long id = cursor.getLong(cursor
                                .getColumnIndex(MediaStore.Audio.Media._ID));   //音樂id
                        String title = cursor.getString((cursor
                                .getColumnIndex(MediaStore.Audio.Media.TITLE)));//音樂標題
                        String artist = cursor.getString(cursor
                                .getColumnIndex(MediaStore.Audio.Media.ARTIST));//藝術家
                        long duration = cursor.getLong(cursor
                                .getColumnIndex(MediaStore.Audio.Media.DURATION));//時長
                        long size = cursor.getLong(cursor
                                .getColumnIndex(MediaStore.Audio.Media.SIZE));  //文件大小
                        String url = cursor.getString(cursor
                                .getColumnIndex(MediaStore.Audio.Media.DATA));              //文件路徑
                        int isMusic = cursor.getInt(cursor.getColumnIndex(MediaStore.Audio.Media.IS_MUSIC));//是否為音樂
                        if (isMusic != 0) {     //只把音樂添加到集合當中
                                mp3Info.setID(id);
                                mp3Info.setTitle(title);
                                mp3Info.setArtist(artist);
                                mp3Info.setDuration(duration);
                                mp3Info.setSize(size);
                                mp3Info.setUrl(url);
                                mp3Infos.add(mp3Info);
                        }
                }
                return mp3Infos;
        }


        @Override
        public void onItemClick(AdapterView adapterView, View view, int i, long l) {


        }
}
使用SimpleAdapter來加載數據,可以更好的定義子布局文件。
接下來布局文件就不介紹了,只貼下代碼:
activity_main.xml,定義ListView控件
播放界面布局:musicplay.xml
listmusic.xml,自定義子布局:
這篇文章就介紹到這裡面,現在實現的功能只能夠點擊播放,然後點擊暫停和播放,拖動滑動條實現快進和後退。
上一首和下一首還有播放模式都還未做完,具體看下篇文章的介紹。目前正在構思和參考別人的實現。
哈哈,繼續加油,共同分享,不斷提高自己的技術。
 Android開發筆記(一百)折疊式列表
更多動態視圖MoreNewsView經常看朋友圈的動態,有的動態內容較多就只展示前面一段,如果用戶想看完整的再點擊展開,這樣整個頁面的動態列表比較均衡,不會出現個別動態占
 Android UI編程之自定義控件——可高亮顯示的TextView
概述: 如果你想要在一個TextView顯示一個被高亮顯示的子字符串。例如,我想讓123456789中的345被高亮顯示。注意,我這裡指的只高亮一部分,而不是全部高亮。你
 Android網絡圖片異步加載
前言 其實很幸運,入職一周之後就能跟著兩個師兄做android開發,師兄都是大神,身為小白的我只能多多學習,多多努力。最近一段時間都忙的沒機會總結,今天剛完成了andro
 android中的AIDL進程間通信示例
關於IPC應該不用多介紹了,Android系統中的進程之間不能共享內存,那麼如果兩個不同的應用程序之間需要通訊怎麼辦呢?比如公司的一個項目要更新,產品的需求是依附於當前項