編輯:關於Android編程
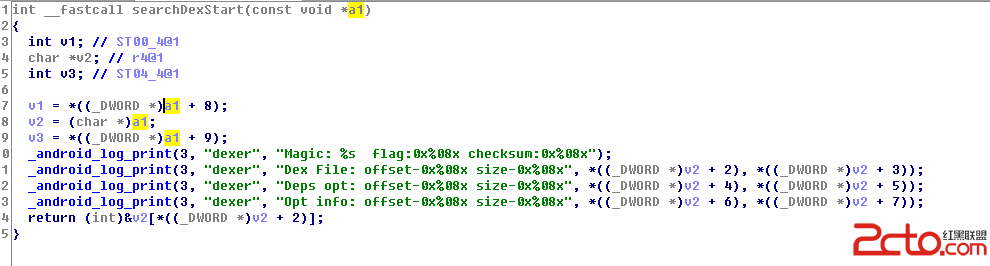
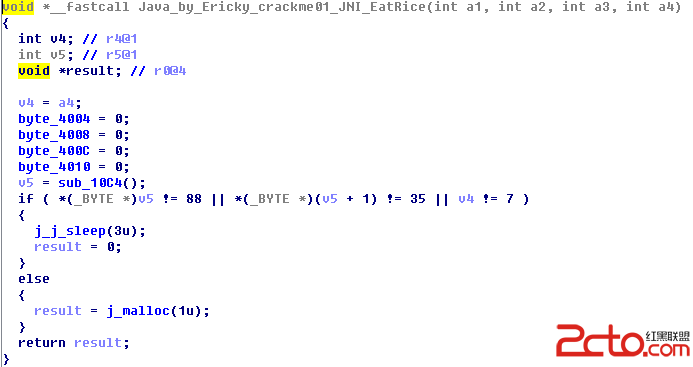
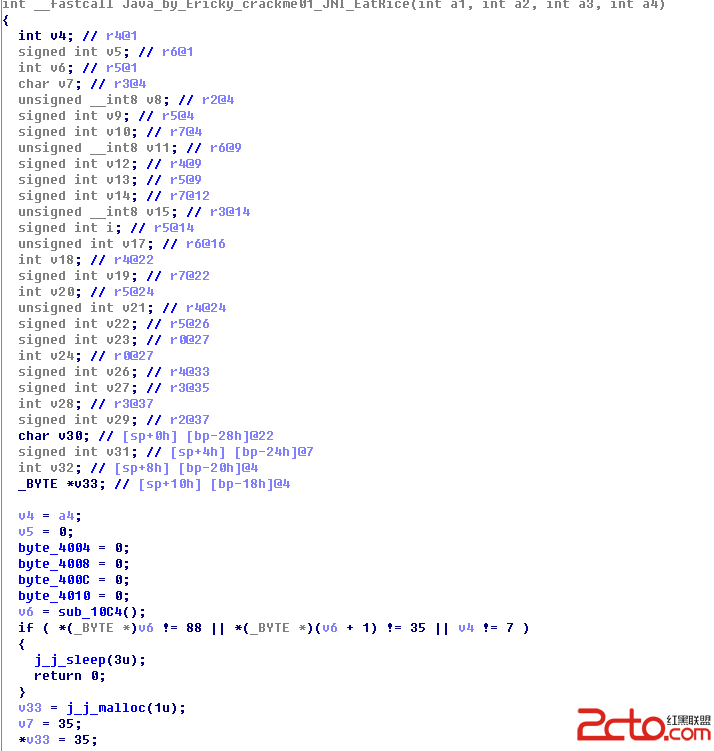
 F5後如下:
 File->load file->parser c header file,導入Dex.h
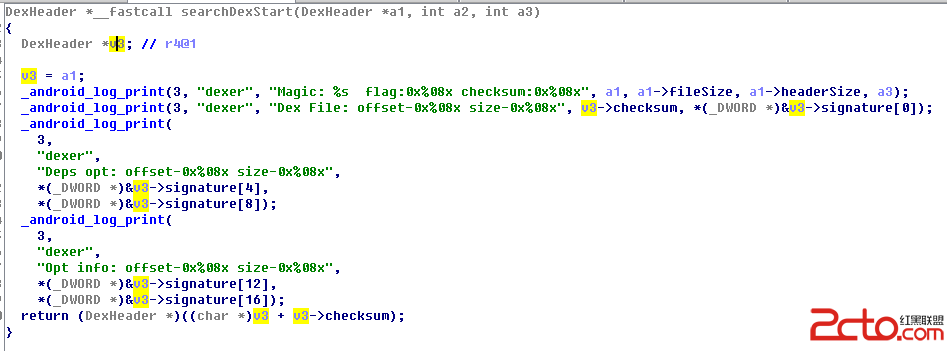
上圖中a1,右鍵轉成結構體,選擇dexheader,效果如下:
File->load file->parser c header file,導入Dex.h
上圖中a1,右鍵轉成結構體,選擇dexheader,效果如下:
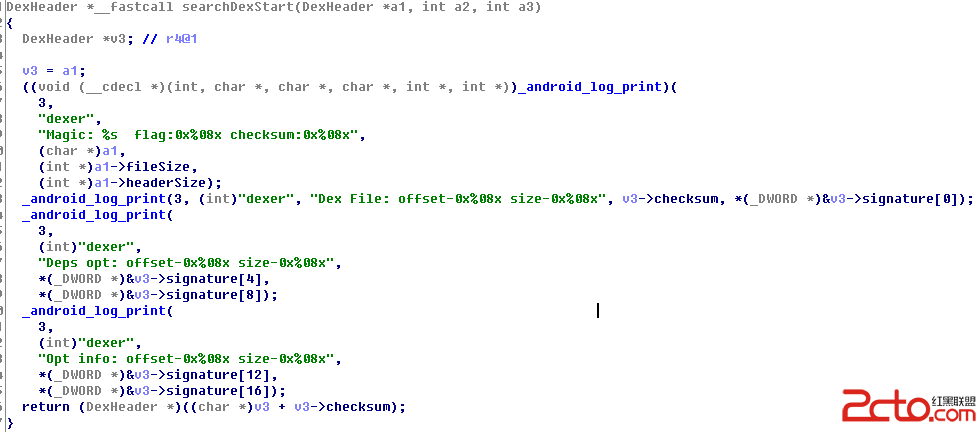
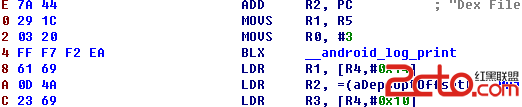
 2、函數指針時的參數個數調整,不定參數等。
以__android_log_print為例,選中該函數。
2、函數指針時的參數個數調整,不定參數等。
以__android_log_print為例,選中該函數。
 Edit->operand type-> set operand type,修改參數如下:
int (__cdecl *)(int, char *, char *, char *, int *, int *),F5刷新後,效果如下:
Edit->operand type-> set operand type,修改參數如下:
int (__cdecl *)(int, char *, char *, char *, int *, int *),F5刷新後,效果如下:
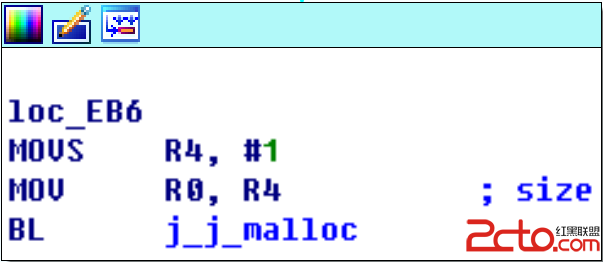
 3、thumb/arm模式的轉換
快捷鍵ALT +G,其中0x01是THUMB,0x00是ARM模式。一般4個字節ARM模式,兩個字節為THUMB模式,如:
3、thumb/arm模式的轉換
快捷鍵ALT +G,其中0x01是THUMB,0x00是ARM模式。一般4個字節ARM模式,兩個字節為THUMB模式,如:
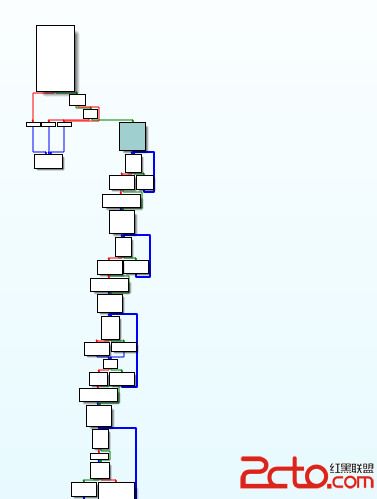
 4、函數被誤認為chunk,導致調用者函數多個入口。
以Java_by_Ericky_crackme01_JNI_EatRice為例,可以看到有兩個入口。
4、函數被誤認為chunk,導致調用者函數多個入口。
以Java_by_Ericky_crackme01_JNI_EatRice為例,可以看到有兩個入口。
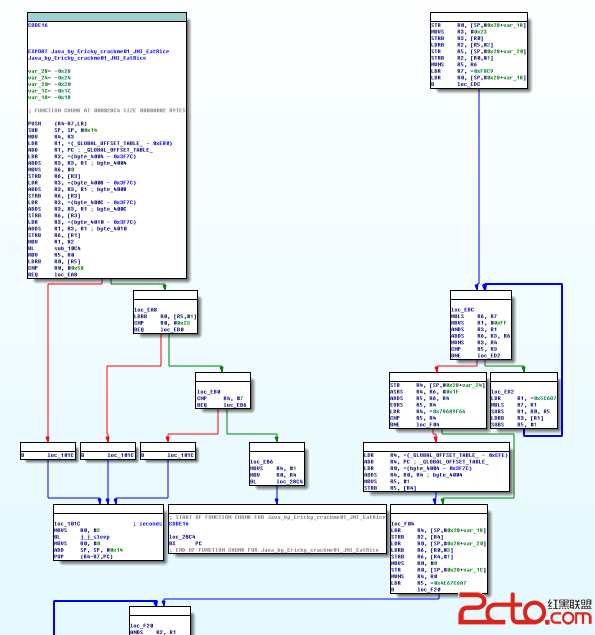
 來到第一個入口的結束位置為BX跳轉指令, 應該讓他跳轉到第二個入口出,才正確。
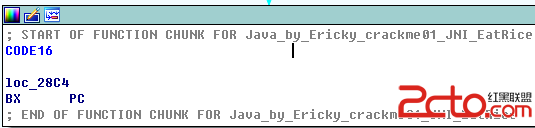 所有首先要remove function tail,
選中,結尾處,然後edit->functions->remove function tail,效果:
所有首先要remove function tail,
選中,結尾處,然後edit->functions->remove function tail,效果:
 然後再將跳轉指令BL,修改為Call,edit->others->force bl call,效果
 5、C++RTTI,類名識別。
來的 JNI_OnLoad處
5、C++RTTI,類名識別。
來的 JNI_OnLoad處
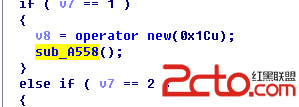 sub_A558為構造函數。
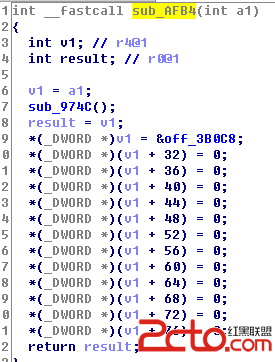
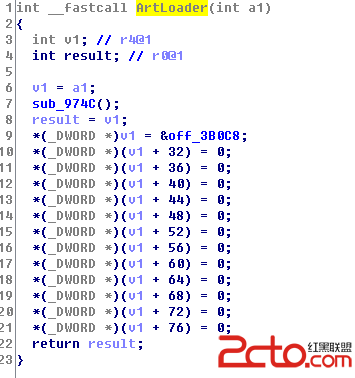
 可以得在該函數名為9ArtLoader,
 6、創建函數,設定函數結尾地址。
F5,效果如下:
6、創建函數,設定函數結尾地址。
F5,效果如下:
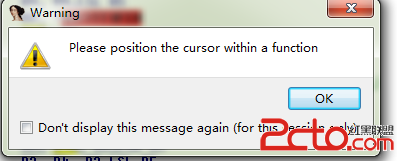 解決辦法,按P,再F5。如果P沒有效果,則可以選中後再按P。
7、Elf的修復,內存dump該so及其以來文件,然後修改dump出來的基址,File-->LoadFile-->binary file。
dump命令為:
dd if=/proc/1935/mem of=/sdcard/alimsc4 skip=1578049536 ibs=1 count=3993600
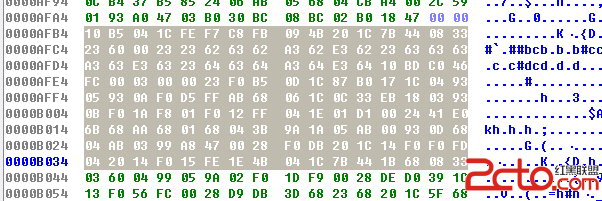
8、數據復制、patch。
選中數據,然後edit->export data,即可
解決辦法,按P,再F5。如果P沒有效果,則可以選中後再按P。
7、Elf的修復,內存dump該so及其以來文件,然後修改dump出來的基址,File-->LoadFile-->binary file。
dump命令為:
dd if=/proc/1935/mem of=/sdcard/alimsc4 skip=1578049536 ibs=1 count=3993600
8、數據復制、patch。
選中數據,然後edit->export data,即可
 9、腳本,idc,IDAPython
http://magiclantern.wikia.com/wiki/IDAPython/intro
http://drops.wooyun.org/tips/11849
http://drops.wooyun.org/tips/12060
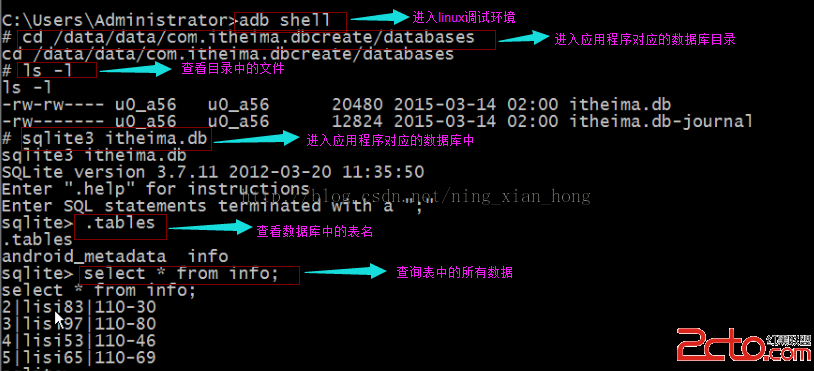
10、lsof查看被刪除的文件,cat從內存中得到被刪除的文件
root@android:/ # lsof |busybox grep com.sxiaoao.car3d3
system_se 523 system 298 /data/app/com.sxiaoao.car3d3-2.apk
com.sxiao 10370 u0_a65 44 /data/data/com.sxiaoao.car3d3/files/app_sdk103700_.jar (deleted)
com.sxiao 10370 u0_a65 48 /data/app/com.sxiaoao.car3d3-2.apk
com.sxiao 10370 u0_a65 49 /data/app/com.sxiaoao.car3d3-2.apk
10370是進程號 44是打開文件的fd 文件fd映射在/prop/pid/fd裡面
用cat命令把文件拷貝出來
1|root@android:/ # cat /proc/10370/fd/44 > /data/local/tmp/test.jar
11、arm指令模擬器
12、為什麼不能F5, 不能全信F5
9、腳本,idc,IDAPython
http://magiclantern.wikia.com/wiki/IDAPython/intro
http://drops.wooyun.org/tips/11849
http://drops.wooyun.org/tips/12060
10、lsof查看被刪除的文件,cat從內存中得到被刪除的文件
root@android:/ # lsof |busybox grep com.sxiaoao.car3d3
system_se 523 system 298 /data/app/com.sxiaoao.car3d3-2.apk
com.sxiao 10370 u0_a65 44 /data/data/com.sxiaoao.car3d3/files/app_sdk103700_.jar (deleted)
com.sxiao 10370 u0_a65 48 /data/app/com.sxiaoao.car3d3-2.apk
com.sxiao 10370 u0_a65 49 /data/app/com.sxiaoao.car3d3-2.apk
10370是進程號 44是打開文件的fd 文件fd映射在/prop/pid/fd裡面
用cat命令把文件拷貝出來
1|root@android:/ # cat /proc/10370/fd/44 > /data/local/tmp/test.jar
11、arm指令模擬器
12、為什麼不能F5, 不能全信F5

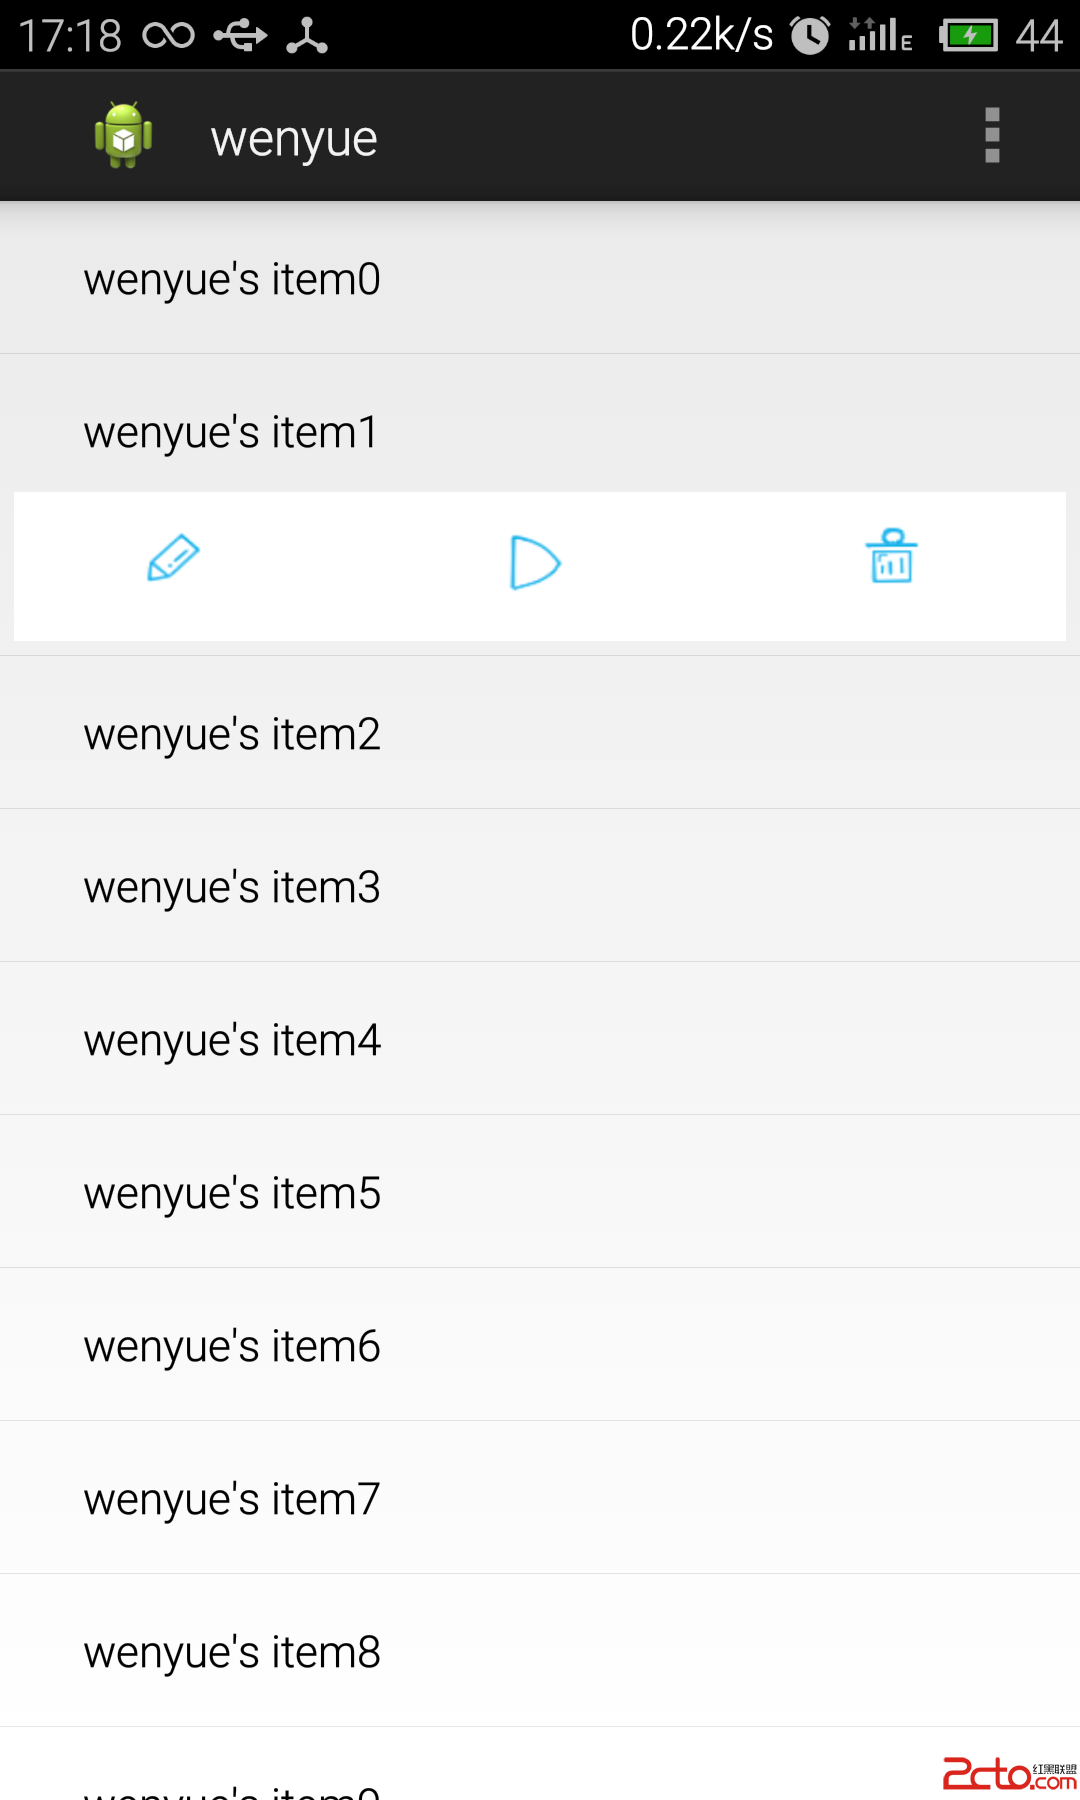 android listview item點擊展開
最近做項目真是頭疼呢?之前想用ListViewAnnotation來著,就是可以實現類似於android 通知欄滑動刪除的效果。好像是一位大牛自己一個人寫的
 Android使用DrawerLayout實現仿QQ雙向側滑菜單
1、概述之前寫了一個Android 高仿 QQ5.0 側滑菜單效果 自定義控件來襲 ,恰逢QQ5.2又加了一個右側菜單,剛好看了下DrawerLayout,一方面官方的東
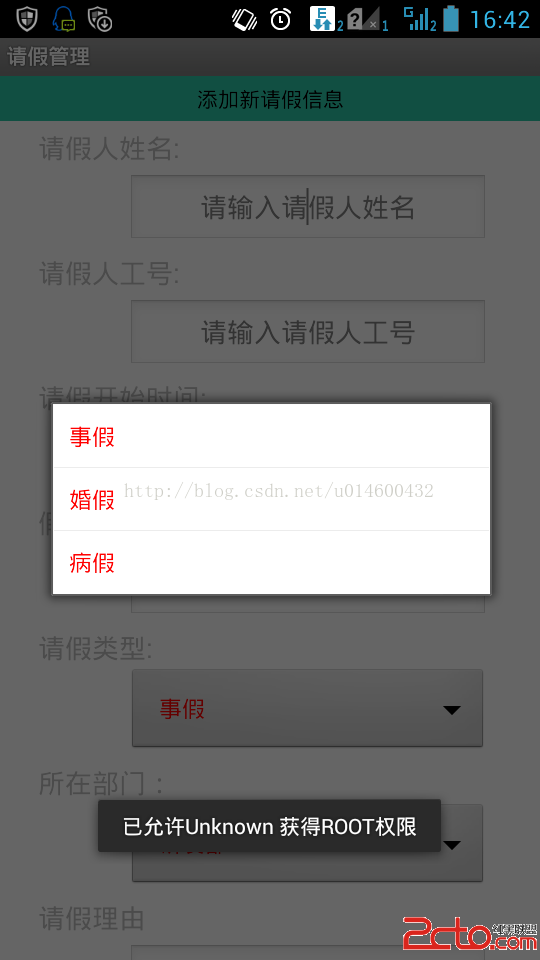 android Spinner和數值選擇器使用demo
關鍵部分代碼如下 1、Spinnner 在布局文件中: 定義對象: private
 Android動畫之視圖動畫
前言動畫在Android中是一個相當於重要的知識點,使用場景也很多,炫酷的界面效果少不了動畫來提升,這裡我們就先來說說Android中的動畫,在說Android的動畫之前