編輯:關於Android編程
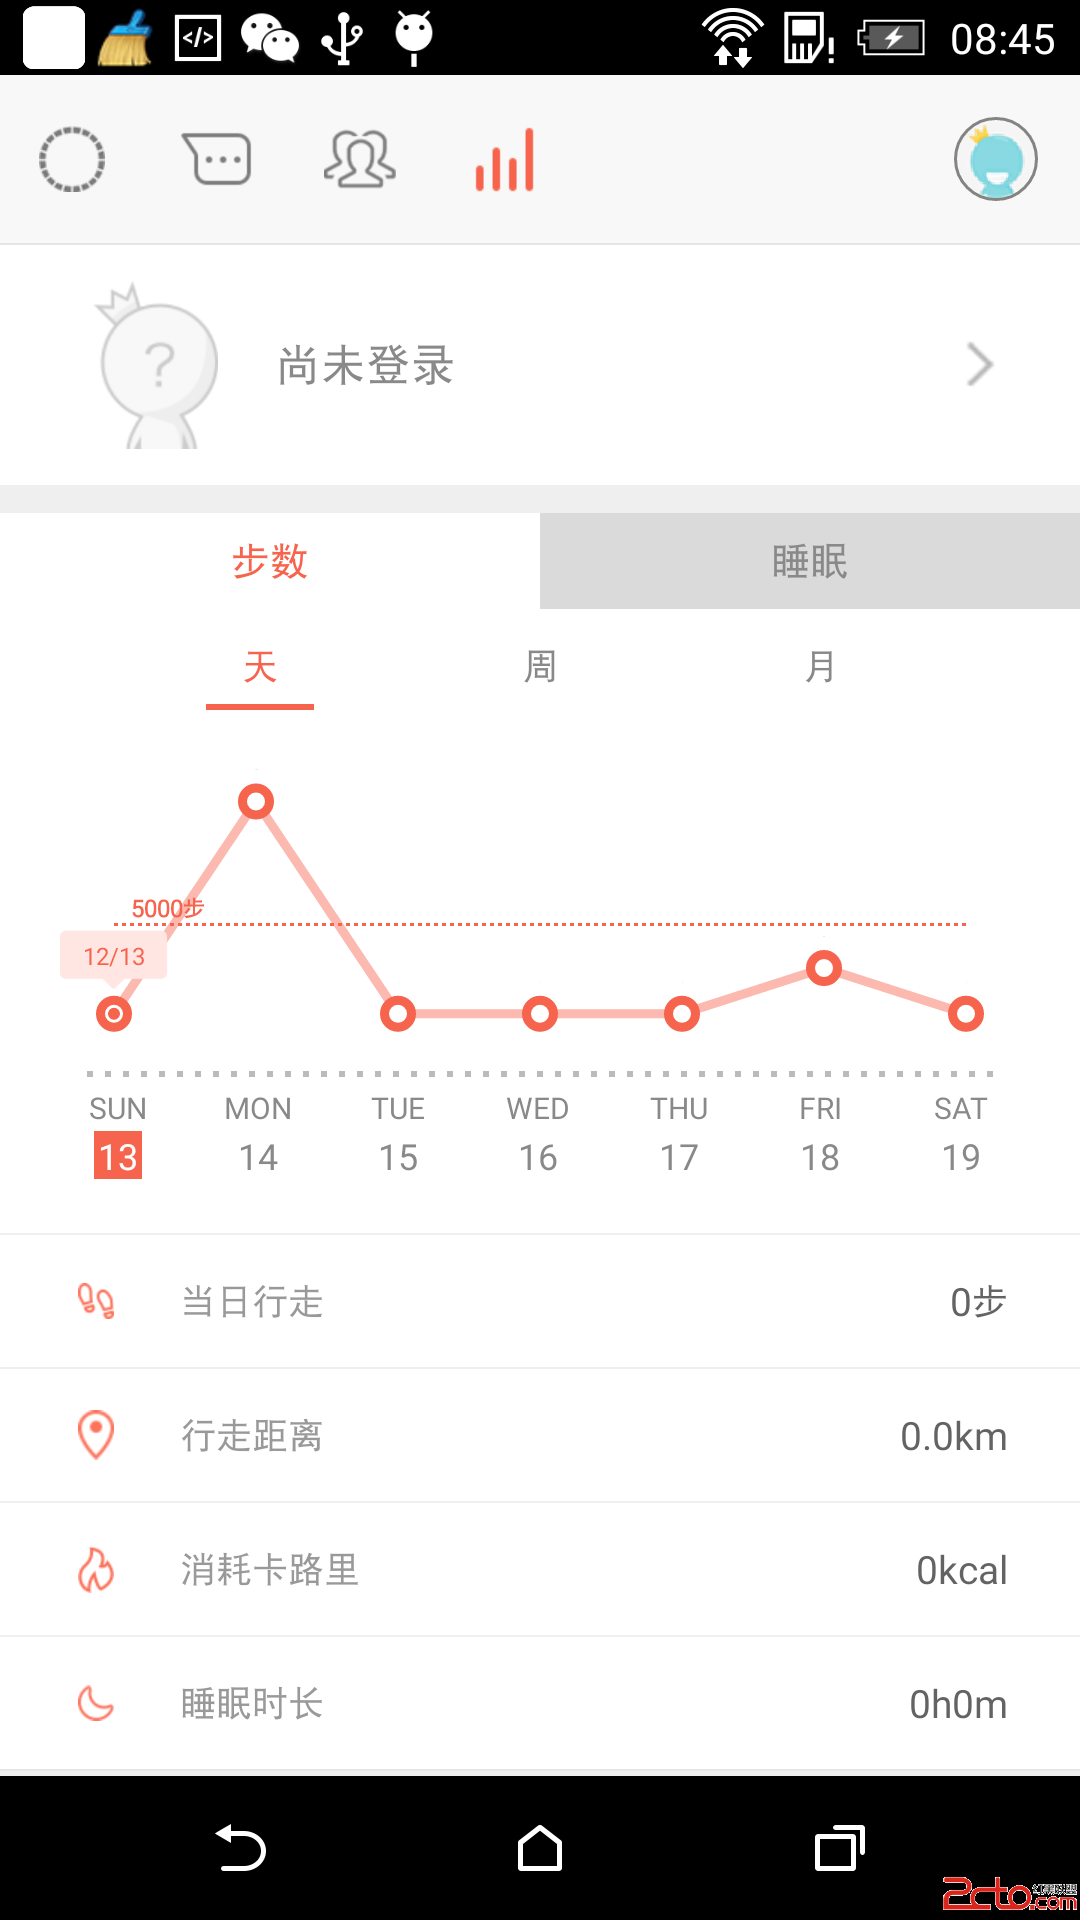
MPAndroidChart是實現圖表功能的優秀控件, 可以完成大多數繪制需求. 對於修改第三方庫而言, 優秀的架構是繼承開發, 而不是把源碼拆分出去. MP在顯示標記控件(MarkView)時, 會有異常, 導致標志在圖表邊緣顯示不全, 則需要重寫控件解決問題.

繼承LineChart, 提取高亮位置坐標getHighLightPos, 重繪標記drawMarkers.
/**
 * 數據中心的圖表折線圖, 繼承MPChart的折線圖
 *
* Created by wangchenlong on 15/10/13. */ public class CYDataLineChart extends LineChart { @SuppressWarnings("unused") private static final String TAG = "DEBUG-WCL: " + CYDataLineChart.class.getSimpleName(); // 默認構造器 public CYDataLineChart(Context context) { super(context); } public CYDataLineChart(Context context, AttributeSet attrs) { super(context, attrs); } public CYDataLineChart(Context context, AttributeSet attrs, int defStyle) { super(context, attrs, defStyle); } // 獲取高亮點坐標 public float[] getHighLightPos(Entry e, Highlight highlight) { return getMarkerPosition(e, highlight); } // 重寫這個方法, 修復Bug @Override protected void drawMarkers(Canvas canvas) { // if there is no marker view or drawing marker is disabled if (mMarkerView == null || !mDrawMarkerViews || !valuesToHighlight()) return; Rect newRect = canvas.getClipBounds(); newRect.inset(-80, 0); //make the rect larger canvas.clipRect(newRect, Region.Op.REPLACE); //noinspection ForLoopReplaceableByForEach for (int i = 0; i < mIndicesToHighlight.length; i++) { Highlight highlight = mIndicesToHighlight[i]; int xIndex = highlight.getXIndex(); if (xIndex <= mDeltaX && xIndex <= mDeltaX * mAnimator.getPhaseX()) { Entry e = mData.getEntryForHighlight(mIndicesToHighlight[i]); // make sure entry not null if (e == null || e.getXIndex() != mIndicesToHighlight[i].getXIndex()) continue; float[] pos = getMarkerPosition(e, highlight); // Marker偏移 float tmpY = pos[1] - 8 * AppUtils.getPerDp(); Paint paint = new Paint(); paint.setStyle(Paint.Style.FILL); paint.setAntiAlias(true); paint.setStrokeWidth(5); // noinspection deprecation paint.setColor(getResources().getColor(R.color.chart_circle)); canvas.drawCircle(pos[0], pos[1], 2 * AppUtils.getPerDp(), paint); // check bounds if (!mViewPortHandler.isInBounds(pos[0], tmpY)) continue; mMarkerView.refreshContent(e, highlight); mMarkerView.measure(MeasureSpec.makeMeasureSpec(0, MeasureSpec.UNSPECIFIED), MeasureSpec.makeMeasureSpec(0, MeasureSpec.UNSPECIFIED)); mMarkerView.layout(0, 0, mMarkerView.getMeasuredWidth(), mMarkerView.getMeasuredHeight()); if (tmpY - mMarkerView.getHeight() <= 0) { float y = mMarkerView.getHeight() - tmpY; mMarkerView.draw(canvas, pos[0], tmpY + y); } else { mMarkerView.draw(canvas, pos[0], tmpY); } } } } }
getMarkerPosition是LineChart類中的protected方法, 繼承類, 使用public方法導出.
float tmpY = pos[1] - 8 * AppUtils.getPerDp();, 重新計算Y坐標, 偏離原始畫布.
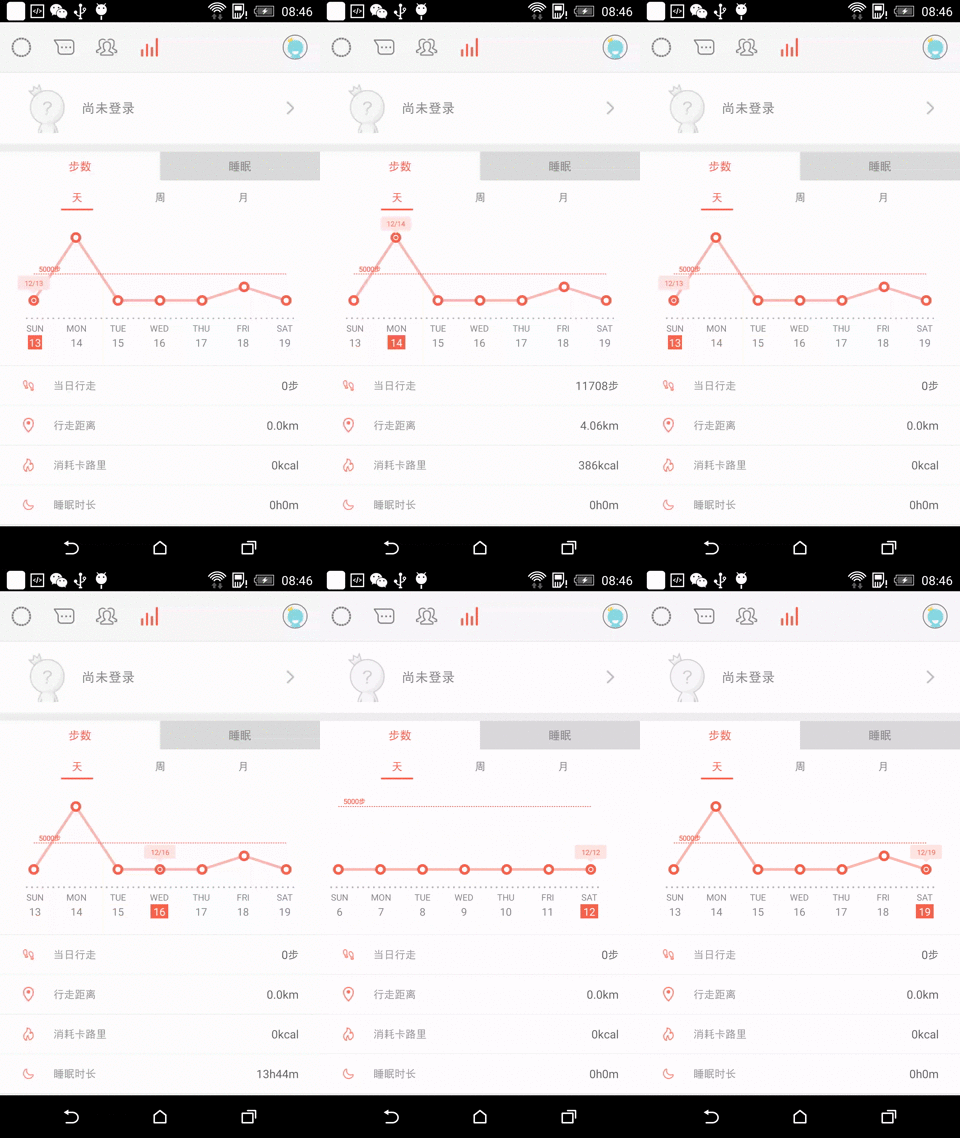
但是這樣做有一個問題, 在移動MarkView時, 父控件會有殘留. 如何解決呢? 辦法就是在移動時, 重繪父控件的canvas, 使用invalidate()函數.
        // 設置圖表點擊事件, 監聽高亮位置
        mLcChart.setOnChartValueSelectedListener(new OnChartValueSelectedListener() {
            @Override
            public void onValueSelected(Entry e, int dataSetIndex, Highlight h) {
                int index = e.getXIndex();
                Log.e(TAG, "index = " + index);
                setChartIndex(index);
                mCallback.setCurIndex(index);
                mIndex = index;

                float[] pos = mLcChart.getHighLightPos(e, h);
                Log.e(TAG, "x: " + pos[0] + ", y: " + pos[1]);

                mLlContainer.invalidate(); // 重繪父控件, 避免殘留
            }

            @Override
            public void onNothingSelected() {
                // 再次點擊時調用這個, 要不非高亮
                mLcChart.highlightValue(mIndex, 0);
            }
        });
    // 外部設置圖表高亮
    private void setChartHighlight(int index) {
        if (mLcChart.getData() == null) return;

        mMarkerView.setDateText(mMarkers.get(index));
        mLcChart.highlightValue(index, 0);

        mLlContainer.invalidate(); // 重繪父控件, 避免殘留
    }
在圖表控件中, 內部外部都會觸發高亮位置.

OK, Enjoy It!
 帶你從頭到尾梳理大圖片加載OOM處理問題
我們在編寫Android程序的時候經常要用到許多圖片,不同圖片總是會有不同的形狀、不同的大小,但在大多數情況下,這些圖片都會大於我們程序所需要的大小。比如說系統圖片庫裡展
 使用dumpsys查看android系統服務信息
1. 什麼是dumpsysThe dumpsys tool runs on the device and provides information about the s
 Android圖像處理之霓虹濾鏡效果
霓虹是用來描繪圖像的輪廓,勾畫出顏色變化的邊緣,加強其過度效果,使圖像產生輪廓發光的效果。主要步驟為1、根據當前像素與其右方和下方像素的梯度運算;2、然後將結果值作為當前
 魅藍e和魅藍note3哪個好 魅藍e和魅藍note3有什麼區別
魅藍E與魅藍Note3有哪些區別?魅藍e和魅藍note3哪個好呢?今天小編將帶來魅藍e和魅藍note3這兩款機型的詳細區別對比。魅藍e和魅藍note3詳細區