編輯:關於Android編程
Service服務是Android四大組件之一,在Android中有著舉足重輕的作用。Service服務是工作的UI線程中,當你的應用需要下載一個文件或者播放音樂等長期處於後台工作而有沒有UI界面的時候,你肯定要用到Service+Thread來實現。因此你需要自己在Service服務裡面實現一個Thread工作線程來下載文件或者播放音樂。然而你每次都需要自己去寫一個Service+Thread來處理長期處於後台而沒有UI界面的任務,這樣顯得很麻煩,沒必要每次都去構建一個Service+Thread框架處理長期處於後台的任務。Google工程師給我們構建了一個方便開發者使用的這麼一個框架—IntentService。
IntentService是一個基礎類,用於處理Intent類型的異步任務請求。當客戶端調用android.content.Context#startService(Intent)發送請求時,Service服務被啟動,且在其內部構建一個工作線程來處理Intent請求。當工作線程執行結束,Service服務會自動停止。IntentService是一個抽象類,用戶必須實現一個子類去繼承它,且必須實現IntentService裡面的抽象方法onHandleIntent來處理異步任務請求。
public class ClientActivity extends AppCompatActivity {

    @Override
    protected void onCreate(@Nullable Bundle savedInstanceState) {
        super.onCreate(savedInstanceState);
        setContentView(R.layout.activity_main);
    }

    //客戶端同時發送兩個任務到IntentService服務端執行
    public void send(View view) {
        Intent intent = new Intent(this, DownLoadService.class);
        intent.putExtra(key, 1);
        intent.putExtra(value, the first task1);
        startService(intent);

        Intent intent1 = new Intent(this, DownLoadService.class);
        intent1.putExtra(key, 2);
        intent1.putExtra(value, the second task2);
        startService(intent1);
    }
}
模擬兩個異步任務同時請求,通過Intent實例攜帶數據啟動Service服務。
public class DownLoadService extends IntentService {

    public static final String TAG = DownLoadService;
    //重寫默認的構造方法
    public DownLoadService() {
        super(DownLoadService);
    }

    //在後台線程執行
    @Override
    protected void onHandleIntent(Intent intent) {
        int key = intent.getIntExtra(key, 0);
        String value = intent.getStringExtra(value);
        switch (key) {
            case 1:
                //模擬耗時任務1
                try {
                    Thread.sleep(3 * 1000);
                } catch (InterruptedException e) {
                    e.printStackTrace();
                }
                break;
            case 2:
                //模擬耗時任務1
                try {
                    Thread.sleep(3 * 1000);
                } catch (InterruptedException e) {
                    e.printStackTrace();
                }
                break;
            default:
                break;
        }

        Log.e(TAG,
the current time is:  + System.currentTimeMillis()/1000
                +
the Thread id is  + Thread.currentThread().getId()
                +
the current task is  + value);
    }
}
DownLoadService子類繼承IntentService類,然後實現onHandleIntent抽象方法進行處理Intent請求的異步任務。在服務端DownLoadService類中,我們並沒有創建Thread線程去執行異步耗時任務請求。所有的異步耗時任務都是在onHandleIntent抽象方法中實現了。言外之意是IntentService類內部已經幫開發者搭建好了一個異步任務處理器,用戶只需實現其中的onHandleIntent抽象方法去處理異步任務即可,從而讓開發者更加簡單方便的使用IntentService處理後台異步任務請求。那麼IntentService內部是怎麼搭建異步任務處理器的呢?我們不妨查看源碼來窺探個究竟。
 /**
     * Creates an IntentService.  Invoked by your subclass's constructor.
     *
     * @param name Used to name the worker thread, important only for debugging.
     */
    public IntentService(String name) {
        super();
        mName = name;
    }
分析:該構造方法需在子類中調用,用於創建一個IntentService對象。參數name用於定義工作線程的名稱,僅僅用於調式作用。我們知道Service服務的生命周期是從onCreate方法開始的。那麼就來看看IntentService#onCreate方法吧。
 public void onCreate() {
        // TODO: It would be nice to have an option to hold a partial wakelock
        // during processing, and to have a static startService(Context, Intent)
        // method that would launch the service & hand off a wakelock.

        super.onCreate();
        HandlerThread thread = new HandlerThread(IntentService[ + mName + ]);
        thread.start();

        mServiceLooper = thread.getLooper();
        mServiceHandler = new ServiceHandler(mServiceLooper);
    }
分析:該方法首先利用HandlerThread類創建了一個循環的工作線程thread,然後將工作線程中的Looper對象作為參數來創建ServiceHandler消息執行者。由另一篇博客 Android HandlerThread 源碼分析 可知,HandlerThread+Handler構建成了一個帶有消息循環機制的異步任務處理機制。因此開發者就可以將異步任務封裝成消息的形式發送到工作線程中去執行了。Service服務生命周期第二步執行IntentService#onStartCommand方法。
    /**
     * You should not override this method for your IntentService. Instead,
     * override {@link #onHandleIntent}, which the system calls when the IntentService
     * receives a start request.
     * @see android.app.Service#onStartCommand
     */
    @Override
    public int onStartCommand(Intent intent, int flags, int startId) {
        onStart(intent, startId);
        return mRedelivery ? START_REDELIVER_INTENT : START_NOT_STICKY;
    }
分析:在IntentService子類中你無需重寫該方法。然後你需要重寫onHandlerIntent方法,系統會在IntentService接受一個請求開始調用該方法。我們看到在該方法中僅僅是調用了onStart方法而已,跟蹤代碼:
 @Override
    public void onStart(Intent intent, int startId) {
        Message msg = mServiceHandler.obtainMessage();
        msg.arg1 = startId;
        msg.obj = intent;
        mServiceHandler.sendMessage(msg);
    }
分析:該方法中通過mServiceHandler獲得一個消息對象msg,然後將startId作為該消息的消息碼,將異步任務請求intent作為消息內容封裝成一個消息msg發送到mServiceHandler消息執行者中去處理,那麼我們來看看mServiceHandler的實現吧!
private final class ServiceHandler extends Handler {
        public ServiceHandler(Looper looper) {
            super(looper);
        }

        @Override
        public void handleMessage(Message msg) {
            onHandleIntent((Intent)msg.obj);
            stopSelf(msg.arg1);
        }
    }
分析:實現也比較簡單,ServiceHandler是IntentService的內部類,在重寫消息處理方法handlerMessage裡面調用了onHandlerIntent抽象方法去處理異步任務intent的請求,當異步任務請求結束之後,調用stopSelf方法自動結束IntentService服務。看過博客 Android HandlerThread 源碼分析 的人都應該知道,此處handleMessage方法是在工作線程中調用的,因此我們子類重寫的onHandlerIntent也是在工作線程中實現的。我們來看看onHandlerIntent方法:
/**
     * This method is invoked on the worker thread with a request to process.
     * Only one Intent is processed at a time, but the processing happens on a
     * worker thread that runs independently from other application logic.
     * So, if this code takes a long time, it will hold up other requests to
     * the same IntentService, but it will not hold up anything else.
     * When all requests have been handled, the IntentService stops itself,
     * so you should not call {@link #stopSelf}.
     *
     * @param intent The value passed to {@link
     *               android.content.Context#startService(Intent)}.
     */
    protected abstract void onHandleIntent(Intent intent);
分析:該方法用於處理intent異步任務請求,在工作線程中調用該方法。每一個時刻只能處理一個intent請求,當同時又多個intent請求時,也就是客戶端同時多次調用Content#startService方法啟動同一個服務時,其他的intent請求會暫時被掛起,直到前面的intent異步任務請求處理完成才會處理下一個intent請求。直到所有的intent請求結束之後,IntentService服務會調用stopSelf停止當前服務。也就是當intent異步任務處理結束之後,對應的IntentService服務會自動銷毀,進而調用IntentService#onDestroy方法:
@Override
    public void onDestroy() {
        mServiceLooper.quit();
    }
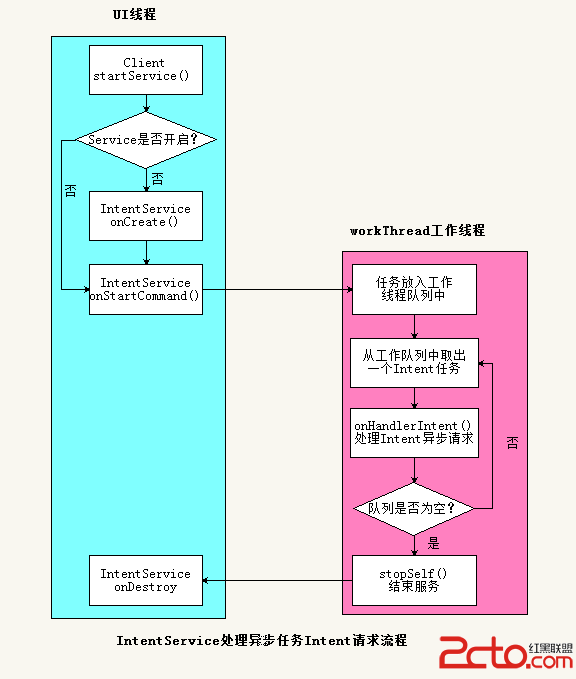
該方法中調用HandlerThread工作線程中Looper對象的quit方法讓當前工作線程HandlerThread退出當前Looper循環,進而結束線程。進而結束當前IntentService服務。到此,整個IntentService服務結束,現在可以用一張流程圖來描述整個過程如下:

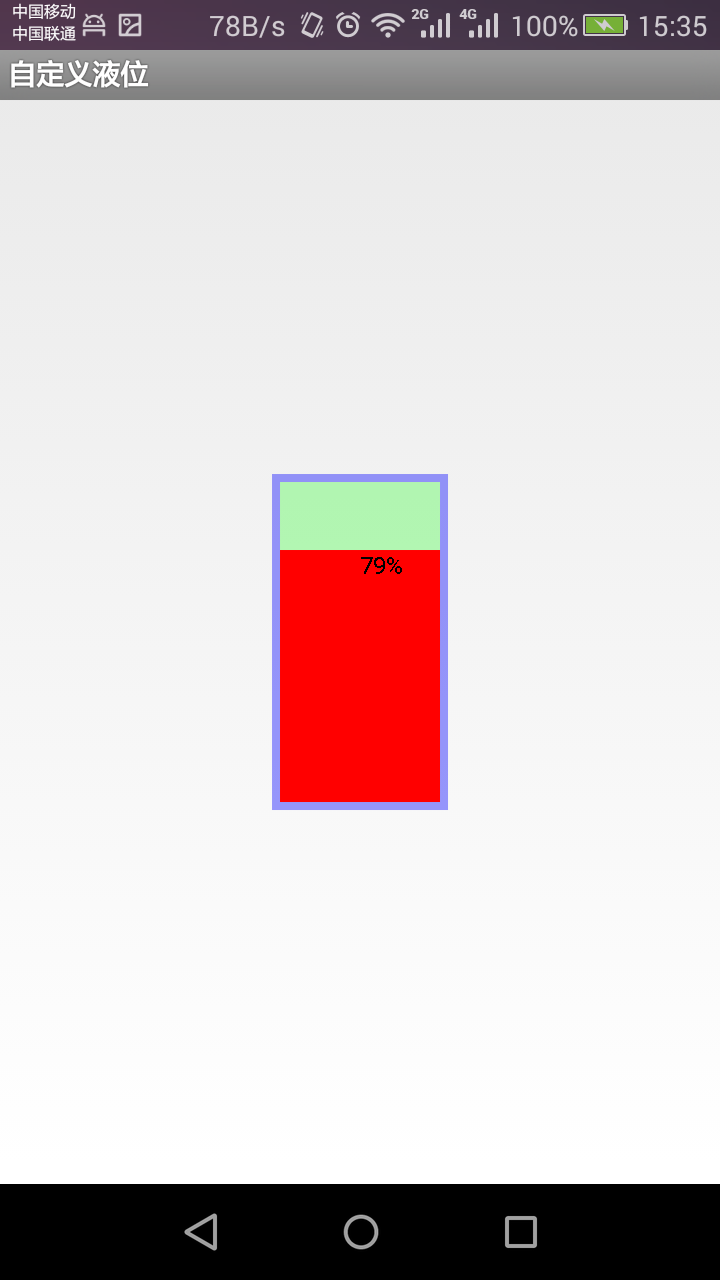
 Android中自定義控件之液位指示器
由於安卓應用很廣泛,在工業中也常有一些應用,比如可以用安卓來去工業中的一些數據進行實現的監測,顯示,同時可以做一些自動化控制,當然在這裡,我不是做這些自動化控制方面的研究
 安卓CountDownTimer實現全民奪寶搶購倒計時和短信驗證碼倒計時
在sina裡看到了什麼全民奪寶的鏈接,然後忍不住1元的誘惑被坑了10多塊,什麼都沒有抽到,但是還是有人抽到了不知道是不是坑爹的,然後也就動手做一下倒計時的功能。先看全民奪
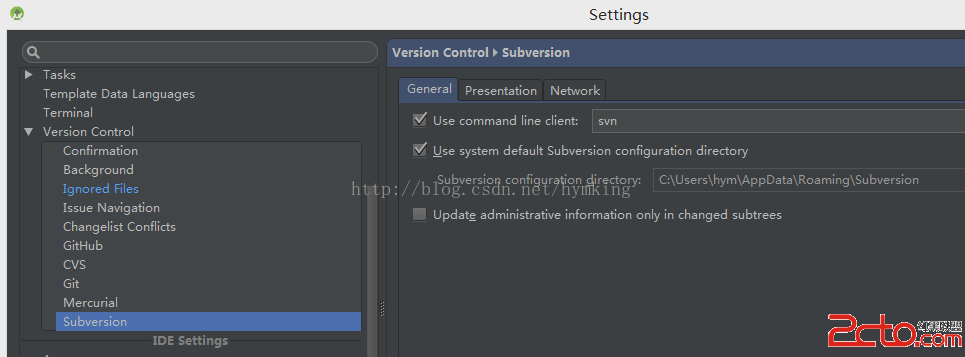
 Android studio share項目到svn倉庫
我們有新的項目要進行開發了,一直想用用android studio。所以在新項目上,果斷使用。這裡是我將android studio項目share到svn倉庫的全過程。後
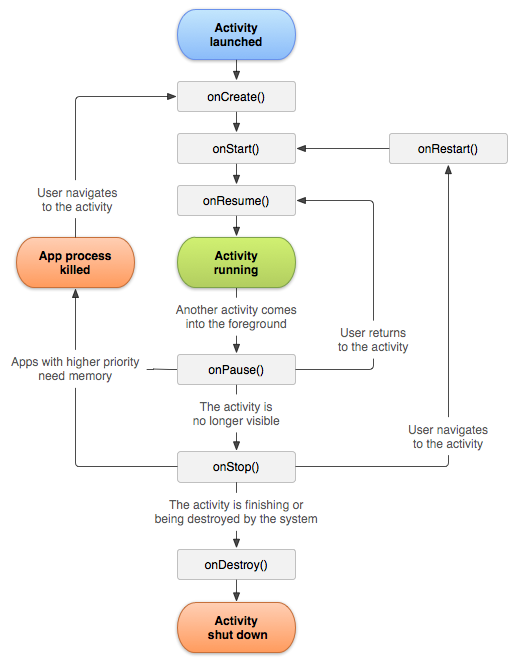
 [Android] 你真的了解Activity嗎?
Activity是什麼?我們都知道android中有四大組件(Activity 活動,Service 服務,Content Provider 內容提供者,Broadcas