編輯:關於Android編程
之前寫過一篇屏幕適配的文章Android 屏幕適配最佳實踐,裡面提到了類似百分比布局的東西,但是該方法缺點很明顯,就會增加很多無用的數據,導致apk包變大。
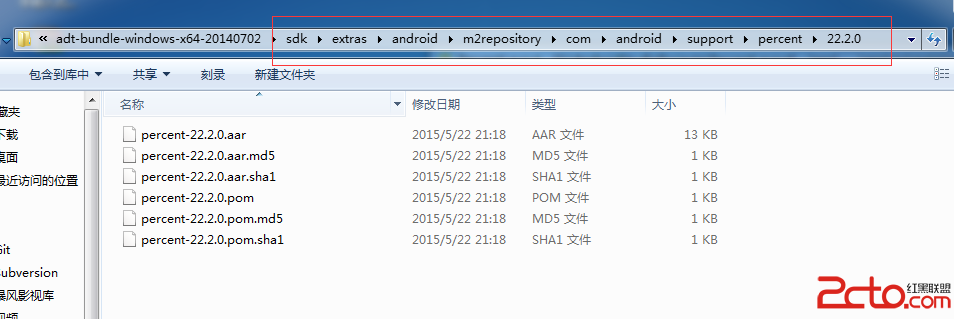
而谷歌的support庫中,增加了一個叫做percent庫,該庫在如圖目錄下,如果沒有,請使用sdk manager更新至最新
在使用前,我們先看下這個庫有哪些類
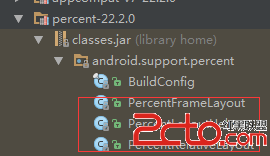
很明顯裡面有一個FrameLayout布局的子類和RelativeLayout布局的子類,此外還有一個Helper類,這個Helper類主要是完成百分比的測量工作,裡面有一個接口PercentLayoutParams,如果我們自己要實現百分比布局,那麼就要實現這個接口。
我們看下谷歌對外公布了什麼自定義屬性
data-snippet-id=ext.2b933a51f6e8f083ce7880e2e69c69ee data-snippet-saved=false data-codota-status=done>
看到這些屬性應該能直接明白這些屬性的意思,其屬性值類型為fraction,即小數,百分比。主要屬性有寬度,高度占是百分比,外邊距的百分比,其中Android MarginLeft與MarginStart的區別參考Android MarginLeft與MarginStart的區別,提取關鍵內容如下。
在寫layout布局的時候,我們會發現有這樣幾個比較相似的屬性:
MarginStart MarginLeft
MarginEnd MarginRight這些屬性的區別是什麼? 根據api注釋,我們得知MarginStart指的是控件距離開頭View部分的間距大小,MarginLeft則指的是控件距離左邊View部分的間距大小,MarginEnd和MarginRight同理。
一般情況下,View開始部分就是左邊,但是有的語言目前為止還是按照從右往左的順序來書寫的,例如阿拉伯語,在Android 4.2系統之後,Google在Android中引入了RTL布局,更好了支持了由右到左文字布局的顯示,為了更好的兼容RTL布局,google推薦使用MarginStart和MarginEnd來替代MarginLeft和MarginRight,這樣應用可以在正常的屏幕和由右到左顯示文字的屏幕上都保持一致的用戶體驗。
了解了這些後,我們開始使用PercentRelativeLayout
使用前加入庫文件依賴
compile 'com.android.support:percent:22.2.0'
開始編寫布局文件,我們要實現的效果如圖所示
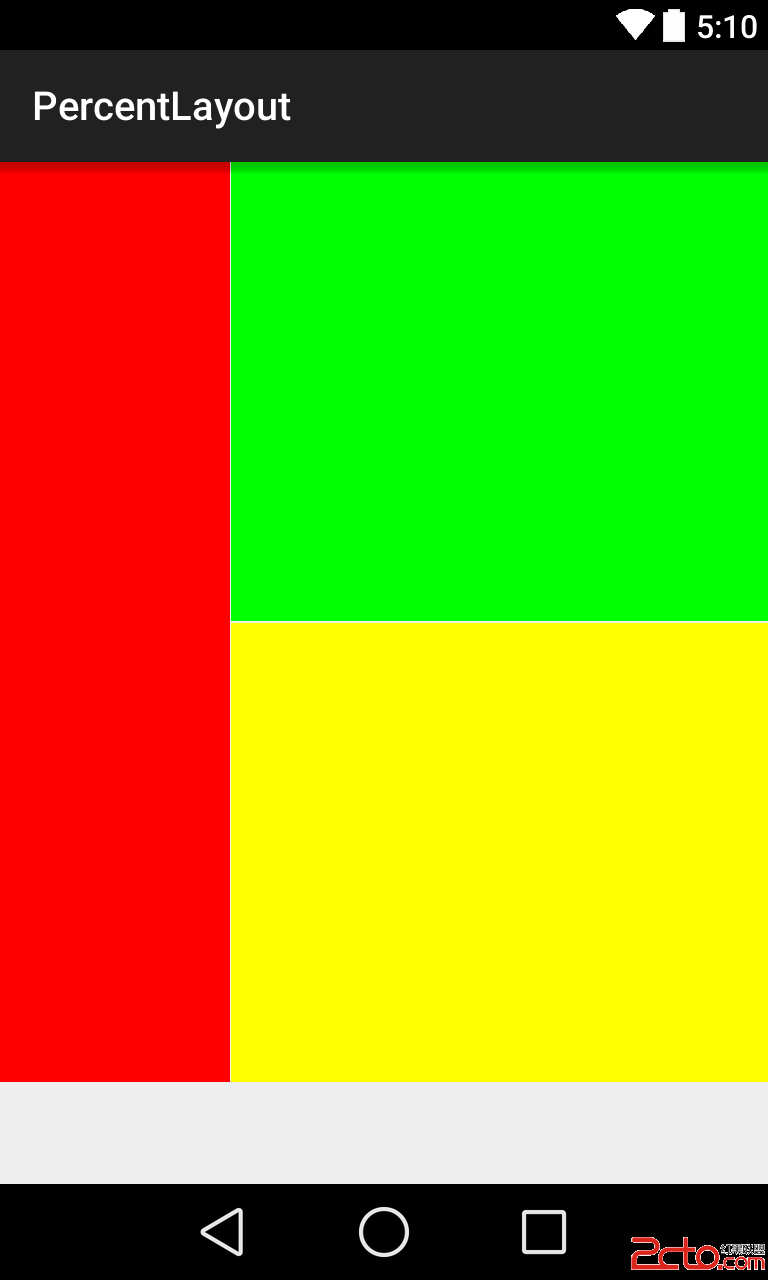
即左邊紅色部分寬度占屏幕30%,高度占屏幕90%,右邊寬度占屏幕70%,高度各占屏幕45%。在不使用百分比布局之前,我們一般是使用LinearLayout的weight達到這種效果,然而使用weight會增加布局的嵌套,會過度繪制。那麼使用百分比布局會變成什麼樣的,無需布局嵌套,設置高度寬度百分比即可。
data-snippet-id=ext.e0cc7ff062800ed30b465316e1f4ce45 data-snippet-saved=false data-codota-status=done>
我們要設置左邊的布局寬度占30%,使用app:layout_widthPercent=”30%”,高度占90%,為了演示另一個屬性的使用,這裡不直接設置高度為90%,而是設置高度為100%,底邊距為10%,即
android:layout_alignParentBottom=true
app:layout_heightPercent=100%
app:layout_marginBottomPercent=10%
同理編寫右邊兩個的布局。
正如文章開頭看到的,這個庫只提供了兩個百分比布局給我們使用,比較常見的線性布局並沒有提供對應的百分比布局。因此,我們想能不能自己實現一個呢,答案是肯定的,通過觀察現有的兩個百分比布局的代碼,我們需呀繼承原來的布局,即LinearLayout,編寫對應的構造方法調用父類。聲明一個PercentLayoutHelper對象輔助完成百分比測量,此外還需要重寫onMeasure和onLayout方法,以及一個
實現了PercentLayoutHelper.PercentLayoutParams接口的繼承原來布局的LayoutParams的LayoutParams。
那麼我們新建一個叫PercentLinearLayout的繼承LinearLayout的類,實現其構造方法,以及聲明一個final的PercentLayoutHelper 對象。
public class PercentLinearLayout extends LinearLayout {
    private final PercentLayoutHelper mHelper = new PercentLayoutHelper(this);

    public PercentLinearLayout(Context context) {
        super(context);
    }

    public PercentLinearLayout(Context context, AttributeSet attrs) {
        super(context, attrs);
    }

    public PercentLinearLayout(Context context, AttributeSet attrs, int defStyleAttr) {
        super(context, attrs, defStyleAttr);
    }
}
仿造現有的兩個百分比布局實現內部類LayoutParams ,這一步直接復制代碼修改一下即可,記得一定要繼承自android.widget.LinearLayout.LayoutParams。
   public static class LayoutParams extends android.widget.LinearLayout.LayoutParams implements PercentLayoutHelper.PercentLayoutParams {
        private PercentLayoutHelper.PercentLayoutInfo mPercentLayoutInfo;

        public LayoutParams(Context c, AttributeSet attrs) {
            super(c, attrs);
            this.mPercentLayoutInfo = PercentLayoutHelper.getPercentLayoutInfo(c, attrs);
        }

        public LayoutParams(int width, int height) {
            super(width, height);
        }

        public LayoutParams(android.view.ViewGroup.LayoutParams source) {
            super(source);
        }

        public LayoutParams(MarginLayoutParams source) {
            super(source);
        }

        public PercentLayoutHelper.PercentLayoutInfo getPercentLayoutInfo() {
            return this.mPercentLayoutInfo;
        }

        protected void setBaseAttributes(TypedArray a, int widthAttr, int heightAttr) {
            PercentLayoutHelper.fetchWidthAndHeight(this, a, widthAttr, heightAttr);
        }
    }
此外,還要重寫一個生成LayoutParams 的方法generateLayoutParams,返回我們的內部類。
    @Override
    public LayoutParams generateLayoutParams(AttributeSet attrs) {
        return new PercentLinearLayout.LayoutParams(this.getContext(), attrs);
    }
然後重新onLayout和onMeasure方法即可,這一步也不需要自己實現,直接復制代碼即可。
   protected void onMeasure(int widthMeasureSpec, int heightMeasureSpec) {
        this.mHelper.adjustChildren(widthMeasureSpec, heightMeasureSpec);
        super.onMeasure(widthMeasureSpec, heightMeasureSpec);
        if(this.mHelper.handleMeasuredStateTooSmall()) {
            super.onMeasure(widthMeasureSpec, heightMeasureSpec);
        }

    }

    protected void onLayout(boolean changed, int left, int top, int right, int bottom) {
        super.onLayout(changed, left, top, right, bottom);
        this.mHelper.restoreOriginalParams();
    }
就這樣,完成了百分比線性布局,我們進行使用下。完成下面的效果,隨意發揮的塗鴉。
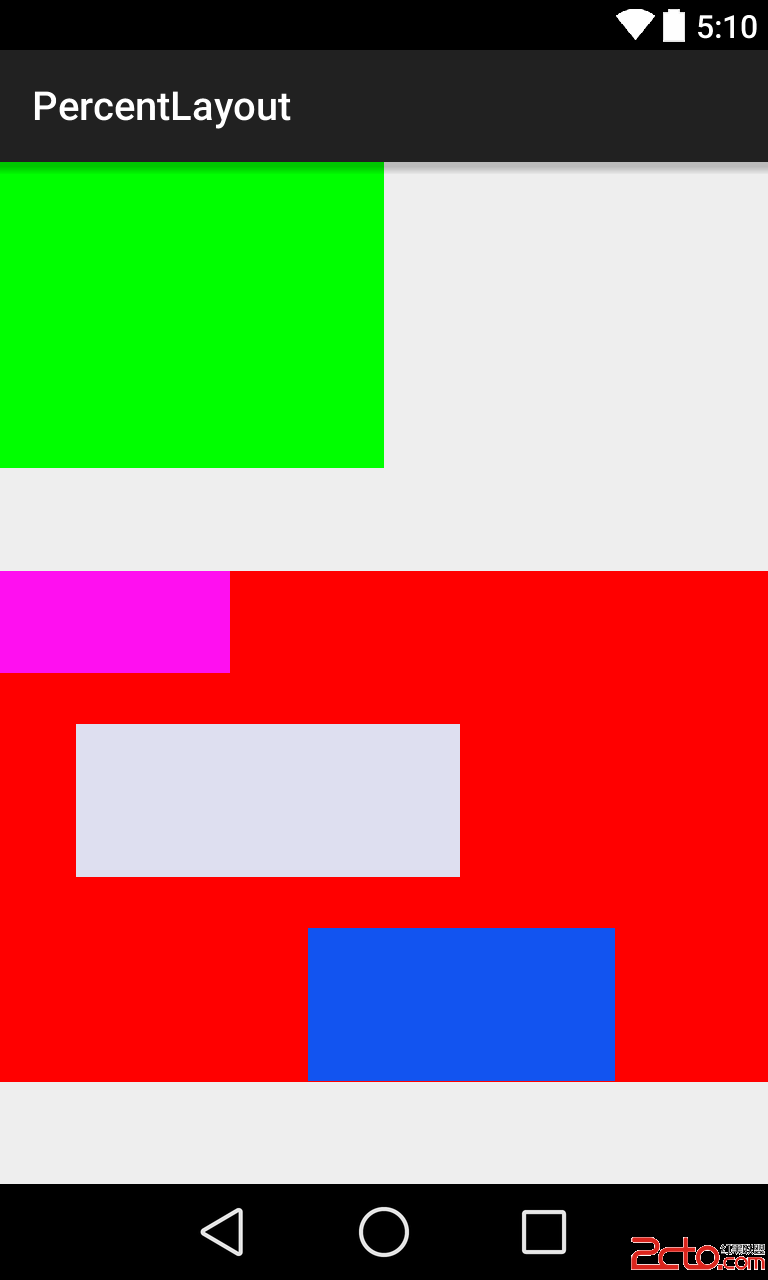
主要是紅色部分,從上到下,高度各為父容器的20%,30%,30%,寬度各為父容器的30%,50%,40,其中第三個靠右邊布局,右邊距為父容器的20%,同時有上邊距為父容器的10%,看代碼更直接
data-snippet-id=ext.f12d75ada346cbb7c643acc2ed243bba data-snippet-saved=false data-codota-status=done>
 Android中用Bmob實現短信驗證碼功能的方法詳解
這篇文章主要介紹發送驗證碼和校驗驗證碼的功能,用到一個第三方平台Bmob,那Bmob是什麼呢?Bmob可以開發一個雲存儲的移動應用軟件,他提供了大量的標准的A
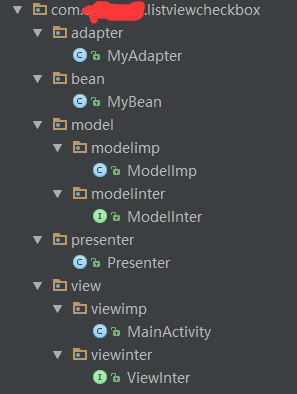 Android MVP模式ListView中嵌入checkBox的使用方法
MVP模式 ListView中嵌入checkBox的使用本文寫的是一個小demo,如何在ListView中嵌入checkBox配合使用,本篇文章與前面的嵌入Button類
 Android實現閃屏及注冊和登錄界面之間的切換效果
在沒給大家介紹正文之前先給大家說下實現思路:先分別實現閃屏、注冊界面、登錄界面的活動,再用Intent將相關的活動連接起來,實現不同活動之間的跳轉。此次試驗代碼較多,我只
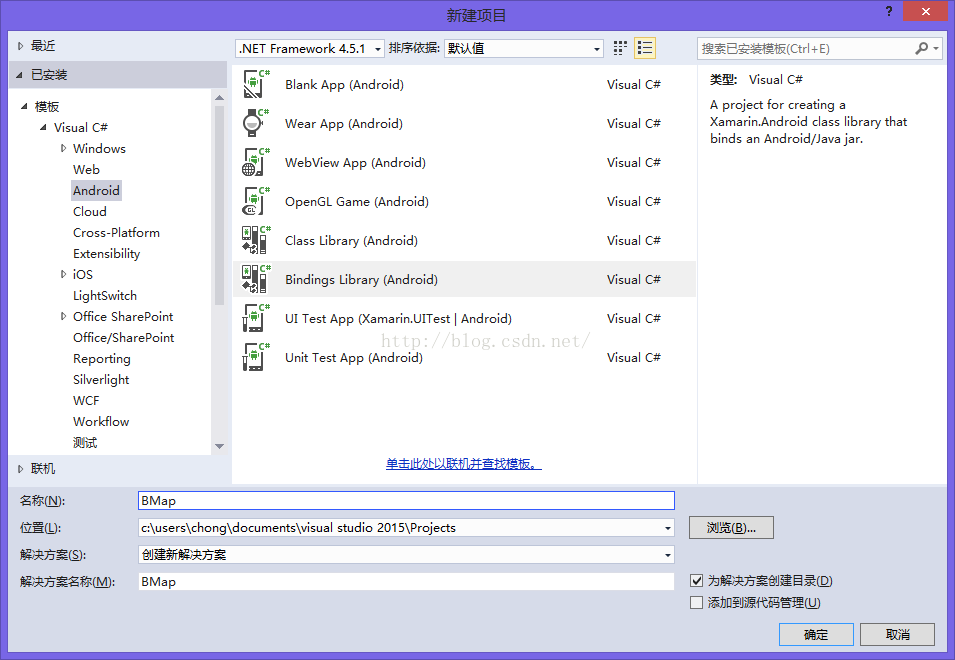 xmarin.android for vs2015使用百度地圖api3.6.1
首先新建一個binding Library項目,項目名隨意,我這裡起名Bmap 然後將jar文件放入jars目錄下,生成屬性改為EmbeddedJar這時候如果