編輯:關於Android編程
public class MyDatabaseHelper extends SQLiteOpenHelper {
public static final String CREATE_BOOK = "create table book ("
+ "id integer primary key autoincrement, "
+ "author text, "
+ "price real, "
+ "pages integer, "
+ "name text)";
private Context mContext;
public MyDatabaseHelper(Context context, String name, CursorFactory
factory, int version) {
super(context, name, factory, version);
mContext = context;
}
@Override
public void onCreate(SQLiteDatabase db) {
db.execSQL(CREATE_BOOK);
Toast.makeText(mContext, "Create succeeded", Toast.LENGTH_SHORT).show();
}
@Override
public void onUpgrade(SQLiteDatabase db, int oldVersion, int newVersion) {
}
}
2 升級數據庫
package com.example.sqllitehelp;

import android.content.Context;
import android.database.sqlite.SQLiteDatabase;
import android.database.sqlite.SQLiteDatabase.CursorFactory;
import android.database.sqlite.SQLiteOpenHelper;
import android.widget.Toast;

public class MyDatabaseHelper extends SQLiteOpenHelper {
	public static final String CREATE_BOOK="create table Book ("
			+"id integer primary  key autoincrement ,"
			+"author test , "
			+"price real , "
			+"pages integer , "
			+"name text) "
			;
	public static final String CREATE_CATEGORY="create table Category ("
			+"id integer primary  key autoincrement ,"
			+"category_name test , "
			+"category_code integer)"
			;
	private Context mContext;

	public MyDatabaseHelper(Context context, String name,
			CursorFactory factory, int version) {
		super(context, name, factory, version);
		// TODO Auto-generated constructor stub
		mContext=context;
	}

	@Override
	public void onCreate(SQLiteDatabase db) {
		// TODO Auto-generated method stub
		db.execSQL(CREATE_BOOK);
		db.execSQL(CREATE_CATEGORY);
		Toast.makeText(mContext, "create successed", Toast.LENGTH_SHORT).show();
	}
	@Override
	public void onUpgrade(SQLiteDatabase db, int oldVersion, int newVersion) {
		// TODO Auto-generated method stub
		db.execSQL("drop table if exists Book");
		db.execSQL("drop table if exists Category");
		onCreate(db);
		 Toast.makeText(mContext, "刪除數據", Toast.LENGTH_SHORT).show();
	}

}
MyDatabaseHelper(context, "BookStore.db", null, 1); 把這裡的版本號改成2就可以執行升級方法了
public class MainActivity extends Activity {
	private MyDatabaseHelper dbHelper;
	@Override
	protected void onCreate(Bundle savedInstanceState) {
		super.onCreate(savedInstanceState);
		setContentView(R.layout.activity_main);
		dbHelper = new MyDatabaseHelper(this, "BookStore.db", null, 2);
		??
		Button addData = (Button) findViewById(R.id.add_data);
		addData.setOnClickListener(new OnClickListener() {
			@Override
			public void onClick(View v) {
				SQLiteDatabase db = dbHelper.getWritableDatabase();
				ContentValues values = new ContentValues();
				//  開始組裝第一條數據
				values.put("name", "The Da Vinci Code");
				values.put("author", "Dan Brown");
				values.put("pages", 454);
				values.put("price", 16.96);
				db.insert("Book", null, values); //  插入第一條數據
				values.clear();
				//  開始組裝第二條數據
				values.put("name", "The Lost Symbol");
				values.put("author", "Dan Brown");
				values.put("pages", 510);
				values.put("price", 19.95);
				db.insert("Book", null, values); //  插入第二條數據
			}
		});
	}
}
4 更新數據
public class MainActivity extends Activity {
	private MyDatabaseHelper dbHelper;
	@Override
	protected void onCreate(Bundle savedInstanceState) {
		super.onCreate(savedInstanceState);
		setContentView(R.layout.activity_main);
		dbHelper = new MyDatabaseHelper(this, "BookStore.db", null, 2);
		??
		Button updateData = (Button) findViewById(R.id.update_data);
		updateData.setOnClickListener(new OnClickListener() {
			@Override
			public void onClick(View v) {
				SQLiteDatabase db = dbHelper.getWritableDatabase();
				ContentValues values = new ContentValues();
				values.put("price", 10.99);
				db.update("Book", values, "name = ?", new String[] { "The Da
						Vinci Code" });
				}
			});
		}
	}
db.update("Book", values, "name = ?", new String[] { "The DaVinci Code" }) 這句話相當於 Update Book set price=10.99 where name=’The DaVinci Code"‘
5 刪除數據
public class MainActivity extends Activity {
private MyDatabaseHelper dbHelper;
@Override
protected void onCreate(Bundle savedInstanceState) {
super.onCreate(savedInstanceState);
setContentView(R.layout.activity_main);
dbHelper = new MyDatabaseHelper(this, "BookStore.db", null, 2);
??
Button deleteButton = (Button) findViewById(R.id.delete_data);
deleteButton.setOnClickListener(new OnClickListener() {
@Override
public void onClick(View v) {
SQLiteDatabase db = dbHelper.getWritableDatabase();
db.delete("Book", "pages > ?", new String[] { "500" });
}
});
}
}
db.delete("Book", "pages > ?", new String[] { "500" }); 相當於 delete from Book where pages>500
6 查詢數據
public class MainActivity extends Activity {
	private MyDatabaseHelper dbHelper;
	@Override
	protected void onCreate(Bundle savedInstanceState) {
		super.onCreate(savedInstanceState);
		setContentView(R.layout.activity_main);
		dbHelper = new MyDatabaseHelper(this, "BookStore.db", null, 2);
		??
		Button queryButton = (Button) findViewById(R.id.query_data);
		queryButton.setOnClickListener(new OnClickListener() {
			@Override
			public void onClick(View v) {
				SQLiteDatabase db = dbHelper.getWritableDatabase();
				//  查詢Book 表中所有的數據
				Cursor cursor = db.query("Book", null, null, null, null, null, null);
				if (cursor.moveToFirst()) {
					do {
						//  遍歷Cursor 對象,取出數據並打印
						String name = cursor.getString(cursor.
								getColumnIndex("name"));
						String author = cursor.getString(cursor.
								getColumnIndex("author"));
						int pages = cursor.getInt(cursor.getColumnIndex
								("pages"));
						double price = cursor.getDouble(cursor.
								getColumnIndex("price"));
						Log.d("MainActivity", "book name is " + name);
						Log.d("MainActivity", "book author is " + author);
						Log.d("MainActivity", "book pages is " + pages);
						Log.d("MainActivity", "book price is " + price);
					} while (cursor.moveToNext());
				}
				cursor.close();
			}
		});
	}
}
7 使用 SQL 操作數據庫
public class MainActivity extends Activity {
	private MyDatabaseHelper dbHelper;
	@Override
	protected void onCreate(Bundle savedInstanceState) {
		super.onCreate(savedInstanceState);
		setContentView(R.layout.activity_main);
		dbHelper = new MyDatabaseHelper(this, "BookStore.db", null, 2);
		??
		Button replaceData = (Button) findViewById(R.id.replace_data);
		replaceData.setOnClickListener(new OnClickListener() {
			@Override
			public void onClick(View v) {
				SQLiteDatabase db = dbHelper.getWritableDatabase();
				db.beginTransaction(); //  開啟事務
				try {
					db.delete("Book", null, null);
					if (true) {
						//  在這裡手動拋出一個異常,讓事務失敗
						throw new NullPointerException();
					}
					ContentValues values = new ContentValues();
					values.put("name", "Game of Thrones");
					values.put("author", "George Martin");
					values.put("pages", 720);
					values.put("price", 20.85);
					db.insert("Book", null, values);
					db.setTransactionSuccessful(); //  事務已經執行成功
				} catch (Exception e) {
					e.printStackTrace();
				} finally {
					db.endTransaction(); //  結束事務
				}
			}
		});
	}
}
8. 2升級數據庫的最佳寫法
只需要創建一張 Book 表,MyDatabaseHelper 中的代碼如下所示:
public class MyDatabaseHelper extends SQLiteOpenHelper {
	public static final String CREATE_BOOK = "create table Book ("
			+ "id integer primary key autoincrement, "
			+ "author text, "
			+ "price real, "
			+ "pages integer, "
			+ "name text)";
	public MyDatabaseHelper(Context context, String name, CursorFactory
			factory, int version) {
		super(context, name, factory, version);
	}
	@Override
	public void onCreate(SQLiteDatabase db) {
		db.execSQL(CREATE_BOOK);
	}
	@Override
	public void onUpgrade(SQLiteDatabase db, int oldVersion, int newVersion) {
	}
}
不過,幾星期之後又有了新需求,這次需要向數據庫中再添加一張 Category 表。於是,修改 MyDatabaseHelper 中的代碼,如下所示:
public class MyDatabaseHelper extends SQLiteOpenHelper {
	public static final String CREATE_BOOK = "create table Book ("
			+ "id integer primary key autoincrement, "
			+ "author text, "
			+ "price real, "
			+ "pages integer, "
			+ "name text)";
	public static final String CREATE_CATEGORY = "create table Category ("
			+ "id integer primary key autoincrement, "
			+ "category_name text, "
			+ "category_code integer)";
	public MyDatabaseHelper(Context context, String name,
			CursorFactory factory, int version) {
		super(context, name, factory, version);
	}
	@Override
	public void onCreate(SQLiteDatabase db) {
		db.execSQL(CREATE_BOOK);
		db.execSQL(CREATE_CATEGORY);
	}
	@Override
	public void onUpgrade(SQLiteDatabase db, int oldVersion, int newVersion) {
		switch (oldVersion) {
		case 1:
			db.execSQL(CREATE_CATEGORY);
		default:
		}
	}
}
是沒過多久,新的需求又來了,這次要給 Book 表和 Category 表之間建立關聯,需要在 Book 表中添加一個 category_id 的字段。再次修改 MyDatabaseHelper 中的代碼,如下所示
public class MyDatabaseHelper extends SQLiteOpenHelper {
	public static final String CREATE_BOOK = "create table Book ("
			+ "id integer primary key autoincrement, "
			+ "author text, "
			+ "price real, "
			+ "pages integer, "
			+ "name text, "
			+ "category_id integer)";
	public static final String CREATE_CATEGORY = "create table Category ("
			+ "id integer primary key autoincrement, "
			+ "category_name text, "
			+ "category_code integer)";
	public MyDatabaseHelper(Context context, String name,
			CursorFactory factory, int version) {
		super(context, name, factory, version);
	}
	@Override
	public void onCreate(SQLiteDatabase db) {
		db.execSQL(CREATE_BOOK);
		db.execSQL(CREATE_CATEGORY);
	}
	@Override
	public void onUpgrade(SQLiteDatabase db, int oldVersion, int newVersion) {
		switch (oldVersion) {
		case 1:
			db.execSQL(CREATE_CATEGORY);
		case 2:
			db.execSQL("alter table Book add column category_id integer");
		default:
		}
	}
}
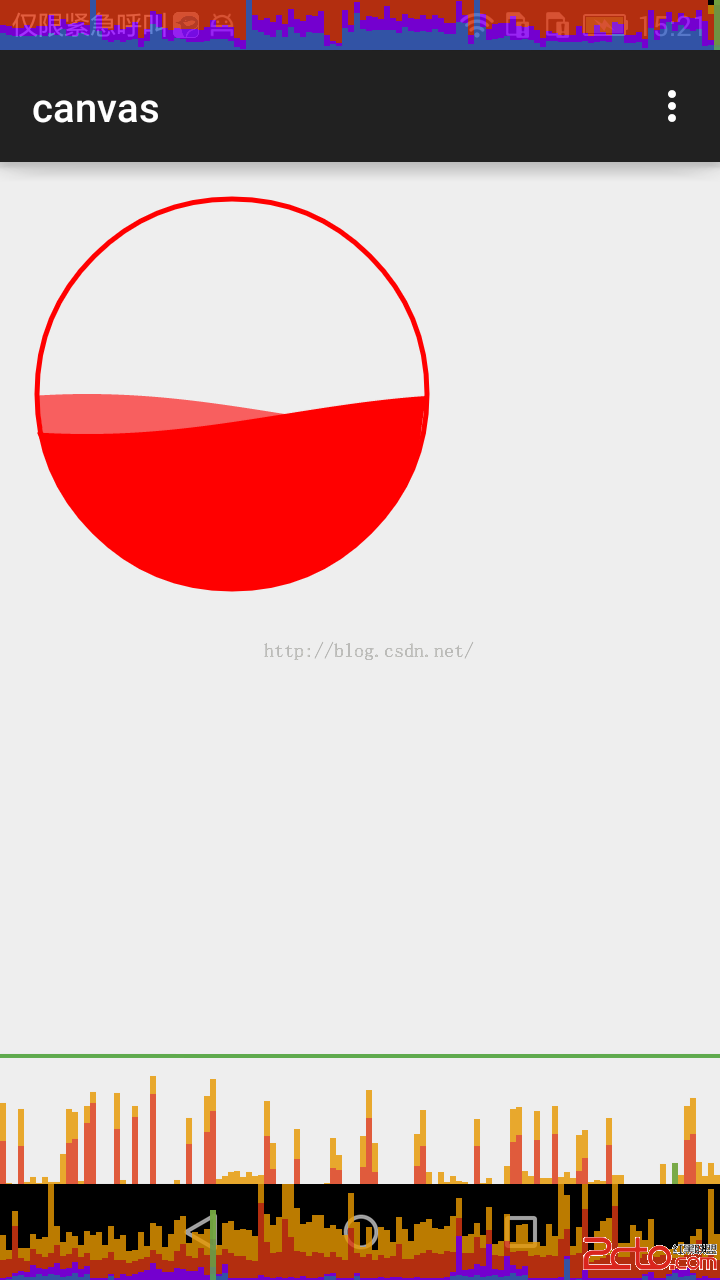
可以看到,首先我們在 Book 表的建表語句中添加了一個 category_id 列,這樣當用戶直 Android繪制波浪曲線,效果很贊的。
package neal.canvas;import android.content.Context;import android.graphics.Canv
 微信怎麼搶紅包 微信紅包怎麼搶
微信紅包是騰訊旗下產品微信於2014年1月27日推出的一款應用,功能上可以實現發紅包、查收發記錄和提現。臨近春節了,新年發紅包是我們的傳統文化,現在微信紅包
 Android自定義彩色織帶分割線
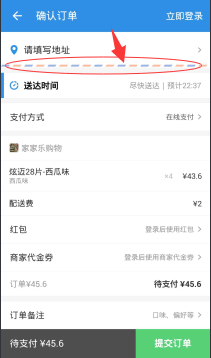
前言最近開發的一個產品需要涉及到訂單,訂單頁涉及到了一個UI元素,類似餓了麼的訂單頁以及支付寶口碑外賣訂單頁的彩帶(通俗點講就是一條兩種顏色相間而成的分割線):
 Android自定義荷載進度的兩種方法
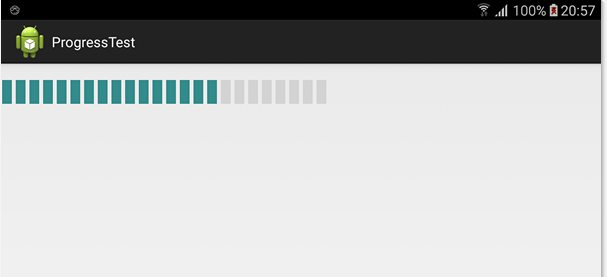
本文將用兩個方法來寫類似汽車荷載的進度用LinearLayout的addview方法加上for循環用自定義控件的方法先上截圖1. 用LinearLayout的addvie