編輯:關於Android編程
首先在res文件下新建anim文件夾
新建anim_alpha.xml代碼如下:
<set xmlns:android="http://schemas.android.com/apk/res/android">

    <alpha android:duration="2000" android:fillafter="true" android:fromalpha="1" android:repeatcount="1" android:repeatmode="reverse" android:toalpha="0">

</alpha></set></code>
新建anim_translate.xml
<set xmlns:android="http://schemas.android.com/apk/res/android">

<translate android:duration="2000" android:fillafter="true" android:fromxdelta="0" android:fromydelta="0" android:repeatcount="1" android:repeatmode="reverse" android:toxdelta="860" android:toydelta="0">

</translate></set></code>
新建anim_rotate.xml
<set xmlns:android="http://schemas.android.com/apk/res/android">


    <rotate android:duration="2000" android:fromdegrees="0" android:interpolator="@android:anim/accelerate_interpolator" android:pivotx="50%" android:pivoty="50%" android:todegrees="720">
    <rotate android:duration="2000" android:fromdegrees="360" android:interpolator="@android:anim/accelerate_interpolator" android:pivotx="50%" android:pivoty="50%" android:startoffset="2000" android:todegrees="0">

</rotate></rotate></set></code>
新建anim_scale.xml
<set xmlns:android="http://schemas.android.com/apk/res/android">

    <scale android:duration="2000" android:fillafter="true" android:fromxscale="1" android:fromyscale="1" android:interpolator="@android:anim/accelerate_interpolator" android:pivotx="50%" android:pivoty="50%" android:repeatcount="1" android:repeatmode="reverse" android:toxscale="2.0" android:toyscale="2.0">

</scale></set></code>
然後修改main.xml
<linearlayout xmlns:android="http://schemas.android.com/apk/res/android" android:layout_width="fill_parent" android:layout_height="fill_parent" android:orientation="vertical">

    <imageview android:id="@+id/img" android:layout_width="wrap_content" android:layout_height="wrap_content" android:src="@drawable/cat">

    <linearlayout android:id="@+id/myli2" android:layout_width="fill_parent" android:layout_height="wrap_content" android:orientation="horizontal"><button android:id="@+id/alpha" android:layout_width="fill_parent" android:layout_height="wrap_content" android:layout_weight="1" android:text="透明"></button><button android:id="@+id/translate" android:layout_width="fill_parent" android:layout_height="wrap_content" android:layout_weight="1" android:text="旋轉"></button><button android:id="@+id/scale" android:layout_width="fill_parent" android:layout_height="wrap_content" android:layout_weight="1" android:text="縮放"></button></linearlayout></imageview></linearlayout></code><button android:id="@+id/rotate" android:layout_width="fill_parent" android:layout_height="wrap_content" android:layout_weight="1" android:text="平移"><code class=" hljs xml">


</code></button>
MainActivity.java
package com.mz.demo;

import android.app.Activity;
import android.os.Bundle;
import android.view.View;
import android.view.View.OnClickListener;
import android.view.animation.Animation;
import android.view.animation.AnimationUtils;
import android.widget.Button;
import android.widget.ImageView;

public class MainActivity extends Activity {
    private ImageView img;
    private Button btn1;
    private Button btn2;
    private Button btn3;
    private Button btn4;

    /** Called when the activity is first created. */
    @Override
    public void onCreate(Bundle savedInstanceState) {
        super.onCreate(savedInstanceState);
        setContentView(R.layout.main);
        final Animation animation_alpha = AnimationUtils.loadAnimation(this,
                R.anim.anim_alpha);
        final Animation animation_translate = AnimationUtils.loadAnimation(
                this, R.anim.anim_translate);
        final Animation animation_scale = AnimationUtils.loadAnimation(this,
                R.anim.anim_scale);
        final Animation animation_rotate = AnimationUtils.loadAnimation(this,
                R.anim.anim_rotate);
        img = (ImageView) findViewById(R.id.img);
        btn1 = (Button) findViewById(R.id.alpha);
        btn2 = (Button) findViewById(R.id.translate);
        btn3 = (Button) findViewById(R.id.scale);
        btn4 = (Button) findViewById(R.id.rotate);
        btn1.setOnClickListener(new OnClickListener() {

            public void onClick(View v) {
                // TODO Auto-generated method stub
                img.startAnimation(animation_alpha);
            }
        });
        btn2.setOnClickListener(new OnClickListener() {

            public void onClick(View v) {
                // TODO Auto-generated method stub
                img.startAnimation(animation_translate);
            }
        });
        btn3.setOnClickListener(new OnClickListener() {

            public void onClick(View v) {
                // TODO Auto-generated method stub
                img.startAnimation(animation_scale);
            }
        });
        btn4.setOnClickListener(new OnClickListener() {

            public void onClick(View v) {
                // TODO Auto-generated method stub
                img.startAnimation(animation_rotate);
            }
        });
    }
}
 Android開發仿QQ空間根據位置彈出PopupWindow顯示更多操作效果
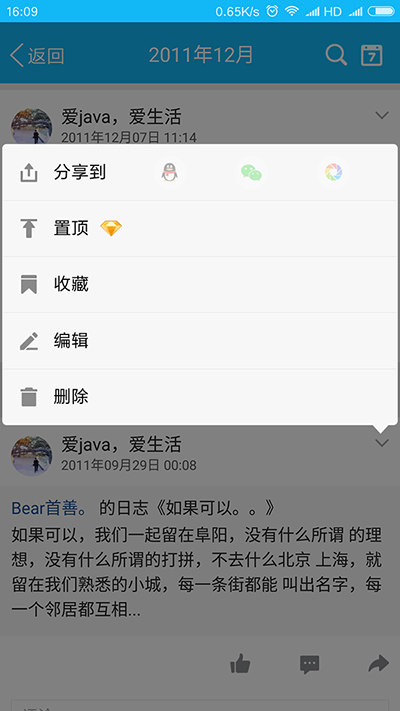
我們打開QQ空間的時候有個箭頭按鈕點擊之後彈出PopupWindow會根據位置的變化顯示在箭頭的上方還是下方,比普通的PopupWindow彈在屏幕中間顯示好看的多。先看
 手機qq設備鎖怎麼用 手機qq設備鎖設置教程
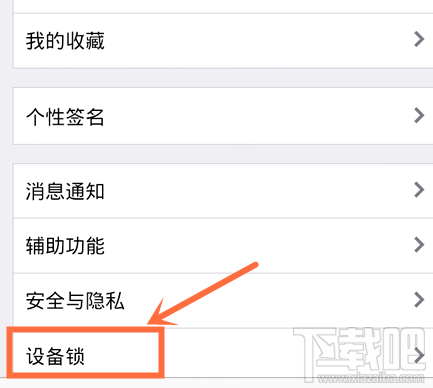
怎麼預防QQ號被盜,怎麼樣讓QQ號碼更加安全,手機qq設備鎖怎麼用?下面小編給大家帶來手機qq設備鎖設置教程,手機QQ4.62或以上版本才有此功能,一起來看
 Android中編寫簡單的手電筒小應用的實例教程
主要實現兩個步驟:1、實現打開和關閉閃光燈;而實現操作閃光燈主要通過Camera類Camera camera = Camera.open(); Parameters mP
 Android 史上最強多語言國際化,不僅第一次會跟隨系統,而且會保存用戶的語言設置
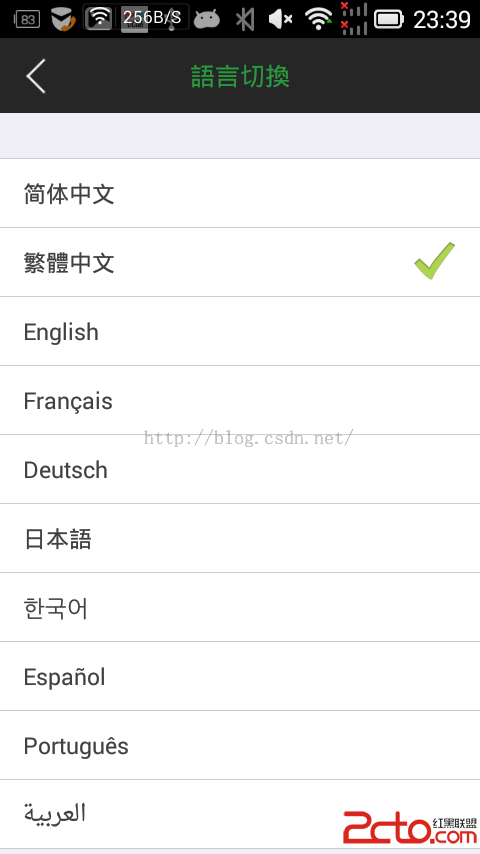
1.我等屌絲喜歡簡單粗暴,首先來一幅圖哥們我是大陸人,當然默認語言是 中文簡體,但是我剛剛切換成了繁體了 2.看下配置文件,按照這個格式 ,看圖吧,簡單粗暴,別