編輯:關於Android編程
1、Drawable就是一個可畫的對象,其可能是一張位圖(BitmapDrawable),也可能是一個圖形(ShapeDrawable),還有可能是一個圖層(LayerDrawable),我們根據畫圖的需求,創建相應的可畫對象
2、Canvas畫布,繪圖的目的區域,用於繪圖
3、Bitmap位圖,用於圖的處理
4、Matrix矩陣
        Resources res = getResources();
        Bitmap bmp = BitmapFactory.decodeResource(res, R.drawable.icon);
    public byte[] Bitmap2Bytes(Bitmap bm) {
        ByteArrayOutputStream baos = new ByteArrayOutputStream();
        bm.compress(Bitmap.CompressFormat.PNG, 100, baos);
        return baos.toByteArray();
    }
    public Bitmap Bytes2Bimap(byte[] b) {
        if (b.length != 0) {
            return BitmapFactory.decodeByteArray(b, 0, b.length);
        } else {
            return null;
        }
    }
    public static Bitmap zoomBitmap(Bitmap bitmap, int width, int height) {
        int w = bitmap.getWidth();
        int h = bitmap.getHeight();
        Matrix matrix = new Matrix();
        float scaleWidth = ((float) width / w);
        float scaleHeight = ((float) height / h);
        matrix.postScale(scaleWidth, scaleHeight);
        Bitmap newbmp = Bitmap.createBitmap(bitmap, 0, 0, w, h, matrix, true);
        return newbmp;
    }
public static Bitmap drawableToBitmap(Drawable drawable) {
        // 取 drawable 的長寬
        int w = drawable.getIntrinsicWidth();
        int h = drawable.getIntrinsicHeight();

        // 取 drawable 的顏色格式
        Bitmap.Config config = drawable.getOpacity() != PixelFormat.OPAQUE ? Bitmap.Config.ARGB_8888
                : Bitmap.Config.RGB_565;
        // 建立對應 bitmap
        Bitmap bitmap = Bitmap.createBitmap(w, h, config);
        // 建立對應 bitmap 的畫布
        Canvas canvas = new Canvas(bitmap);
        drawable.setBounds(0, 0, w, h);
        // 把 drawable 內容畫到畫布中
        drawable.draw(canvas);
        return bitmap;
    }
    public static Bitmap getRoundedCornerBitmap(Bitmap bitmap, float roundPx) {
        int w = bitmap.getWidth();
        int h = bitmap.getHeight();
        Bitmap output = Bitmap.createBitmap(w, h, Config.ARGB_8888);
        Canvas canvas = new Canvas(output);
        final int color = 0xff424242;
        final Paint paint = new Paint();
        final Rect rect = new Rect(0, 0, w, h);
        final RectF rectF = new RectF(rect);
        paint.setAntiAlias(true);
        canvas.drawARGB(0, 0, 0, 0);
        paint.setColor(color);
        canvas.drawRoundRect(rectF, roundPx, roundPx, paint);
        paint.setXfermode(new PorterDuffXfermode(Mode.SRC_IN));
        canvas.drawBitmap(bitmap, rect, rect, paint);

        return output;
    }
    public static Bitmap createReflectionImageWithOrigin(Bitmap bitmap) {
        final int reflectionGap = 4;
        int w = bitmap.getWidth();
        int h = bitmap.getHeight();

        Matrix matrix = new Matrix();
        matrix.preScale(1, -1);

        Bitmap reflectionImage = Bitmap.createBitmap(bitmap, 0, h / 2, w,
                h / 2, matrix, false);

        Bitmap bitmapWithReflection = Bitmap.createBitmap(w, (h + h / 2),
                Config.ARGB_8888);

        Canvas canvas = new Canvas(bitmapWithReflection);
        canvas.drawBitmap(bitmap, 0, 0, null);
        Paint deafalutPaint = new Paint();
        canvas.drawRect(0, h, w, h + reflectionGap, deafalutPaint);

        canvas.drawBitmap(reflectionImage, 0, h + reflectionGap, null);

        Paint paint = new Paint();
        LinearGradient shader = new LinearGradient(0, bitmap.getHeight(), 0,
                bitmapWithReflection.getHeight() + reflectionGap, 0x70ffffff,
                0x00ffffff, TileMode.CLAMP);
        paint.setShader(shader);
        // Set the Transfer mode to be porter duff and destination in
        paint.setXfermode(new PorterDuffXfermode(Mode.DST_IN));
        // Draw a rectangle using the paint with our linear gradient
        canvas.drawRect(0, h, w, bitmapWithReflection.getHeight()
                + reflectionGap, paint);

        return bitmapWithReflection;
    }
Bitmap bm=xxx; //xxx根據你的情況獲取
BitmapDrawable bd= new BitmapDrawable(getResource(), bm);
因為BtimapDrawable是Drawable的子類,最終直接使用bd對象即可。
    public static Drawable zoomDrawable(Drawable drawable, int w, int h) {
        int width = drawable.getIntrinsicWidth();
        int height = drawable.getIntrinsicHeight();
        // drawable轉換成bitmap
        Bitmap oldbmp = drawableToBitmap(drawable);
        // 創建操作圖片用的Matrix對象
        Matrix matrix = new Matrix();
        // 計算縮放比例
        float sx = ((float) w / width);
        float sy = ((float) h / height);
        // 設置縮放比例
        matrix.postScale(sx, sy);
        // 建立新的bitmap,其內容是對原bitmap的縮放後的圖
        Bitmap newbmp = Bitmap.createBitmap(oldbmp, 0, 0, width, height,
                matrix, true);
        return new BitmapDrawable(newbmp);
    }
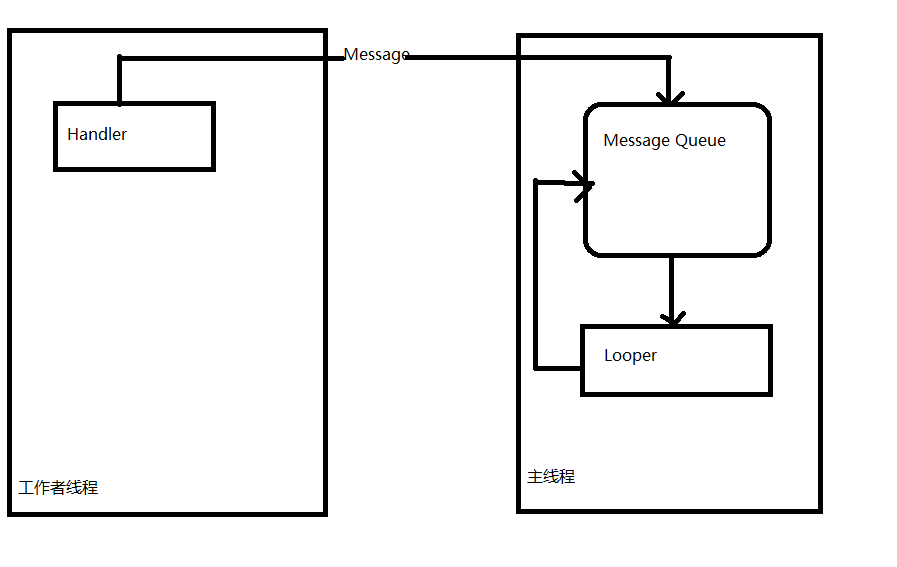
 Android學習總結(3)——Handler深入詳解
什麼是HandlerHandler是Android消息機制的上層接口,它為我們封裝了許多底層的細節,讓我們能夠很方便的使用底層的消息機制。Handler的最常見應用場景之
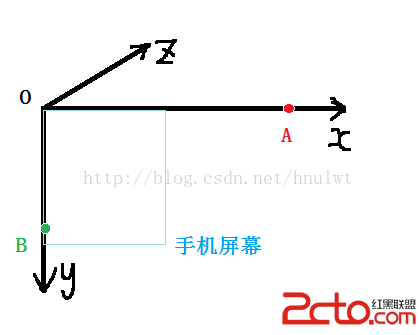
 android camera獲取matrix作用於canvas的研究
網上查了一下相關的文章,認為自己看懂了,但是實際測試時和網上說的並不一樣(後來研究發現,那個人寫的是錯的!!!),所以,在此提醒大家,要勇於質疑,勇於提出問題。 首先說明
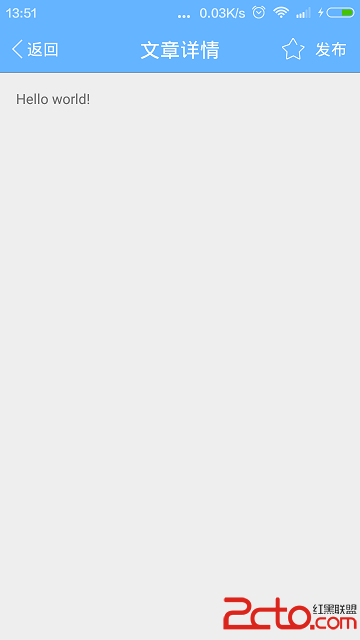
 Android上實現仿IOS的導航欄TitleBar
titlebargithub地址一個簡單易用的導航欄TitleBar,可以輕松實現IOS導航欄的各種效果整個代碼全部集中在TitleBar.java中,所有控件都動態生成
 ExpandableListView 中完美嵌套 GridView
在做項目的時候,想在 ExpandableListView 中嵌套一個 GridView,在實現的過程中,遇到了不少坑,所以寫篇博客記錄一下,也順便幫助下和我一樣的新手。