編輯:關於Android編程
Volley主要支持一下幾種Request
1. StringRequest:確定一個URL,獲得返回的原始字符串。
2. ImageRequest:確定一個URL,獲得一個圖片。
3. JsonObjectRequest和JsonArrayRequest: 確定一個URL,獲得JSON對象或者數字。
ImageView mImageView;
String url = http://i.imgur.com/7spzG.png;
mImageView = (ImageView) findViewById(R.id.myImage);
...

// Retrieves an image specified by the URL, displays it in the UI.
ImageRequest request = new ImageRequest(url,
    new Response.Listener() {
        @Override
        public void onResponse(Bitmap bitmap) {
            mImageView.setImageBitmap(bitmap);
        }
    }, 0, 0, null,
    new Response.ErrorListener() {
        public void onErrorResponse(VolleyError error) {
            mImageView.setImageResource(R.drawable.image_load_error);
        }
    });
// Access the RequestQueue through your singleton class.
MySingleton.getInstance(this).addToRequestQueue(request);
ImageLoader mImageLoader;
NetworkImageView mNetworkImageView;
private static final String IMAGE_URL =
    http://developer.android.com/images/training/system-ui.png;
...

// Get the NetworkImageView that will display the image.
mNetworkImageView = (NetworkImageView) findViewById(R.id.networkImageView);

// Get the ImageLoader through your singleton class.
mImageLoader = MySingleton.getInstance(this).getImageLoader();

// Set the URL of the image that should be loaded into this view, and
// specify the ImageLoader that will be used to make the request.
mNetworkImageView.setImageUrl(IMAGE_URL, mImageLoader);
TextView mTxtDisplay;
ImageView mImageView;
mTxtDisplay = (TextView) findViewById(R.id.txtDisplay);
String url = http://my-json-feed;

JsonObjectRequest jsObjRequest = new JsonObjectRequest
        (Request.Method.GET, url, null, new Response.Listener() {

    @Override
    public void onResponse(JSONObject response) {
        mTxtDisplay.setText(Response:  + response.toString());
    }
}, new Response.ErrorListener() {

    @Override
    public void onErrorResponse(VolleyError error) {
        // TODO Auto-generated method stub

    }
});

// Access the RequestQueue through your singleton class.
MySingleton.getInstance(this).addToRequestQueue(jsObjRequest);
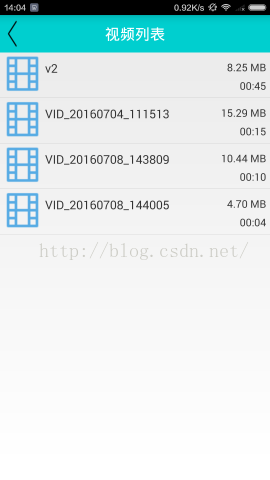
 Android自定義視頻播放器(網絡/本地)
最近因公司項目要求需要寫一個播放器,自帶的又不太好用,也不太好看。自能自定義啦。查看了很多資料,都沒有完善的,還好得以為前輩的指點得以完成,感謝Yang。本篇裡面我有可能
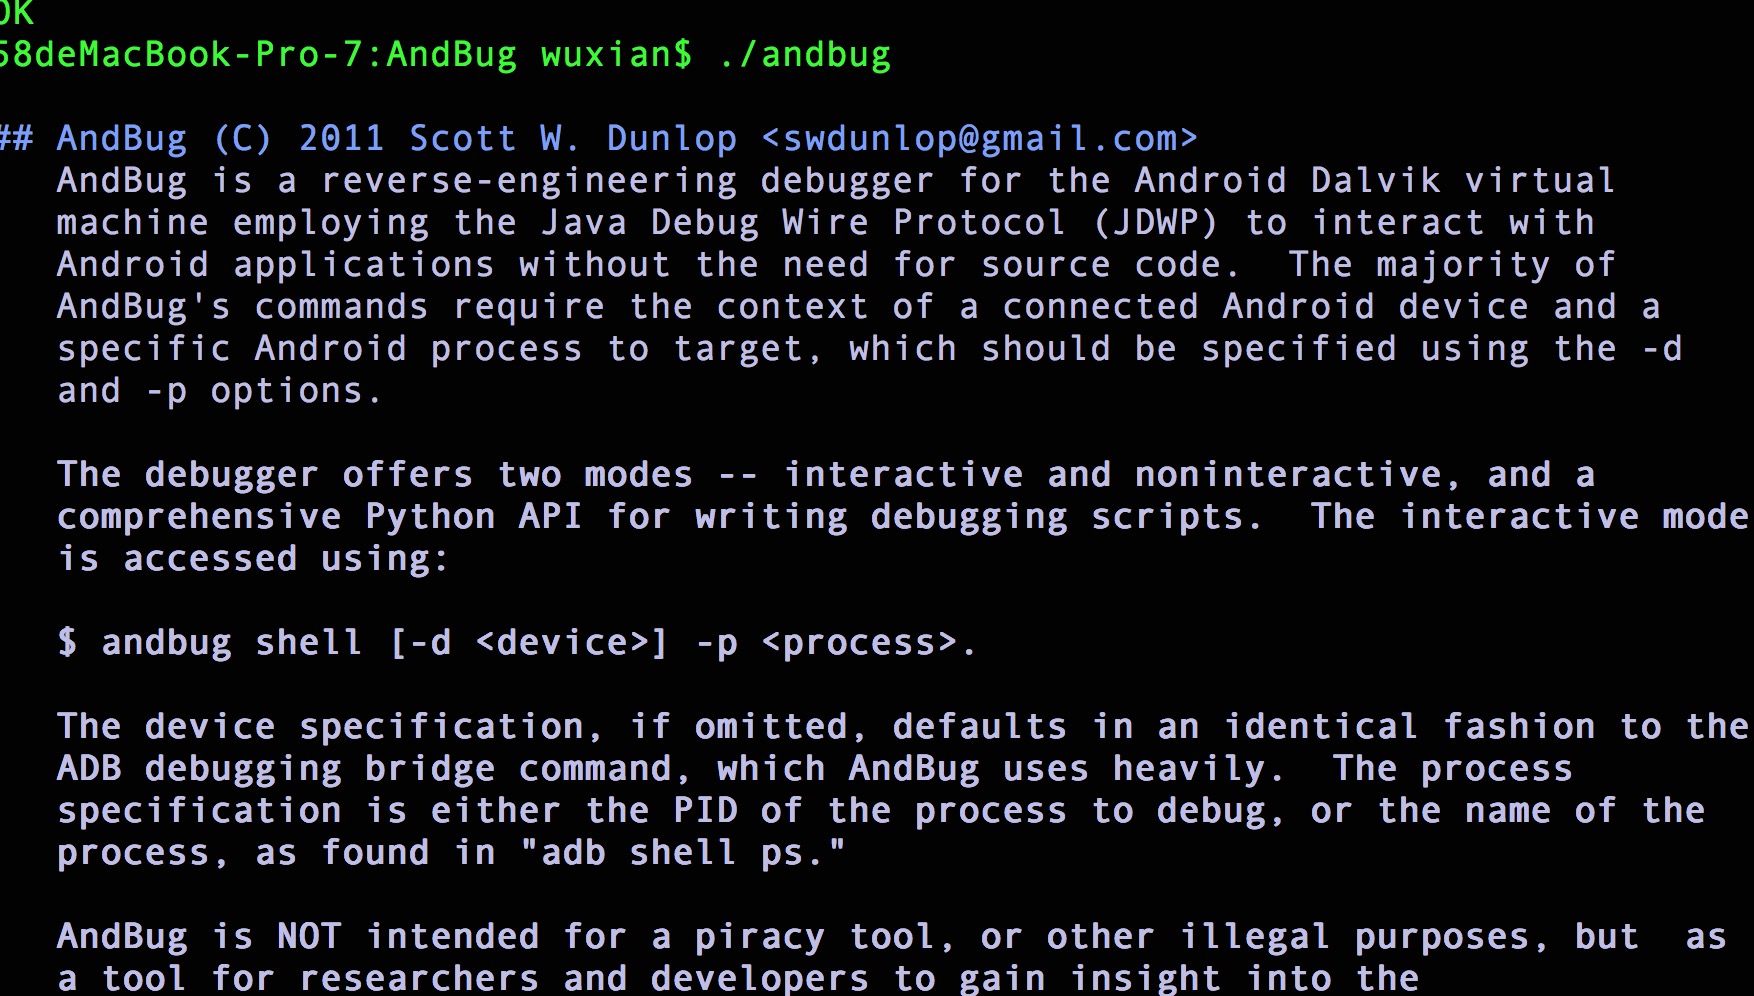
 Android安全專項-AndBug動態調試工具環境搭建
環境搭建git clone cd 到AndBug目錄,執行make58deMacBook-Pro-7:AndBug wuxian$ makePYTHONPATH=lib
 Android倒計時功能的實現
Android中的倒計時的功能(也可以直接使用CountDownTimer這個類直接實現,相關此Demo可查看我的博客),參考了網上寫的很好的一個倒計時Demo: 下
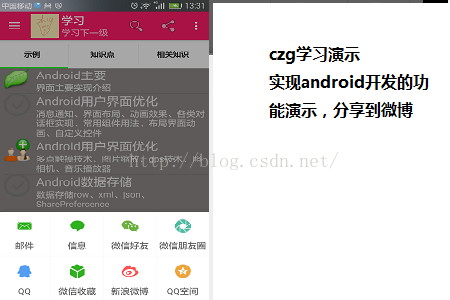
 Android studio下使用ShareSDK實現一鍵分享
首先新建了一個項目用來演示集成ShareSDK 下載好了ShareSDK之後,解壓sharesd