編輯:關於Android編程
studio,中引入沉浸式兼容庫
compile ‘com.readystatesoftware.systembartint:systembartint:1.0.3’
eclipse,可以導入相應的那個類。
第一類,兼容actionbar
第一步:設置activity主題android:theme=”@style/ActionBarTheme”
第二步:設置狀態欄透明,然後設置狀態欄沉浸的顏色
@TargetApi(19)
private void setTranslucentStatus(boolean on) {
Window win = getWindow();
WindowManager.LayoutParams winParams = win.getAttributes();
final int bits = WindowManager.LayoutParams.FLAG_TRANSLUCENT_STATUS;
    if (on) {
            winParams.flags |= bits;
        } else {
            winParams.flags &= ~bits;
        }
        win.setAttributes(winParams);
    }
@Override
protected void onCreate(Bundle savedInstanceState) {
super.onCreate(savedInstanceState);
setContentView(R.layout.activity_main);

if (Build.VERSION.SDK_INT >= Build.VERSION_CODES.KITKAT) {
            setTranslucentStatus(true);
        }

SystemBarTintManager tintManager = new SystemBarTintManager(this);
tintManager.setStatusBarTintEnabled(true);
//設置沉浸的顏色        tintManager.setStatusBarTintResource(R.color.statusbar_bg);}
第三步:設置適應windows,在布局文件設置
android:fitsSystemWindows=”true”
如果不設置,應用的ui會頂上去,頂進system ui
ok
第二類 沒有actionbar的activity
第一步,設置主題,android:theme=”@style/FullBleedTheme”
或者
用toolbar只能設置Theme.AppCompat.NoActionBar主題
第二步:同上一個第二步。
設置狀態欄透明+顏色
mTintManager = new SystemBarTintManager(this);
mTintManager.setStatusBarTintEnabled(true);
mTintManager.setNavigationBarTintEnabled(true);  mTintManager.setStatusBarTintResource(R.color.statusbar_bg);
第三步:
android:fitsSystemWindows=”true”
android:clipToPadding=”false”
 聊聊android界面適配
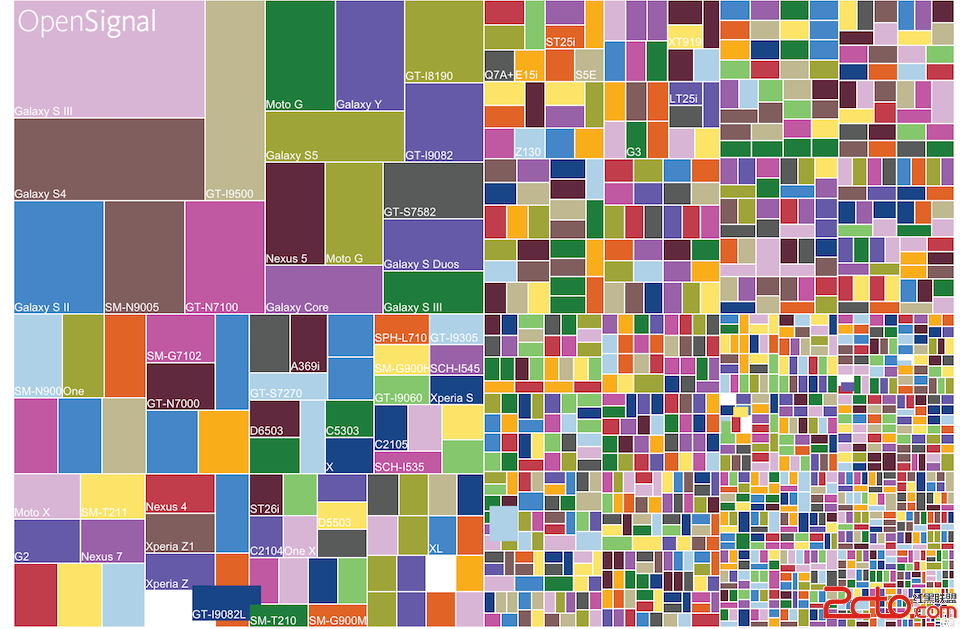
為什麼要適配?我們先來看一組統計數據,這是國外opensignal給出的統計數據,我們來看看去年8月份的統計數據,參考鏈接我們先來看看幾個圖表:2014設備分布圖:201
 Android 使用OpenCV之編譯環境非CygWin方式(Win7+Eclipse+ADT+CDT+NDK)
只有簡單的三步,官網寫的非常簡明全面,非常佩服 【准備】 1. Eclipse(Indigo) 2. ADT: 這個不說了,無非就是eclipse添加個an
 Android webview與js交換JSON對象數據示例
最近幾個項目的測試結果,Android無法主動通過調用 webview.loadUrl(javascript:+callbackFunction+(+data+)); 這
 在Android Studio 配置OpenCV 3.1
進入官網(http://opencv.org/)下載OpenCV for android並解壓,不知道什麼原因,嘗試過幾次下載的很慢,時常斷開,後來有一次突然就很順利的下