編輯:關於Android編程
開源中國社區AFinal項目
對象關系映射(英語:Object Relational Mapping,簡稱ORM,或O/RM,或O/R mapping),是一種程序技術,用於實現面向對象編程語言裡不同類型系統的數據之間的轉換。從效果上說,它其實是創建了一個可在編程語言裡使用的“虛擬對象數據庫”。
詳情見 這裡
控制反轉(Inversion of Control,英文縮寫為IoC)是一個重要的面向對象編程的法則來削減計算機程序的耦合問題,也是輕量級的Spring框架的核心。 控制反轉一般分為兩種類型,依賴注入(Dependency Injection,簡稱DI)和依賴查找(Dependency Lookup)。依賴注入應用比較廣泛。
詳情見 這裡
AJAX即“Asynchronous Javascript And XML”(異步JavaScript和XML),是指一種創建交互式網頁應用的網頁開發技術。通過在後台與服務器進行少量數據交換,AJAX 可以使網頁實現異步更新。這意味著可以在不重新加載整個網頁的情況下,對網頁的某部分進行更新。
詳情見 這裡
LRU是Least Recently Used 近期最少使用算法。內存管理的一種頁面置換算法,對於在內存中但又不用的數據塊(內存塊)叫做LRU,操作系統會根據哪些數據屬於LRU而將其移出內存而騰出空間來加載另外的數據。
詳情見 這裡
關於finalDb的更多介紹,請點擊這裡
    FinalDb db = FinalDb.create(this);
    User user = new User(); //這裡需要注意的是User對象必須有id屬性,或者有通過@ID注解的屬性
    user.setEmail("[email protected]");
    user.setName("michael yang");
    db.save(user);
public class AfinalDemoActivity extends FinalActivity {

    //無需調用findViewById和setOnclickListener等
    @ViewInject(id=R.id.button,click="btnClick") Button button;
    @ViewInject(id=R.id.textView) TextView textView;

    public void onCreate(Bundle savedInstanceState) {
       super.onCreate(savedInstanceState);
       setContentView(R.layout.main);
    }

    public void btnClick(View v){
       textView.setText("text set form button");
    }
}
詳情見 這裡
FinalHttp fh = new FinalHttp();
fh.get("http://www.yangfuhai.com", new AjaxCallBack(){

    @Override
    public void onLoading(long count, long current) { //每1秒鐘自動被回調一次
textView.setText(current+"/"+count);
    }

    @Override
    public void onSuccess(String t) {
textView.setText(t==null?"null":t);
    }

    @Override
    public void onStart() {
//開始http請求的時候回調
    }

    @Override
    public void onFailure(Throwable t, String strMsg) {
//加載失敗的時候回調
    }
});
使用FinalHttp上傳文件 或者 提交數據 到服務器(post方法)
AjaxParams params = new AjaxParams();
  params.put("username", "michael yang");
  params.put("password", "123456");
  params.put("email", "[email protected]");
  params.put("profile_picture", new File("/mnt/sdcard/pic.jpg")); // 上傳文件
  params.put("profile_picture2", inputStream); // 上傳數據流
  params.put("profile_picture3", new ByteArrayInputStream(bytes)); // 提交字節流

  FinalHttp fh = new FinalHttp();
  fh.post("http://www.yangfuhai.com", params, new AjaxCallBack(){
@Override
public void onLoading(long count, long current) {
    textView.setText(current+"/"+count);
}

@Override
public void onSuccess(String t) {
textView.setText(t==null?"null":t);
}
  });
使用FinalHttp下載文件:
FinalHttp fh = new FinalHttp();
    //調用download方法開始下載
    HttpHandler handler = fh.download("http://www.xxx.com/下載路徑/xxx.apk", //這裡是下載的路徑
    true,//true:斷點續傳 false:不斷點續傳(全新下載)
    "/mnt/sdcard/testapk.apk", //這是保存到本地的路徑
    new AjaxCallBack() {
    @Override
    public void onLoading(long count, long current) {
 textView.setText("下載進度:"+current+"/"+count);
    }

    @Override
    public void onSuccess(File t) {
textView.setText(t==null?"null":t.getAbsoluteFile().toString());
    }

});


   //調用stop()方法停止下載
   handler.stop();
private GridView gridView;
    private FinalBitmap fb;
    @Override
    protected void onCreate(Bundle savedInstanceState) {
super.onCreate(savedInstanceState);
setContentView(R.layout.images);

gridView = (GridView) findViewById(R.id.gridView);
gridView.setAdapter(mAdapter);

fb = FinalBitmap.create(this);//初始化FinalBitmap模塊
fb.configLoadingImage(R.drawable.downloading);
//這裡可以進行其他十幾項的配置,也可以不用配置,配置之後必須調用init()函數,才生效
//fb.configBitmapLoadThreadSize(int size)
//fb.configBitmapMaxHeight(bitmapHeight)
    }


///////////////////////////adapter getView////////////////////////////////////////////

public View getView(int position, View convertView, ViewGroup parent) {
    ImageView iv;
    if(convertView == null){
convertView = View.inflate(BitmapCacheActivity.this,R.layout.image_item, null);
iv = (ImageView) convertView.findViewById(R.id.imageView);
iv.setScaleType(ScaleType.CENTER_CROP);
convertView.setTag(iv);
    }else{
iv = (ImageView) convertView.getTag();
    }
    //bitmap加載就這一行代碼,display還有其他重載,詳情查看源碼
    fb.display(iv,Images.imageUrls[position]);
《AFinal-開源android應用框架DB模塊詳解》敬請關注~~~
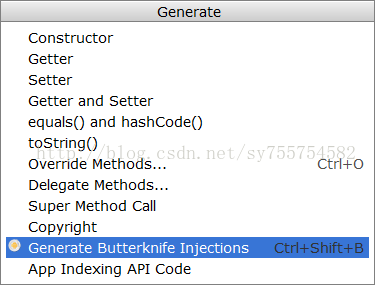
 Android注解ButterKnife的基本使用
ButterKnife的最新版本是8.4.0。首先,需要導入ButterKnife的jar包。在AndroidStudio中,File->Project Struc
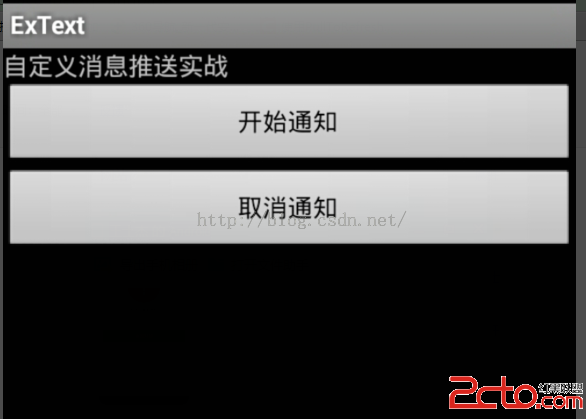
 Android自定義消息推送
啥也不說看圖: 點擊後效果: 代碼:主方法: package com.text.ac; import java.util.Calend
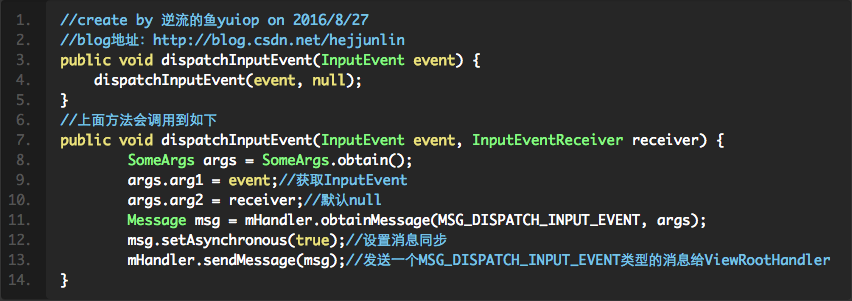
 Android View框架總結(九)KeyEvent事件分發機制
本篇開始分析按鍵消息事件分發(PS:本篇文章中源碼均是android 6.0,請知曉)先看下Agenda:ViewRootImpl中的dispatchInputEvent
 Android時光軸實現淘寶物流信息浏覽效果
本文實例為大家分享了Android時光軸的制作方法,供大家參考,具體內容如下1. 效果2.分析和實現2.1效果實現: 之前想了一下這種效果,因為只需要用到自己的項目中所