編輯:關於Android編程
二維碼發展到現在幾乎是每一個App都有的功能,之前項目裡用到了二維碼功能就研究了下如何嵌入zxing二維碼工程,之前的用法制包含了最基本的二維碼掃碼工能,用QQ時看到QQd的掃一掃,功能相對較全,可以掃圖片,可以開閃光燈,還可以生成二維碼,都是比較常用的功能,於是就仿照QQ的二維碼樣式和功能,自己也做了一個common工程,這樣,以後要用二維碼是就不必再做配置等工作了,直接關聯到這個二維碼工程即可.文章最後我會將整個工程上傳到我的資源中,有需要的可以下載。
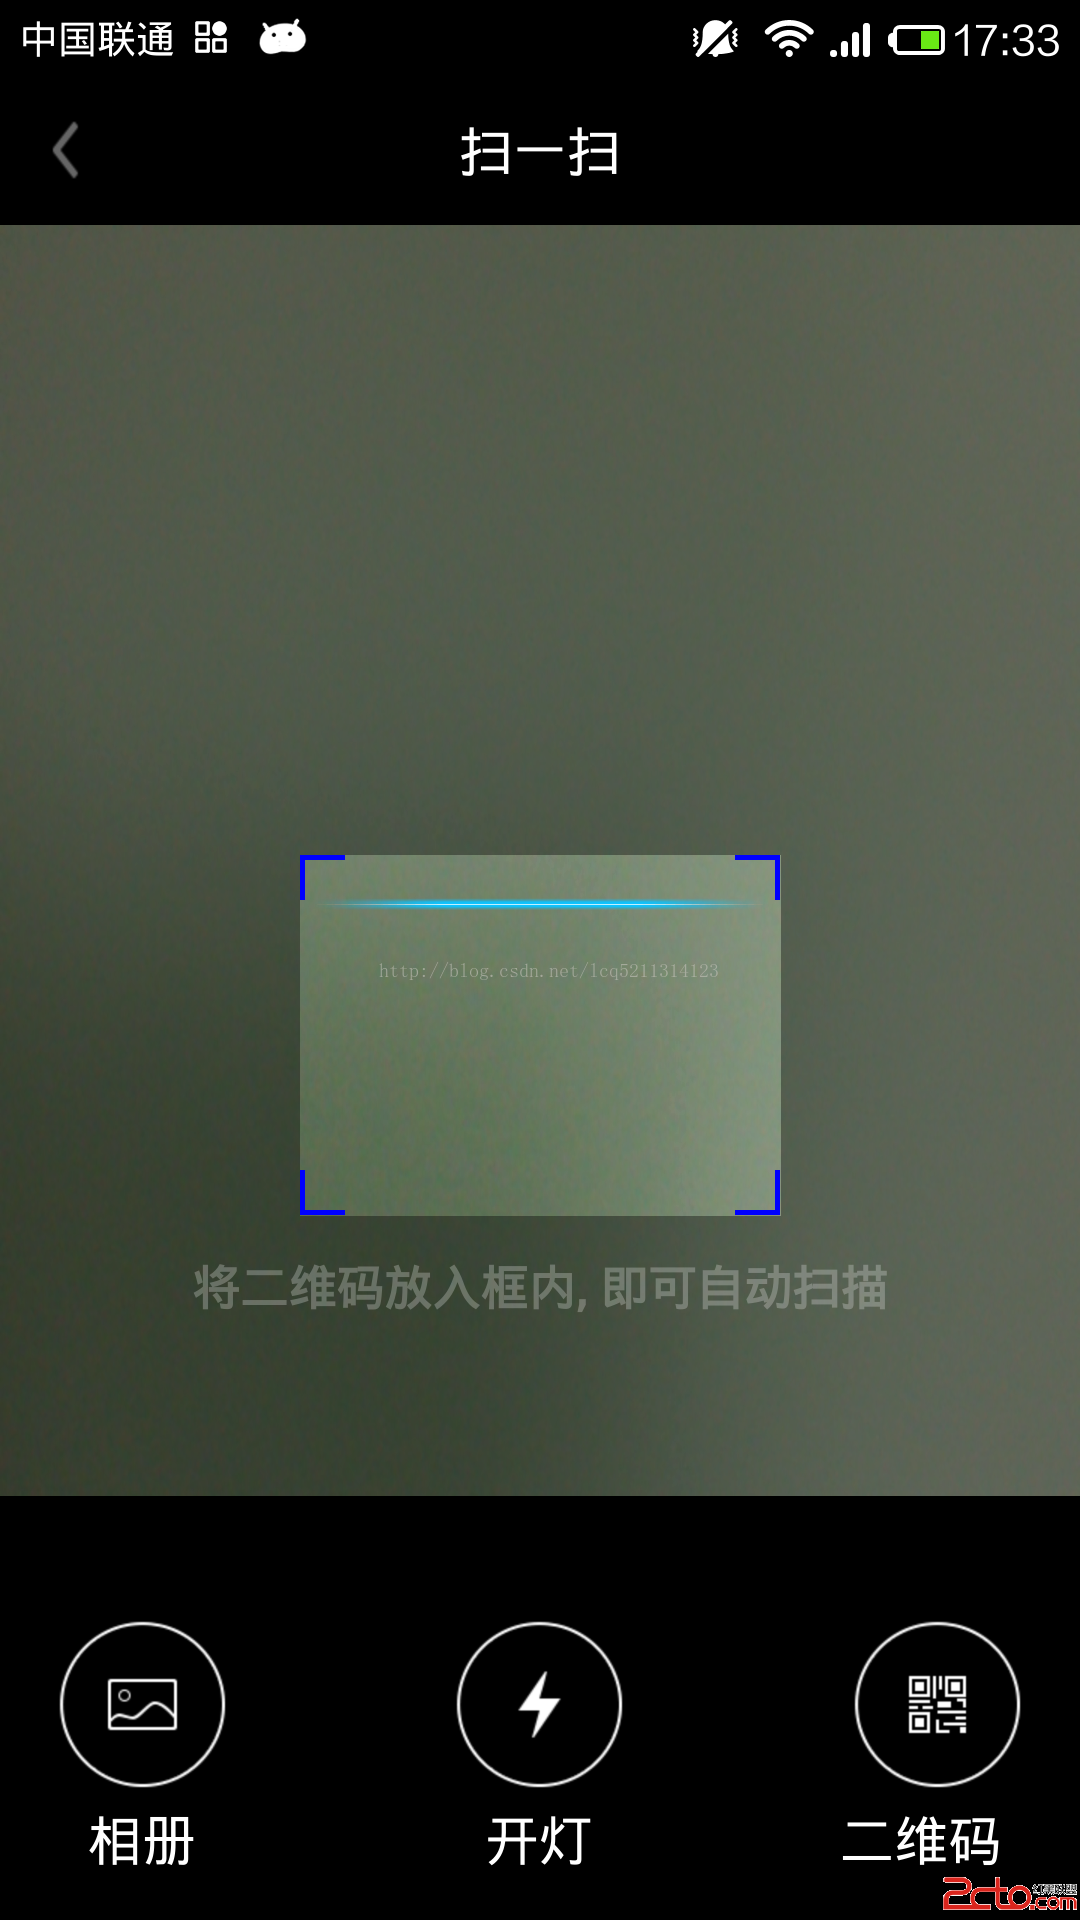
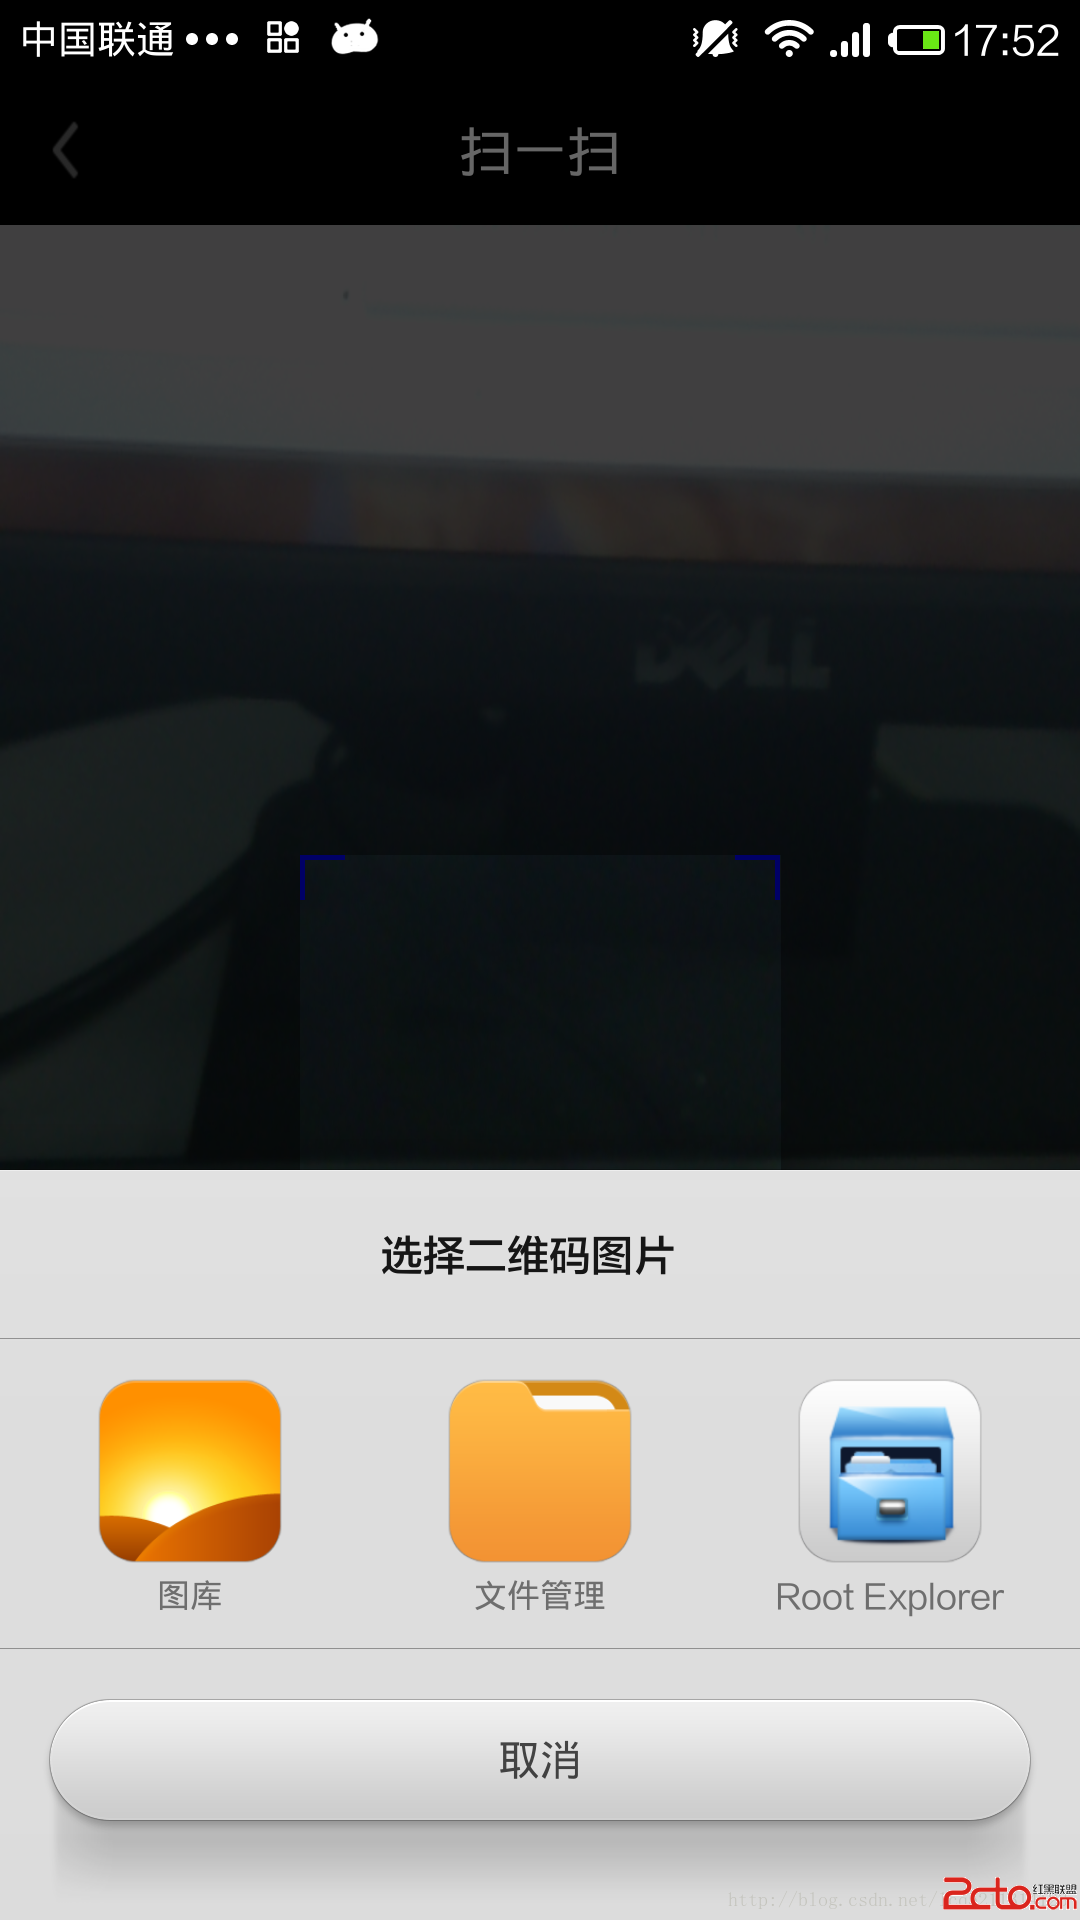
下面先看一下整體效果圖: 點擊相冊後的效果圖:


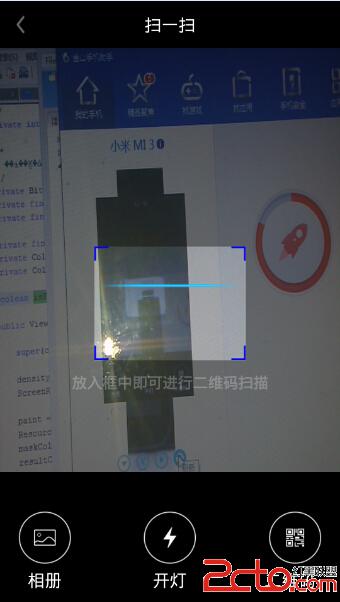
開燈後的效果圖和設備串號生成的二維碼:


由於沒有美工配合,樣子真心是不如QQ好看,好在功能基本都實現了,相冊就是從本地圖庫中選去二維碼掃描,開燈就是打開手機閃光燈,二維碼是將手機序列號生成一個二維碼。下面是代碼部分,改動的地方和添加的地方都做了注釋,相信大家能看懂。‘
1.相冊功能添加代碼,代碼添加在zxing工程已有的CaptureActivity.java類中。
相冊點擊事件處理:
	public void onClick(View v)
	{
		switch (v.getId())
		{
		case R.id.photo_btn:
			// 打開手機中的相冊
			Intent innerIntent = new Intent(Intent.ACTION_GET_CONTENT); // android.intent.action.GET_CONTENT
			innerIntent.setType(image/*);
			Intent wrapperIntent = Intent.createChooser(innerIntent, 選擇二維碼圖片);
			this.startActivityForResult(wrapperIntent, REQUEST_CODE);
			break;
               }
     }
利用zxing執行圖片掃碼:
protected void onActivityResult(int requestCode, int resultCode, Intent data)
	{
		super.onActivityResult(requestCode, resultCode, data);
		if (resultCode == RESULT_OK)
		{
			switch (requestCode)
			{
			case REQUEST_CODE:
				// 獲取選中圖片的路徑
				Cursor cursor = getContentResolver().query(data.getData(), null, null, null, null);
				if (cursor.moveToFirst())
				{
					photo_path = cursor.getString(cursor.getColumnIndex(MediaStore.Images.Media.DATA));
				}
				cursor.close();
				new Thread(new Runnable()
				{
					@Override
					public void run()
					{
						Result result = scanningImage(photo_path);
						if (result != null)
						{
							Message m = mHandler.obtainMessage();
							m.what = PARSE_BARCODE_SUC;
							m.obj = result.getText();
							mHandler.sendMessage(m);
						}
						else
						{
							Message m = mHandler.obtainMessage();
							m.what = PARSE_BARCODE_FAIL;
							m.obj = Scan failed!;
							mHandler.sendMessage(m);
						}
					}
				}).start();

				break;

			}
		}
	}
scanneringImage()方法代碼:
/**
	 * 掃描二維碼圖片的方法
	 *
	 * @param path
	 * @return
	 */
	public Result scanningImage(String path)
	{
		if (TextUtils.isEmpty(path))
		{
			return null;
		}
		Hashtable hints = new Hashtable();
		hints.put(DecodeHintType.CHARACTER_SET, UTF8); // 設置二維碼內容的編碼

		BitmapFactory.Options options = new BitmapFactory.Options();
		options.inJustDecodeBounds = true; // 先獲取原大小
		scanBitmap = BitmapFactory.decodeFile(path, options);
		options.inJustDecodeBounds = false; // 獲取新的大小
		int sampleSize = (int) (options.outHeight / (float) 200);
		if (sampleSize <= 0)
			sampleSize = 1;
		options.inSampleSize = sampleSize;
		scanBitmap = BitmapFactory.decodeFile(path, options);
		RGBLuminanceSource source = new RGBLuminanceSource(scanBitmap);
		BinaryBitmap bitmap1 = new BinaryBitmap(new HybridBinarizer(source));
		QRCodeReader reader = new QRCodeReader();
		try
		{
			return reader.decode(bitmap1, hints);

		}
		catch (NotFoundException e)
		{
			e.printStackTrace();
		}
		catch (ChecksumException e)
		{
			e.printStackTrace();
		}
		catch (FormatException e)
		{
			e.printStackTrace();
		}
		return null;
	}
2.開閃光燈,下面是開閃光燈要添加的代碼,代碼添加在CameraManager.java中。
	/**
	 * 通過設置Camera打開閃光燈
	 */
	public void turnLightOn()
	{
		if (camera == null)
		{
			return;
		}
		Parameters parameters = camera.getParameters();
		if (parameters == null)
		{
			return;
		}

		List flashModes = parameters.getSupportedFlashModes();
		if (flashModes == null)
		{
			return;
		}
		String flashMode = parameters.getFlashMode();
		Log.i(TAG, Flash mode:  + flashMode);
		Log.i(TAG, Flash modes:  + flashModes);
		// 閃光燈關閉狀態
		if (!Parameters.FLASH_MODE_TORCH.equals(flashMode))
		{
			// Turn on the flash
			if (flashModes.contains(Parameters.FLASH_MODE_TORCH))
			{
				parameters.setFlashMode(Parameters.FLASH_MODE_TORCH);
				camera.setParameters(parameters);
				camera.startPreview();
			}
			else
			{
			}
		}
	}

	/**
	 * 通過設置Camera關閉閃光燈
	 * @param mCamera
	 */
	public void turnLightOff()
	{
		if (camera == null)
		{
			return;
		}
		Parameters parameters = camera.getParameters();
		if (parameters == null)
		{
			return;
		}
		List flashModes = parameters.getSupportedFlashModes();
		String flashMode = parameters.getFlashMode();
		// Check if camera flash exists
		if (flashModes == null)
		{
			return;
		}
		// 閃光燈打開狀態
		if (!Parameters.FLASH_MODE_OFF.equals(flashMode))
		{
			// Turn off the flash
			if (flashModes.contains(Parameters.FLASH_MODE_OFF))
			{
				parameters.setFlashMode(Parameters.FLASH_MODE_OFF);
				camera.setParameters(parameters);
			}
			else
			{
				Log.e(TAG, FLASH_MODE_OFF not supported);
			}
		}
	}
3.生成二維碼,代碼添加在CaptureActivity.java類中。
/***
	 * 獲得手機設備的串號
	 * @param context
	 * @return
	 */
	public static String getIMEI(Context context)
	{
		TelephonyManager tm = (TelephonyManager) context.getSystemService(Context.TELEPHONY_SERVICE);
		// Get deviceId
		String deviceId = tm.getDeviceId();
		// If running on an emulator
		if (deviceId == null || deviceId.trim().length() == 0 || deviceId.matches(0+))
		{
			deviceId = (new StringBuilder(EMU)).append((new Random(System.currentTimeMillis())).nextLong())
					.toString();
		}
		return deviceId;
	}

     /**
      * 生成二維碼方法
      */
     private Bitmap createQRCode()
    {
        int QR_WIDTH = 100;
        int QR_HEIGHT = 100;

        try
        {
            // 需要引入core包
            QRCodeWriter writer = new QRCodeWriter();

            String mime= getIMEI(this);
            if (text == null || .equals(text) || text.length() < 1)
            {
                return null;
            }

            // 把輸入的文本轉為二維碼
            BitMatrix martix = writer.encode(text, BarcodeFormat.QR_CODE, QR_WIDTH, QR_HEIGHT);

            System.out.println(w: + martix.getWidth() + h: + martix.getHeight());

            Hashtable hints = new Hashtable();
            hints.put(EncodeHintType.CHARACTER_SET, utf-8);
            BitMatrix bitMatrix = new QRCodeWriter().encode(text, BarcodeFormat.QR_CODE, QR_WIDTH, QR_HEIGHT, hints);
            int[] pixels = new int[QR_WIDTH * QR_HEIGHT];
            for (int y = 0; y < QR_HEIGHT; y++)
            {
                for (int x = 0; x < QR_WIDTH; x++)
                {
                    if (bitMatrix.get(x, y))
                    {
                        pixels[y * QR_WIDTH + x] = 0xff000000;
                    }
                    else
                    {
                        pixels[y * QR_WIDTH + x] = 0xffffffff;
                    }

                }
            }

            // cheng chen de er wei ma
            Bitmap bitmap = Bitmap.createBitmap(QR_WIDTH, QR_HEIGHT, Bitmap.Config.ARGB_8888);
            bitmap.setPixels(pixels, 0, QR_WIDTH, 0, 0, QR_WIDTH, QR_HEIGHT);

            return bitmap;
        }
        catch (WriterException e)
        {
            e.printStackTrace();
        }
        return null;
    }
初始工程的配置和對掃描框的修改都參考了這篇博客,大家可以看下。www.2cto.com
 Android 繪圖(一) Paint
了解Android繪圖或者自定義View的同學,都知道Canvas類、Paint類等。今天就來看看Paint的有關描述。首先看看官網的定義:The Paint class
 ShareSDK集成
第一步:下載SDK:1下載地址:http://www.mob.com/ 根據需求選擇需要的平台:第二步:申請ShareSDK的AppKey把鼠標移到頭像上,點擊進入後台:
 Java4Android開發教程(二)hello world!
安裝完jdk環境後,編寫第一個java程序hello.java:復制代碼 代碼如下:public class hello{ publi
 windows下eclipse搭建android_ndk開發環境
安裝cygwin:由於NDK編譯代碼時必須要用到make和gcc,所以你必須先搭建一個linux環境, cygwin是一個在windows平台上運行的unix模擬環境,它