編輯:關於Android編程
public class FirstActivity extends FragmentActivity
package com.example.fragmentcommuciation;

import android.os.Bundle;
import android.support.v4.app.Fragment;
import android.view.LayoutInflater;
import android.view.View;
import android.view.ViewGroup;

public class RightFragment extends Fragment {

	@Override
	public View onCreateView(LayoutInflater inflater, ViewGroup container,
			Bundle savedInstanceState) {
		return inflater.inflate(R.layout.rightfragment, container, false);
	}
}
 vc+88rWloaPU2tK7uPZBY3Rpdml0ebXEsry+1s7EvP7W0Mq508NmcmFnbWVudLHqx6m2qNLlvLS/yaOsyOfPwqO6CjxwcmUgY2xhc3M9"brush:java;">
 <frameLayout
android:id="@+id/content"
android:layout_width="match_parent"
android:layout_height="0dp"
android:layout_weight="1" >
</frameLayout>FragmentManager fragmentManager; fragmentManager = getFragmentManager(); messageFragment = new MessageFragment(); fragmentManager.beginTransaction().add(R.id.content, messageFragment).commit();
fragmentManager = getFragmentManager();
messageFragment = new MessageFragment();
FragmentTransaction fragmentTransaction = fragmentManager.beginTransaction();;
fragmentTransaction.add(R.id.content, messageFragment);
fragmentTransaction.add(R.id.content, settingFragment);
fragmentTransaction.commit();
transaction.hide(messageFragment);
transaction.show(contactsFragment);
transaction.commit();
transaction.replace(R.id.content, settingFragment);
transaction.commit();
MessageFragment fragment = (MessageFragment)fragmentManager.findFragmentById(R.id.fragment1);
MessageFragment fragment = (MessageFragment)fragmentManager.findFragmentByTag("tagfragment");transaction.replace(R.id.content, settingFragment); transaction.addToBackStack(null); transaction.commit();
此時按下 Back 按鍵就可以退回到relpace 之前的那個Fragment界面,如果沒有調用addToBackStack方法,替換之後之前那個被替換的fragment就被銷毀了,調用addToBackStack則是將要被替換的fragment stop,在需要的時候在重新resume。
如果你在調用 commit 方法之前執行了多次transaction 的add 或remove 操作,在調用addToBackStack方法時,這些操作都會被當做一次 transaction 添加到Back 棧中,在需要的時候一次性彈出來。如果你在同一個容器中多次添加fragment,那麼你添加他們的前後順序將會決定他們在View層次中出現的順序。
Fragment 切換中加入動畫:
上述講了兩種Fragment的切換方法,一種是先hide然後show,另一種是直接replace。在fragment的切換過程中可能會顯得比較突兀,這是後如果加上動畫來進行過度的話就會顯得界面切換比較流暢。加入動畫的使用方法如下:
FragmentTransaction transaction = fragmentManager.beginTransaction(); transaction.setTransition(android.support.v4.app.FragmentTransaction.TRANSIT_FRAGMENT_OPEN); transaction.replace(R.id.content, messageFragment); transaction.commit();
除了上述這種直接調用系統動畫的方法,我們還可以通過setCustomAnimations方法自定義切換動畫,這裡還沒實現,就不貼出來了。
Fragment 與 Activity 之間的通信:
任何Fragment都可以通過getActivity()方法來訪問它所嵌入的Activity中的引用,比如某一個View,使用方法如下:
TextView textView = (TextView)getActivity().findViewById(R.id.contacts_text);
而當Fragment 要與 Activity 之間共享事件,比如某些按鈕按下等OnClick事件的時候,就需要在Fragment中定義一個回調接口,並在Activity中實現這個接口。
比如我們在一個 Fragment 中定義了幾個按鈕,然後再定義接口如下:
/** Activity要實現這個接口,這樣Fragment和Activity就可以共享事件觸發的資源了 */ public interface MyListener { public void showMessage(int index);
然後我們可以直接在這個Fragment 中使用這個接口,如下:
/** 按鈕的監聽器 */ class MyButtonClickListener implements OnClickListener { public void onClick(View v) { Button button = (Button) v; if (button == firstButton) myListener.showMessage(1); if (button == secondButton) myListener.showMessage(2); if (button == thirdButton) myListener.showMessage(3); } }
而這個接口的實現就寫在Activity中就可以了,代碼如下:
public void showMessage(int index) { if (1 == index) showMessageView.setText("firstButton onClick"); if (2 == index) showMessageView.setText("secondButton onClick"); if (3 == index) showMessageView.setText("thirdButton onClick"); }
這樣之後,我們再Fragment中按下它所定義的按鈕的時候,就會通過這個回調接口傳送到Activity中處理,實現了Fragment與Activity之間的通信。
通信效果如下圖:
Fragment之間的切換效果如下圖,在郭神的代碼框架上修改,並加上了切換動畫和Back棧
 Android GPS定位測試(附效果圖和示例)
今天因為工作需要,把以前編寫的一個GPS測試程序拿出來重新修改了一下。這個程序說起來有些歷史了,是我11年編寫的,那時候學了Android開發沒多久,算是一個實驗性的作品
 Android入門之ActivityGroup+GridView實現Tab分頁標簽的方法
在Android程序中很多客戶端軟件和浏覽器軟件都喜歡用Tab分頁標簽來搭建界面框架。讀者也許會馬上想到使用TabHost 與 TabActivity的組合,其實最常用的
 Android二維碼掃描登陸網頁
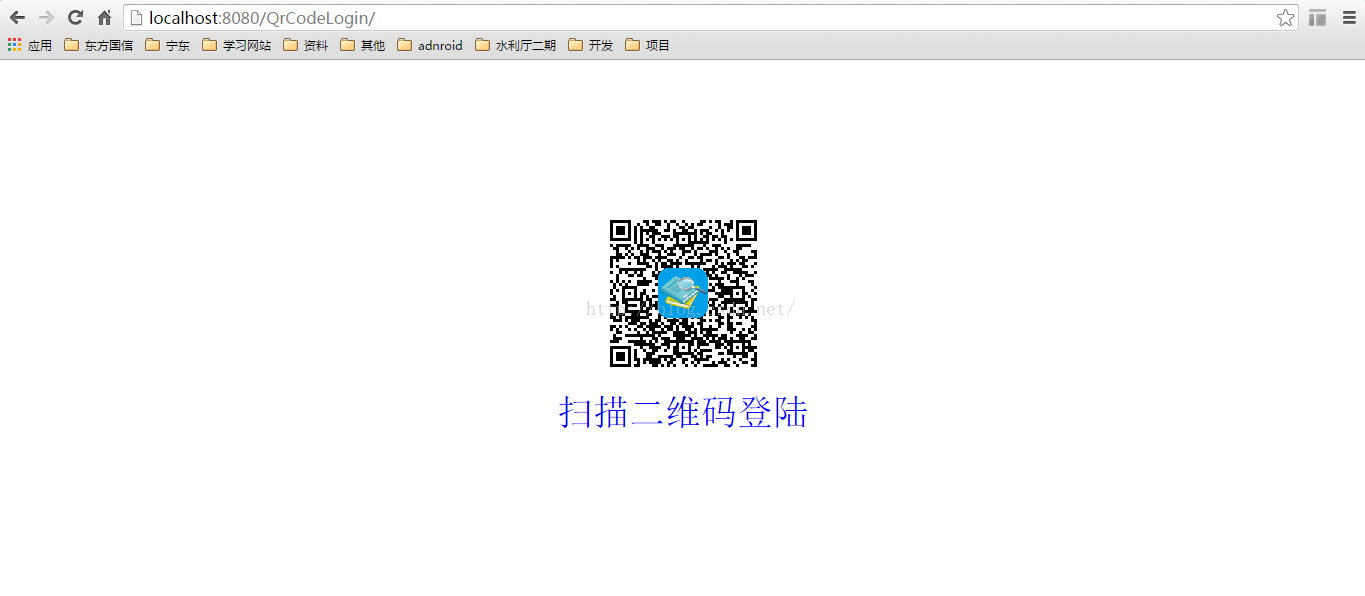
1二維碼掃描登陸1,web端生成二維碼,傳遞uuid,並存入數據庫2,web端輪訓查詢信息,是否有數據庫掃描二維碼信息3,手機端掃描二維碼,獲取UUID,傳遞用戶名、密碼
 Android TextView顯示文字對齊
有時候利用android的TextView顯示中文跟數字的組合會對不齊,如下面截圖,文字還沒有到達屏幕右邊就開始換行了為了解決這個文字,自己子定義了一個TextView的