編輯:關於Android編程
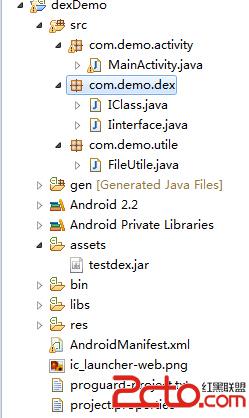
 我們敲入裡面的代碼:先是Iinterface.java
package com.demo.dex;

/**
 * 對外接口
 *
 * @author edsheng
 *
 */
public interface Iinterface {
	public void call();

	public String getData();
}
package com.demo.dex;

import android.content.Context;
import android.widget.Toast;

public class IClass implements Iinterface {

	private Context context;

	public IClass(Context context) {
		super();
		this.context = context;
	}

	@Override
	public void call() {
		Toast.makeText(context, "call method", 0).show();
	}

	@Override
	public String getData() {
		return "hello,i am from IClass";
	}

}
注意上面的實現類,在構造的時候我給它傳遞了以Context對象,為什麼要這樣呢?因為在android裡面什麼東西不都是通過context來獲取的嗎?我這裡為了實驗就只調用了一下toast。
既然准備工作都准備好了,那就開始下一步吧。導出為jar。工程上面右鍵,export->java->jar file選中src下面的這兩個類就行了。

 然後准備工作就完成了,這樣一個優化的jar或者說是dex就准備好了。

package com.demo.utile;

import java.io.File;
import java.io.FileOutputStream;
import java.io.InputStream;

import android.content.Context;
import android.os.Environment;

public class FileUtile {
	public static void CopyAssertJarToFile(Context context, String filename,
			String des) {
		try {

			File file = new File(Environment.getExternalStorageDirectory()
					.toString() + File.separator + des);
			if (file.exists()) {
				return;
			}

			InputStream inputStream = context.getAssets().open(filename);
			file.createNewFile();
			FileOutputStream fileOutputStream = new FileOutputStream(file);
			byte buffer[] = new byte[1024];
			int len = 0;
			while ((len = inputStream.read(buffer)) != 0) {
				fileOutputStream.write(buffer, 0, len);
			}
			fileOutputStream.close();
			fileOutputStream.close();
		} catch (Exception e) {
			// TODO Auto-generated catch block
			e.printStackTrace();
		}
	}
}
這個類主要的作用就是把我們的jar相當於解壓到一個目錄下面。我這裡是解壓到外置設備上的其實這樣做的安全性並不高,但是為了方便我就這樣做了,建議是解壓到包目錄下面。記住別忘了給應用加權限!!!!!文件讀寫權限!!!!
最後我們來看看Activity裡面的代碼package com.demo.activity;
import java.io.File;
import java.lang.reflect.Constructor;
import java.lang.reflect.Method;
import android.app.Activity;
import android.content.Context;
import android.os.Bundle;
import android.os.Environment;
import com.demo.utile.FileUtile;
import dalvik.system.DexClassLoader;
public class MainActivity extends Activity {
@Override
protected void onCreate(Bundle savedInstanceState) {
// TODO Auto-generated method stub
super.onCreate(savedInstanceState);
FileUtile.CopyAssertJarToFile(this, "testdex.jar", "testdex.jar");
File file = new File(Environment.getExternalStorageDirectory()
.toString() + File.separator + "testdex.jar");
final File optimizedDexOutputPath = getDir("temp", Context.MODE_PRIVATE);
DexClassLoader classLoader = new DexClassLoader(file.getAbsolutePath(),
optimizedDexOutputPath.getAbsolutePath(), null,
getClassLoader());
try {
Class iclass = classLoader.loadClass("com.demo.dex.IClass");
Constructor istructor = iclass.getConstructor(Context.class);
//利用反射原理去調用
Method method = iclass.getMethod("call", null);
String data = (String) method.invoke(istructor.newInstance(this), null);
System.out.println(data);
} catch (Exception e) {
// TODO Auto-generated catch block
e.printStackTrace();
}
}
}其實這樣調用還有一點要注意的是我感覺這樣做每次都要去調用反射,總給我感覺來說不太友好,那麼這裡我有給出了下面一種寫法,這種寫法最主要的地方是,要獲得Iinterface這個接口,把Iinterface.java這個文件復制到你的工程裡面,記得包名相同,調用的時候我們可以這樣來調用它。
Class iclass = classLoader.loadClass("com.demo.dex.IClass");
			Constructor istructor = iclass.getConstructor(Context.class);
			Iinterface iinterface = (Iinterface) istructor.newInstance(this);
			 String data = iinterface.getData();
			 iinterface.call();
			 Toast.makeText(this, data, 0).show();
這樣是不是看起來更舒服呢?
好了今天就分享到這裡。Demo下載地址:CSDN上傳抽風了,這裡先上到百度網盤點擊這裡 深入淺出再談Unity內存洩漏
WeTest導讀本文通過對內存洩漏(what)及其危害性(why)的介紹,引出在Unity環境下定位和修復內存洩漏的方法和工具(how)。最後提出了一些避免洩漏的方法與建
 Instruments使用技巧
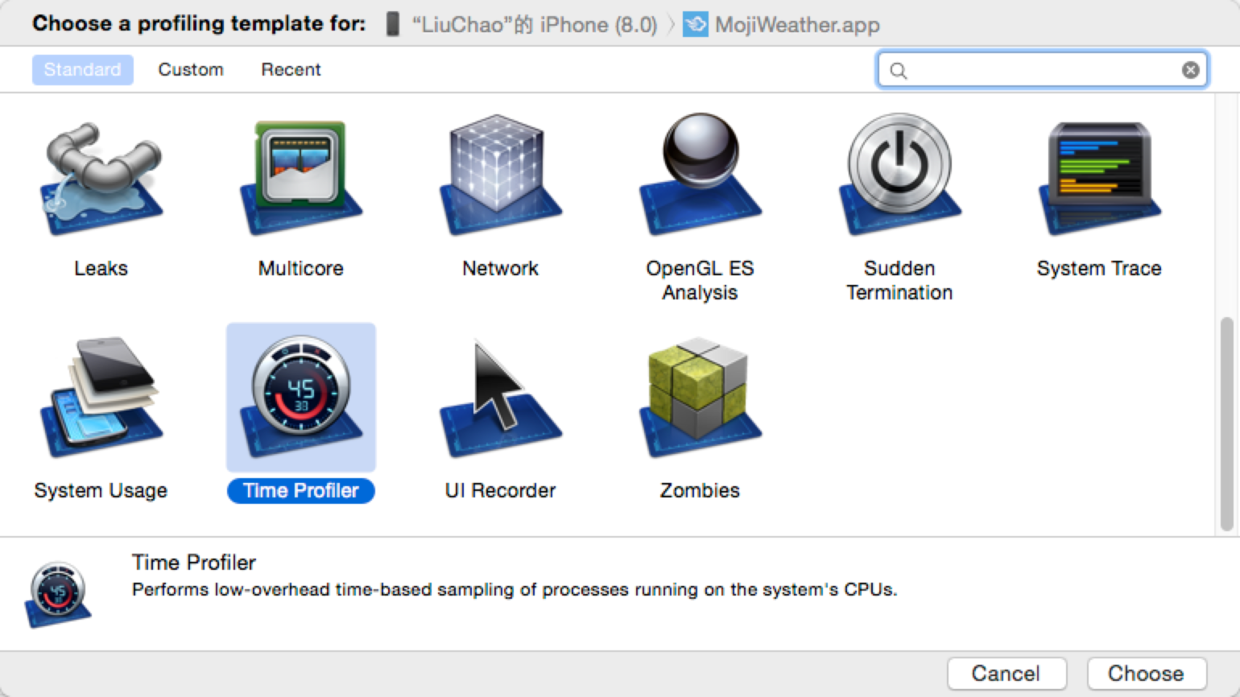
最近采用Instruments 來分析整個應用程序的性能.發現很多有意思的點,以及性能優化和一些分析性能消耗的技巧,小結如下。Instruments使用技巧關於Instr
 Android應用開發之PNG、IconFont、SVG圖標資源優化詳解
1 背景最近因為一些個人私事導致好久沒寫博客了,多事之年總算要過去了,突然沒了動力,所以趕緊先拿個最近項目中重構的一個小知識點充下數,老題重談。在我們App開發中大家可能
 Android基礎終極篇--Service
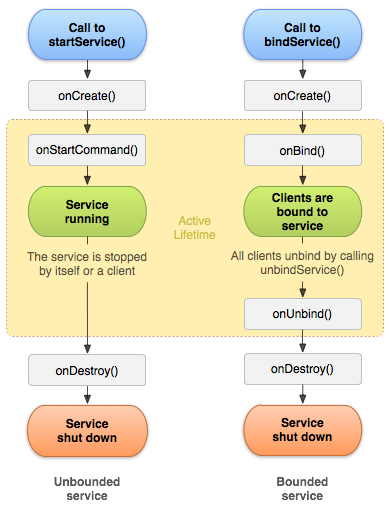
Service 是一個可以在後台執行長時間運行操作而不使用用戶界面的應用組件。 例如,服務可以處理網絡事務、播放音樂,執行文件 I/O 或與內容提供程序交互,而所有這一切