編輯:關於Android編程
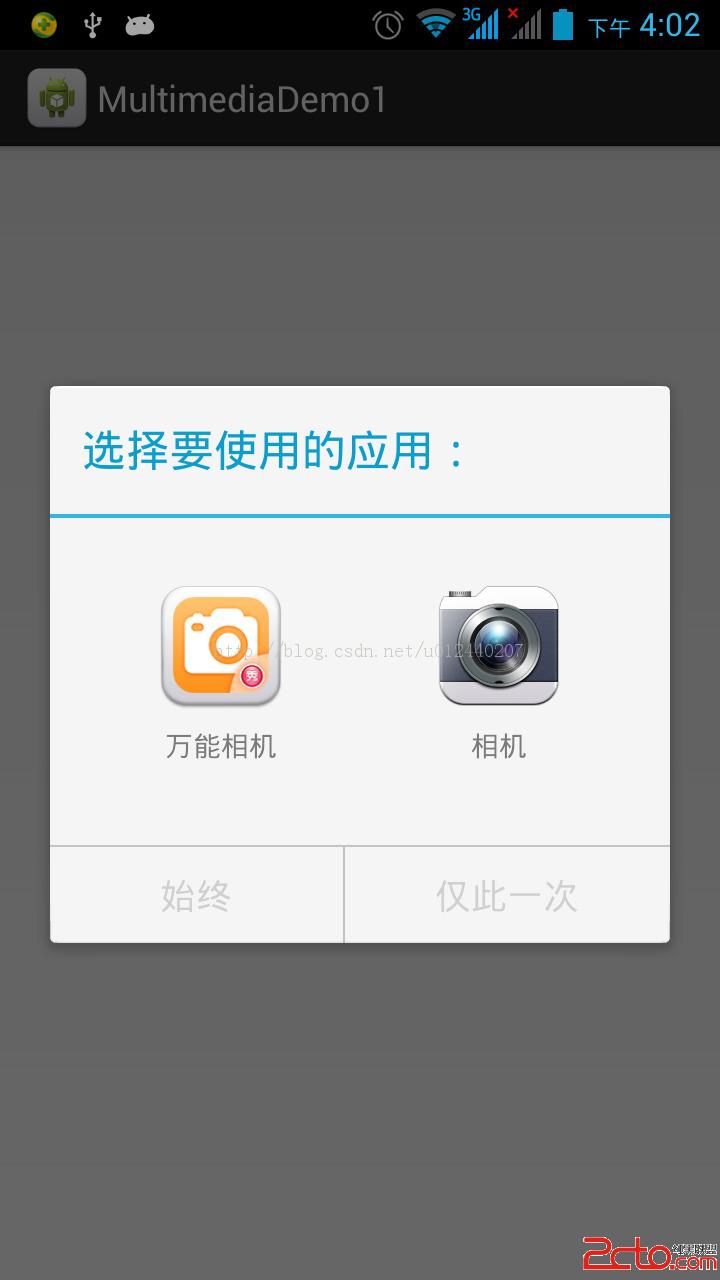
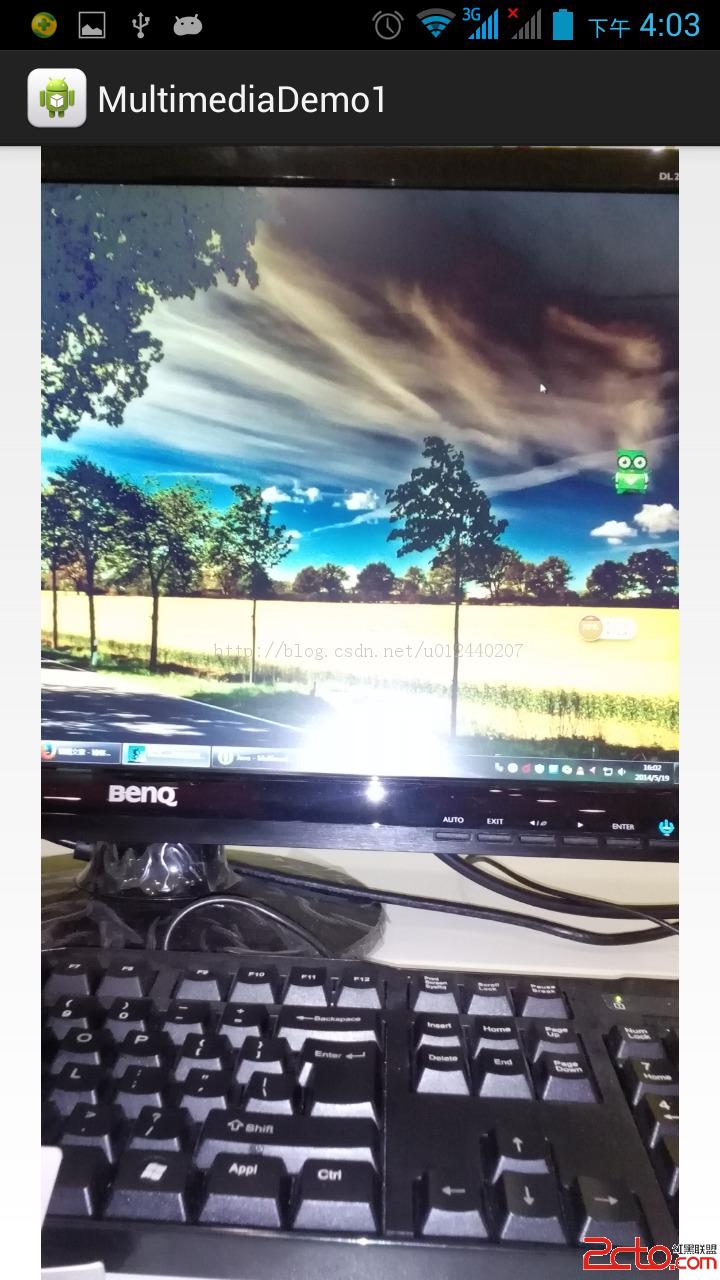
本Demo的實現效果是調用手機上已安裝的照相機來實現拍照的功能,拍好的照片以ImageView形式展示。
目的:學習手機調用安裝的相機照相,對大的圖片處理有所認識,這裡主要用到BitmapFactory和BitmapFactory.Options兩個類。
加載並顯示一副圖像對內存使用情況有顯著的影響,Android提供了一個名為BitmapFactory 的實用程序類,該程序提供了一系列的靜態方法,允許通過各種來源加載Bitmap圖像。針對我們的需求,將從文件加載圖像,並在最初的活動中顯示它。幸運的是,BitmapFactory中的可用方法將會調用BitmapFactory.Options類,這使得我們能夠定義如何將Bitmap讀入內存。具體而言,當加載圖像時,可以設置BitmapFactory應該使用的采樣大小。在BitmapFactory.Options中指定inSampleSize參數。例如,將inSampleSize
= 8時,產生一幅圖的大小是原始大小的1/8。要注意的是首先應將BitmapFactoryOptions.inJustDecodeBounds變量設置為true,這將通知BitmapFactory類只需返回該圖像的范圍,而無需嘗試解碼圖像本身。最後將BitmapFactory.Options.inJustDecodeBounds設置為false,最後對其進行真正的解碼。
實現效果圖:


源代碼:
activity_main布局文件:
package com.multimediademo1;

import java.io.File;
import android.app.Activity;
import android.content.Intent;
import android.graphics.Bitmap;
import android.graphics.BitmapFactory;
import android.net.Uri;
import android.os.Bundle;
import android.os.Environment;
import android.view.Display;
import android.widget.ImageView;

public class MainActivity extends Activity {
	private final static int CAMERA_RESULT = 0;
	private ImageView imageView;
	private String imageFilePath;

	@Override
	protected void onCreate(Bundle savedInstanceState) {
		super.onCreate(savedInstanceState);
		setContentView(R.layout.activity_main);

		imageFilePath = Environment.getExternalStorageDirectory()
				.getAbsolutePath() + "/myfavoritepicture.jpg";
		File imageFile = new File(imageFilePath);
		Uri imageFileUri = Uri.fromFile(imageFile);

		Intent intent = new Intent(
				android.provider.MediaStore.ACTION_IMAGE_CAPTURE);
		intent.putExtra(android.provider.MediaStore.EXTRA_OUTPUT, imageFileUri);

		startActivityForResult(intent, CAMERA_RESULT);
	}

	@Override
	protected void onActivityResult(int requestCode, int resultCode,
			Intent intent) {
		super.onActivityResult(requestCode, resultCode, intent);

		if (resultCode == RESULT_OK) {

			imageView = (ImageView) findViewById(R.id.imageView);

			Display currentDisplay = getWindowManager().getDefaultDisplay();
			int dw = currentDisplay.getWidth();
			int dh = currentDisplay.getHeight();
			// 加載圖像的尺寸,而不是圖像本身
			BitmapFactory.Options options = new BitmapFactory.Options();
			options.inJustDecodeBounds = true;
			Bitmap bitmap = BitmapFactory.decodeFile(imageFilePath, options);
			int heightRatio = (int) Math.ceil(options.outHeight / (float) dh);
			int widthRatio = (int) Math.ceil(options.outWidth / (float) dw);
			// 如果兩個比率都大於1,那麼圖像的一條邊將大於屏幕
			if (heightRatio > 1 && widthRatio > 1) {
				if (heightRatio > widthRatio) {
					// 若高度比率更大,則根據它縮放
					options.inSampleSize = heightRatio;
				} else {
					options.inSampleSize = widthRatio;
				}
			}
			options.inJustDecodeBounds = false;
			bitmap = BitmapFactory.decodeFile(imageFilePath, options);

			imageView.setImageBitmap(bitmap);
		}

	}

}
源代碼下載:
點擊下載源碼
 Android基礎篇之Android快速入門--你必須要知道的基礎
Android快速入門 1. 搭建開發環境>解壓壓縮文件,得到:①Android SDK (類似於JDK)② Eclipse ③ADT>配置兩個pat
 利用adt-bundle輕松搭建Android開發環境與Hello world(Linux)
本文與《利用adt-bundle輕松搭建Android開發環境與Hello world(Windows) 》是姊妹篇,只是這次操作換成了Linux 。拿Ubuntu做例子
 手機搜狗輸入法怎麼調整鍵盤大小
現在,不少人都在手機搜狗輸入法,但是有些用戶反映,在手機上使用搜狗輸入法進行書寫時,因為鍵盤大小而有了一些困擾,這裡有一個方法可以調節鍵盤大小,方便您的書寫
 Android Studio 提示與技巧(官方文檔翻譯)
這是翻譯官方的文檔,英語好的可以直接去官方文檔查看,英語不好,大家就將就看吧,算是我翻譯的第一篇技術文章,因為是個英語渣,技術也渣,所以最近在學英語,就嘗試著自己來翻譯