編輯:關於Android編程
如果讀到的是音頻文件路徑,需要先將音樂文件插入到多媒體庫。如:path傳入:/mnt/sdcard/mp3/a.mp3
- //設置--鈴聲的具體方法
- public void setMyRingtone(String path)
- {
- File sdfile = new File(path);
- ContentValues values = new ContentValues();
- values.put(MediaStore.MediaColumns.DATA, sdfile.getAbsolutePath());
- values.put(MediaStore.MediaColumns.TITLE, sdfile.getName());
- values.put(MediaStore.MediaColumns.MIME_TYPE, "audio/*");
- values.put(MediaStore.Audio.Media.IS_RINGTONE, true);
- values.put(MediaStore.Audio.Media.IS_NOTIFICATION, false);
- values.put(MediaStore.Audio.Media.IS_ALARM, false);
- values.put(MediaStore.Audio.Media.IS_MUSIC, false);
- Uri uri = MediaStore.Audio.Media.getContentUriForPath(sdfile.getAbsolutePath());
- Uri newUri = this.getContentResolver().insert(uri, values);
- RingtoneManager.setActualDefaultRingtoneUri(this, RingtoneManager.TYPE_RINGTONE, newUri);
- Toast.makeText( getApplicationContext (),"設置來電鈴聲成功!", Toast.LENGTH_SHORT ).show();
- System.out.println("setMyRingtone()-----鈴聲");
- }
- //設置--提示音的具體實現方法
- public void setMyNotification(String path)
- {
- File sdfile = new File(path);
- ContentValues values = new ContentValues();
- values.put(MediaStore.MediaColumns.DATA, sdfile.getAbsolutePath());
- values.put(MediaStore.MediaColumns.TITLE, sdfile.getName());
- values.put(MediaStore.MediaColumns.MIME_TYPE, "audio/*");
- values.put(MediaStore.Audio.Media.IS_RINGTONE, false);
- values.put(MediaStore.Audio.Media.IS_NOTIFICATION, true);
- values.put(MediaStore.Audio.Media.IS_ALARM, false);
- values.put(MediaStore.Audio.Media.IS_MUSIC, false);
- Uri uri = MediaStore.Audio.Media.getContentUriForPath(sdfile.getAbsolutePath());
- Uri newUri = this.getContentResolver().insert(uri, values);
- RingtoneManager.setActualDefaultRingtoneUri(this, RingtoneManager.TYPE_NOTIFICATION, newUri);
- Toast.makeText( getApplicationContext (),"設置通知鈴聲成功!", Toast.LENGTH_SHORT ).show();
- System.out.println("setMyNOTIFICATION-----提示音");
- }
- //設置--鬧鈴音的具體實現方法
- public void setMyAlarm(String path)
- {
- File sdfile = new File(path);
- ContentValues values = new ContentValues();
- values.put(MediaStore.MediaColumns.DATA, sdfile.getAbsolutePath());
- values.put(MediaStore.MediaColumns.TITLE, sdfile.getName());
- values.put(MediaStore.MediaColumns.MIME_TYPE, "audio/*");
- values.put(MediaStore.Audio.Media.IS_RINGTONE, false);
- values.put(MediaStore.Audio.Media.IS_NOTIFICATION, false);
- values.put(MediaStore.Audio.Media.IS_ALARM, true);
- values.put(MediaStore.Audio.Media.IS_MUSIC, false);
- Uri uri = MediaStore.Audio.Media.getContentUriForPath(sdfile.getAbsolutePath());
- Uri newUri = this.getContentResolver().insert(uri, values);
- RingtoneManager.setActualDefaultRingtoneUri(this, RingtoneManager.TYPE_ALARM, newUri);
- Toast.makeText( getApplicationContext (),"設置鬧鐘鈴聲成功!", Toast.LENGTH_SHORT ).show();
- System.out.println("setMyNOTIFICATION------鬧鈴音");
- }
 Android 基礎總結:( 十五)Handler詳解(下)
我們要理解Android的消息系統,Looper,Handle,View等概念還是需要從消息系統的基本原理及其構造這個源頭開始。從這個源頭,我們才能很清楚的看到Andro
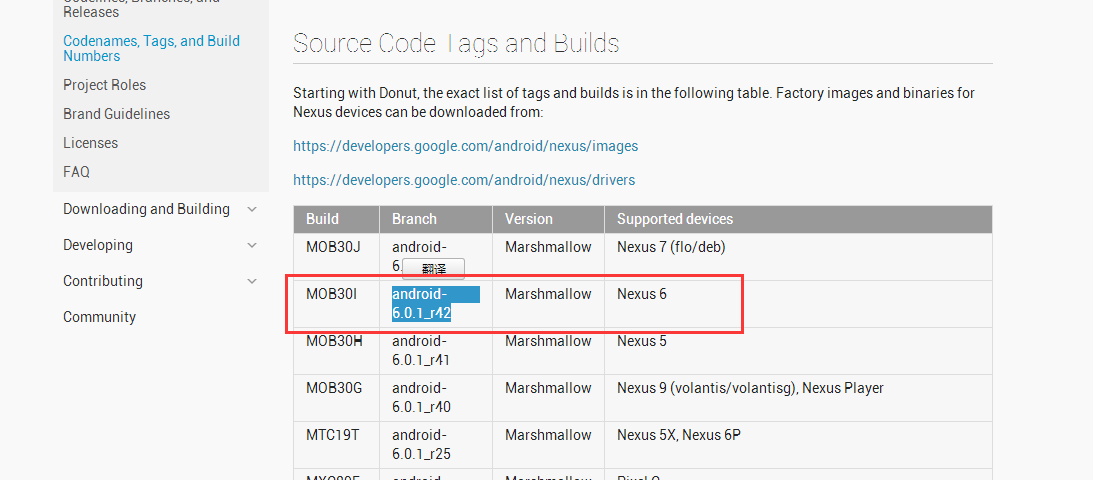
 Android系統源碼下載與編譯、刷機--Nexus6實測
前言此博文記錄一下Android從系統源碼下載到刷機的全過程。(https://source.android.com/source/build-numbers.html
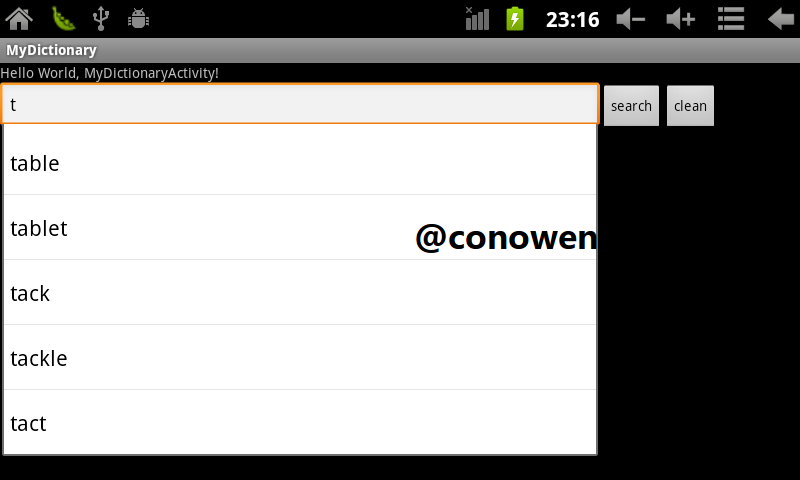
 Android中AutoCompleteTextView與TextWatcher結合小實例
AutoCompleteTextView是實現動態匹配輸入內容的一種輸入框(EditText),如輸入“and”時,會提示“Android”效果圖:實現代碼:packag
 android動畫-布局動畫(3)
這一篇我們來學點新的東西。做項目的時候應該碰到這種問題:根據不同條件顯示或者隱藏一個控件或者布局,我們能想到的第一個方法就是 調用View.setVisibility()