編輯:關於Android編程
package cn.testscrollview;
import android.os.Bundle;
import android.view.MotionEvent;
import android.view.View;
import android.view.View.OnTouchListener;
import android.widget.ScrollView;
import android.app.Activity;
/**
 * Demo描述:
 * 監聽ScrollView滑動到頂端和底部
 *
 * 注意事項:
 * 1 mScrollView.getChildAt(0).getMeasuredHeight()表示:
 *   ScrollView所占的高度.即ScrollView內容的高度.常常有一
 *   部分內容要滑動後才可見,這部分的高度也包含在了
 *   mScrollView.getChildAt(0).getMeasuredHeight()中
 *
 * 2 view.getScrollY表示:
 *   ScrollView頂端已經滑出去的高度
 *
 * 3 view.getHeight()表示:
 *   ScrollView的可見高度
 *
 */
public class MainActivity extends Activity {
    private ScrollView mScrollView;
	@Override
	protected void onCreate(Bundle savedInstanceState) {
		super.onCreate(savedInstanceState);
		setContentView(R.layout.main);
		init();
	}
    private void init(){
    	mScrollView=(ScrollView) findViewById(R.id.scrollView);
    	mScrollView.setOnTouchListener(new TouchListenerImpl());
    }
    private class TouchListenerImpl implements OnTouchListener{
		@Override
		public boolean onTouch(View view, MotionEvent motionEvent) {
			switch (motionEvent.getAction()) {
			case MotionEvent.ACTION_DOWN:

				break;
			case MotionEvent.ACTION_MOVE:
				 int scrollY=view.getScrollY();
				 int height=view.getHeight();
				 int scrollViewMeasuredHeight=mScrollView.getChildAt(0).getMeasuredHeight();
				 if(scrollY==0){
	                	System.out.println("滑動到了頂端 view.getScrollY()="+scrollY);
	                }
	             if((scrollY+height)==scrollViewMeasuredHeight){
	                    System.out.println("滑動到了底部 scrollY="+scrollY);
	                	System.out.println("滑動到了底部 height="+height);
	                	System.out.println("滑動到了底部 scrollViewMeasuredHeight="+scrollViewMeasuredHeight);
	                }
				break;

			default:
				break;
			}
			return false;
		}

    };
}
<RelativeLayout xmlns:android="http://schemas.android.com/apk/res/android"
    xmlns:tools="http://schemas.android.com/tools"
    android:layout_width="match_parent"
    android:layout_height="match_parent"
    >
    <ScrollView
        android:id="@+id/scrollView"
        android:layout_width="fill_parent"
        android:layout_height="wrap_content" >
    <TextView
        android:layout_width="fill_parent"
        android:layout_height="wrap_content"
        android:text="@string/hello_world"/>
    </ScrollView>
</RelativeLayout>
 Andorid TextView字幕效果實例
一、效果圖 二、代碼 復制代碼 代碼如下: public class TextSubView extends TextView { private TextPaint m
 MIUI 8和MIUI 7有什麼區別 MIUI 8和MIUI 7區別對比
期待已久的MIUI 8終於上線啦!經過全新設計的MIUI 8靈感來源於變幻萬千的“萬花筒”,在色彩、交互動畫、系統字體等方面的大膽改
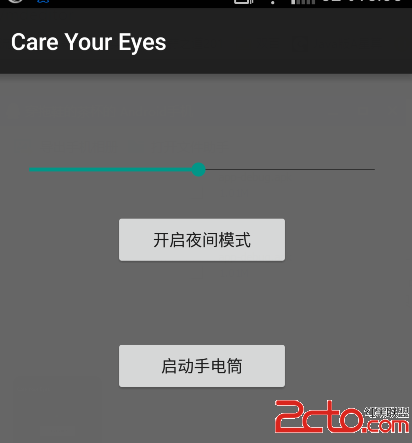
 android---護眼燈和兼容性高的手電筒實現
程序主要有兩個功能,一是護眼燈,二是手電筒,然而手電筒兼容性解決辦法就是加入異常控制,避免各種異常占用啟動不了手電筒.程序主界面,沒有美化,只實現基本功能.部分代碼:護眼
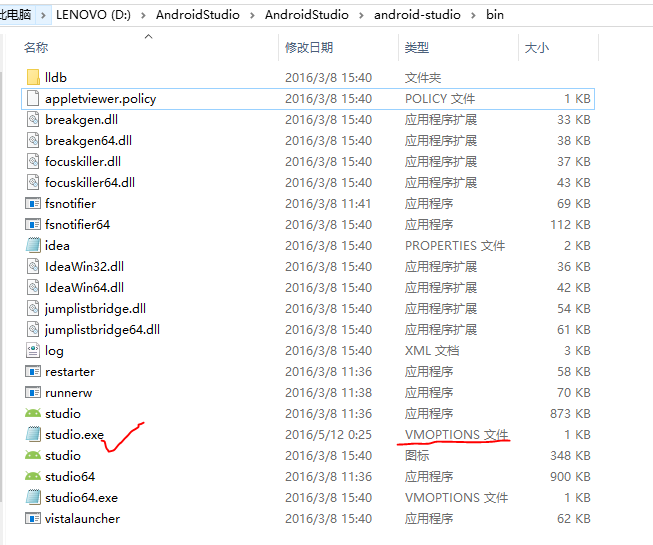
 AndroidStudio之Failed to create JVM:erroe code -4問題
幾個月沒有碰Android Studio了,打開時卻突然出現了這樣的錯誤:我可是百事不得其解啊!我最後一次使用的時候都好好的,現在居然說我的Java環境變量有問題。我一看