編輯:關於Android編程
在學習Android開發的過程中遇到了不少的問題,所幸的是最終經過上網查詢都得到了解決。現在將我在學習Android開發過程中遇到的一些問題及解決的方法整理如下。
1.R.java不能實時更新
問題描述:在res文件中新增的變量不能在R.java中實時的顯示出來。
解決方法:選擇菜單欄的“Project”,勾選“Build Automatically”選項。
2.LogCat視窗沒有顯示
問題描述:在Eclipse的右下方沒有顯示LogCat視窗。
解決方法:選擇菜單欄的“Windows”,再選擇“Show View”,最後再選擇“LogCat”即可。
3.編譯時提示“android library projects cannot be launched”錯誤的解決方法
問題描述:編譯時提示“android library projects cannot be launched”錯誤
解決方法:選擇菜單欄的“Project”,再選擇“Properties”,在彈出的窗口中選擇“Android”,將is library選項前面的勾去掉。
4.在xml中添加EditText控件後提示“This text field does not specify an inputType or a hint”錯誤
問題描述:在xml中添加EditText控件,控件信息如下。
<EditText
android:id="@+id/editText"
android:layout_width="match_parent"
android:layout_height="wrap_content" ></EditText>
編譯時,提示“This text field does not specify an inputType or a hint”錯誤。
原因分析:控件中缺少android:hint以及android:inputType信息。android:hint用於設置EditText為空時顯示的默認文字提示信息。android:inputType用於設置EditText的文本的類型,用於幫助輸入法顯示合適的鍵盤類型。
解決方法:在控件中添加android:hint以及android:inputType信息,添加後的控件信息如下。
<EditText
android:id="@+id/editText"
android:hint="0"
android:inputType="number"
android:layout_width="match_parent"
android:layout_height="wrap_content" ></EditText>
5.警告信息“Hardcoded string "xxx", should use @string resource”的消除方法
問題描述:在xml中添加Button控件,控件信息如下。
<Button
android:id="@+id/mButton_mc"
android:text="mc"
android:layout_width="match_parent"
android:layout_height="wrap_content" >
</Button>
編譯時,提示“Hardcoded string "mc", should use @string resource”警告。
原因分析:在android:text中使用到了字符串mc,應該將該字符串定義在String.xml中,然後再通過調用String.xml中該字符串的資源名來使用該字符串資源。這樣做的好處在於可以做到一改全改,並且在支持多語言時也是很有用處的。
解決方法:在項目目錄下的res-->values-->String.xml中添加字符串mc的信息如下。
<resources>
<string name="mc">mc</string>
</resources>
然後,再在使用該Button控件的xml中,通過調用該字符串的資源名來使用該字符串,如下。
<Button
android:id="@+id/mButton_mc"
android:text="@string/mc"
android:layout_width="match_parent"
android:layout_height="wrap_content" >
</Button>
6.警告信息“Nested weights are bad for performance”的消除方法
原因分析:在布局進行嵌套使用時,父布局與子布局都使用了android:layout_weight,但不是必須使用時,便會出現如題所示的警告信息。
解決方法:根據實際情況,去除子布局中非必須使用的android:layout_weight。
7.啟動模擬器時出現錯誤信息“Please ensure that adb is correctly located at:XXXXX”的解決方法
現象:使用正確的源代碼,在啟動模擬器時出現如下錯誤信息“Please ensure that adb is correctly located at 'D:\AndroidSDK4.0\android-sdk-windows\platform-tools\adb.exe' and can be executed.”
解決方法:將D:\AndroidSDK4.0\android-sdk-windows\platform-tools加入到系統環境變量PATH中。
8.模擬器啟動時一直顯示信息“Waiting for HOME ('android.process.acore') to be launched...”的解決方法
現象:模擬器啟動時,等很久(5分鐘以上)也啟動不了,一直提示“Waiting for HOME ('android.process.acore') to be launched...”信息。
解決方法:刪除當前的模擬器,重新創建一個模擬器。
 Android基於RecyclerView實現高亮搜索列表
話不多說先看今天的實現的效果:相信這種效果很多項目都會用到,今天就講講利用RecycleView來實現他,博主把此篇文章定位初級篇,可能因為這確實很簡單,所以我要更要講的
 安卓(Android) 自定義控件(View) 新手教學
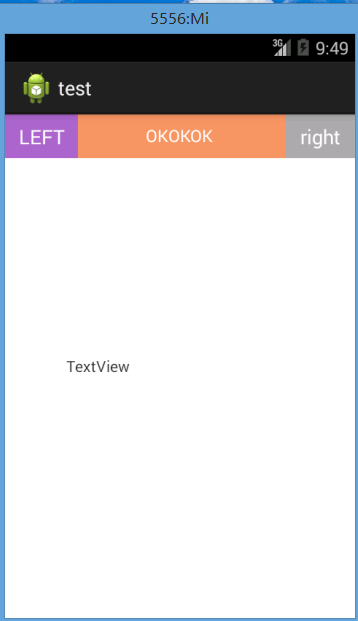
作為一只安卓自學的小白,今天第一天發表微博還是有點小激動的,好了,廢話少說下面開始我的安卓自定義控件知識總結。我的demo是一個自定義的TopBar,左邊一個Button
 微信指紋支付怎麼取消 微信指紋支付取消方法
微信指紋支付是目前微信為了進一步提升交易安全所推出的支付驗證手段,但也有很多用戶在使用中會發現很多小問題,比如手上出汗時,就不能順利驗證支付,小編就這個問題
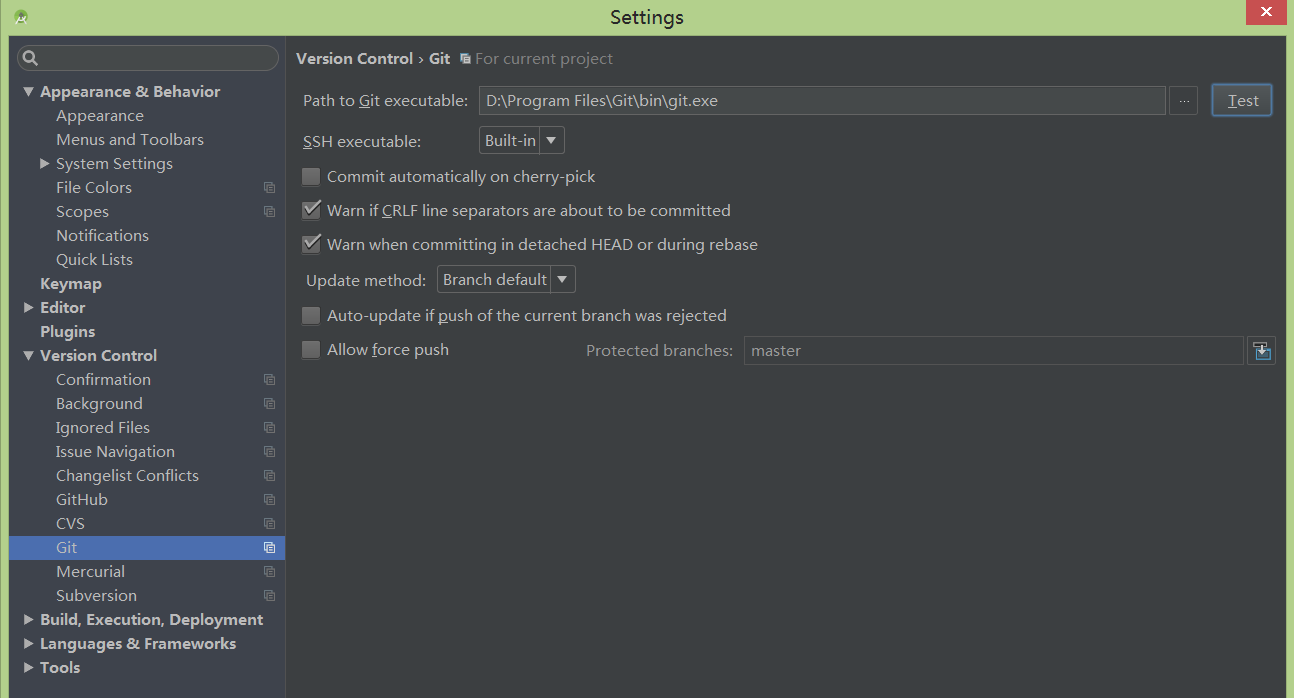
 AndroidStudio項目提交到github以及工作中實際運用(詳細步驟)
在使用studio開發的項目過程中有時候我們想將項目發布到github上,以前都是用一種比較麻煩的方式(cmd)進行提交,最近發現studio其實是自帶這種功能的,終於可